
Introduction
This weeks Tip of the Week will cover the placement of Oberkommando West Trucks.
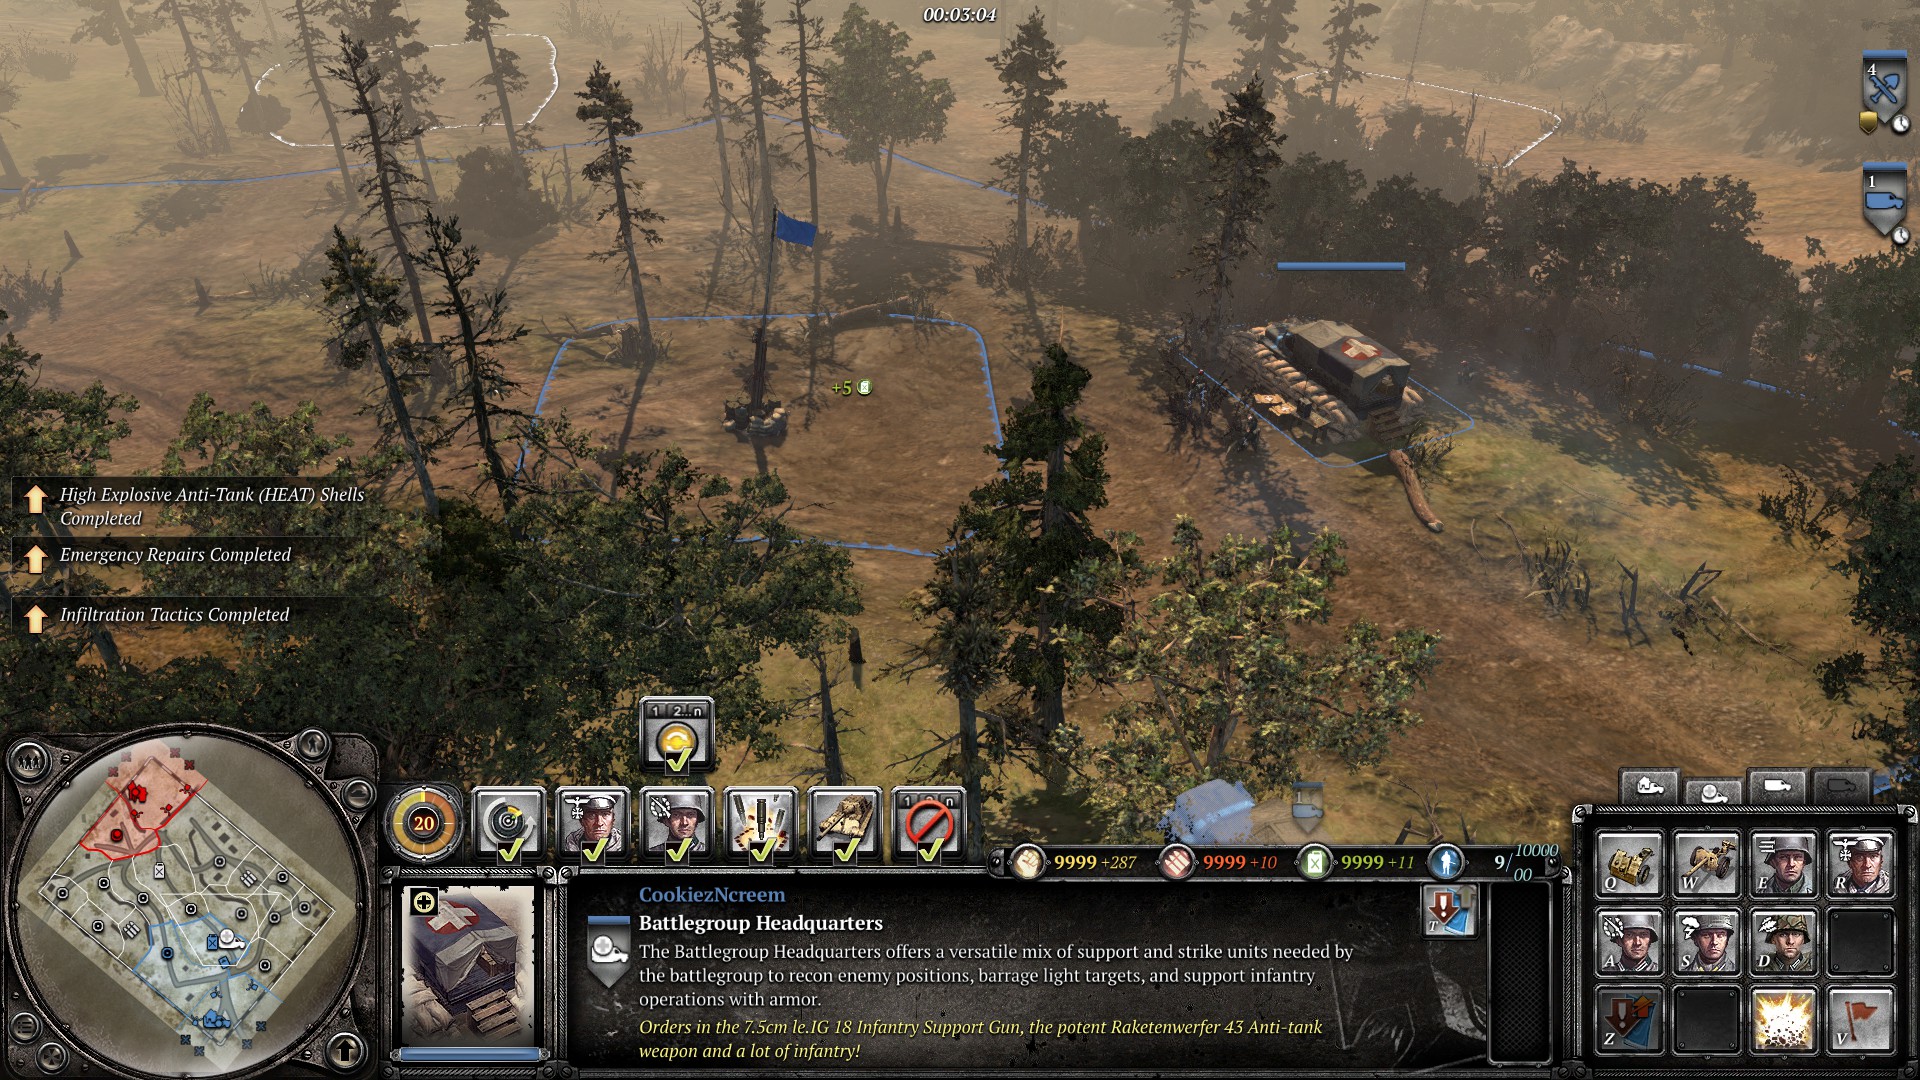
Battlegroup Headquaters
We must find the perfect middle-ground between placing it in a useful spot, while also keeping it as safe as possible from direct attack and weapons such as: the Katyusha, or 120mm Mortar.
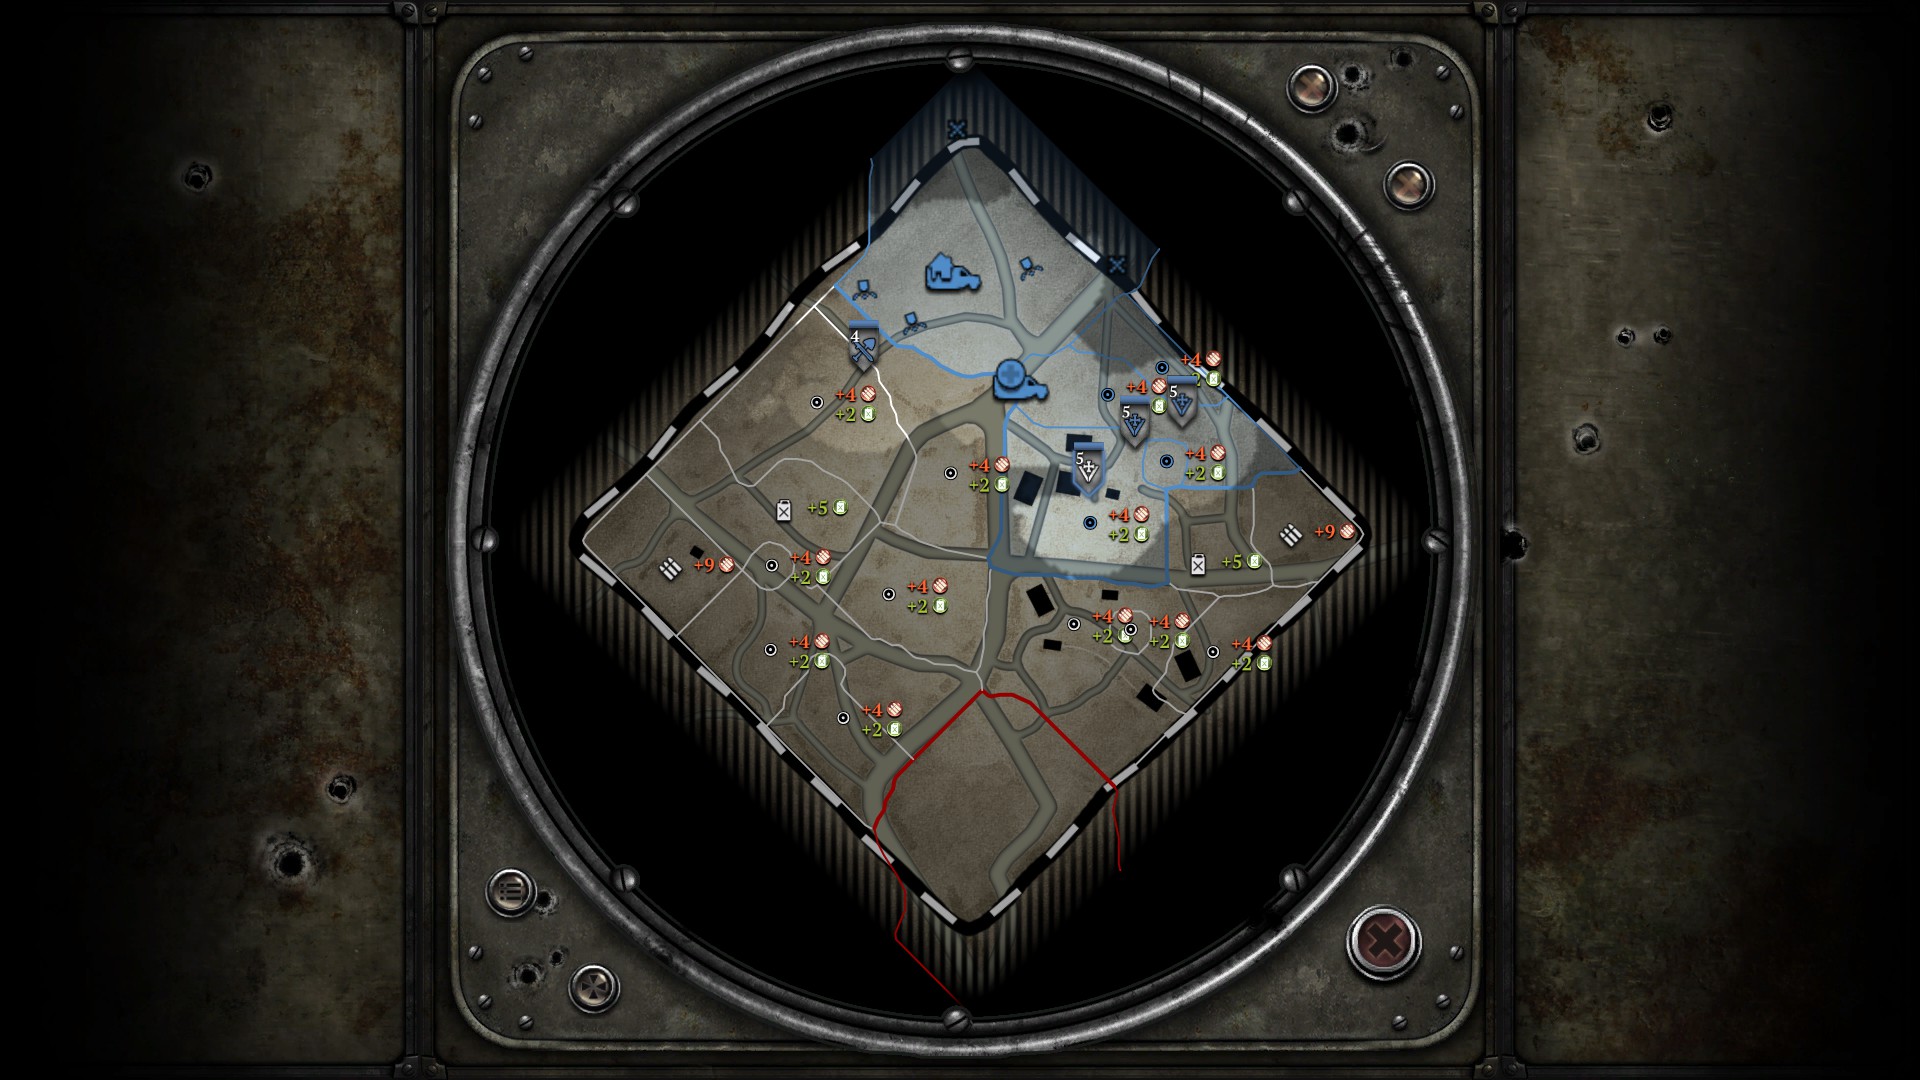
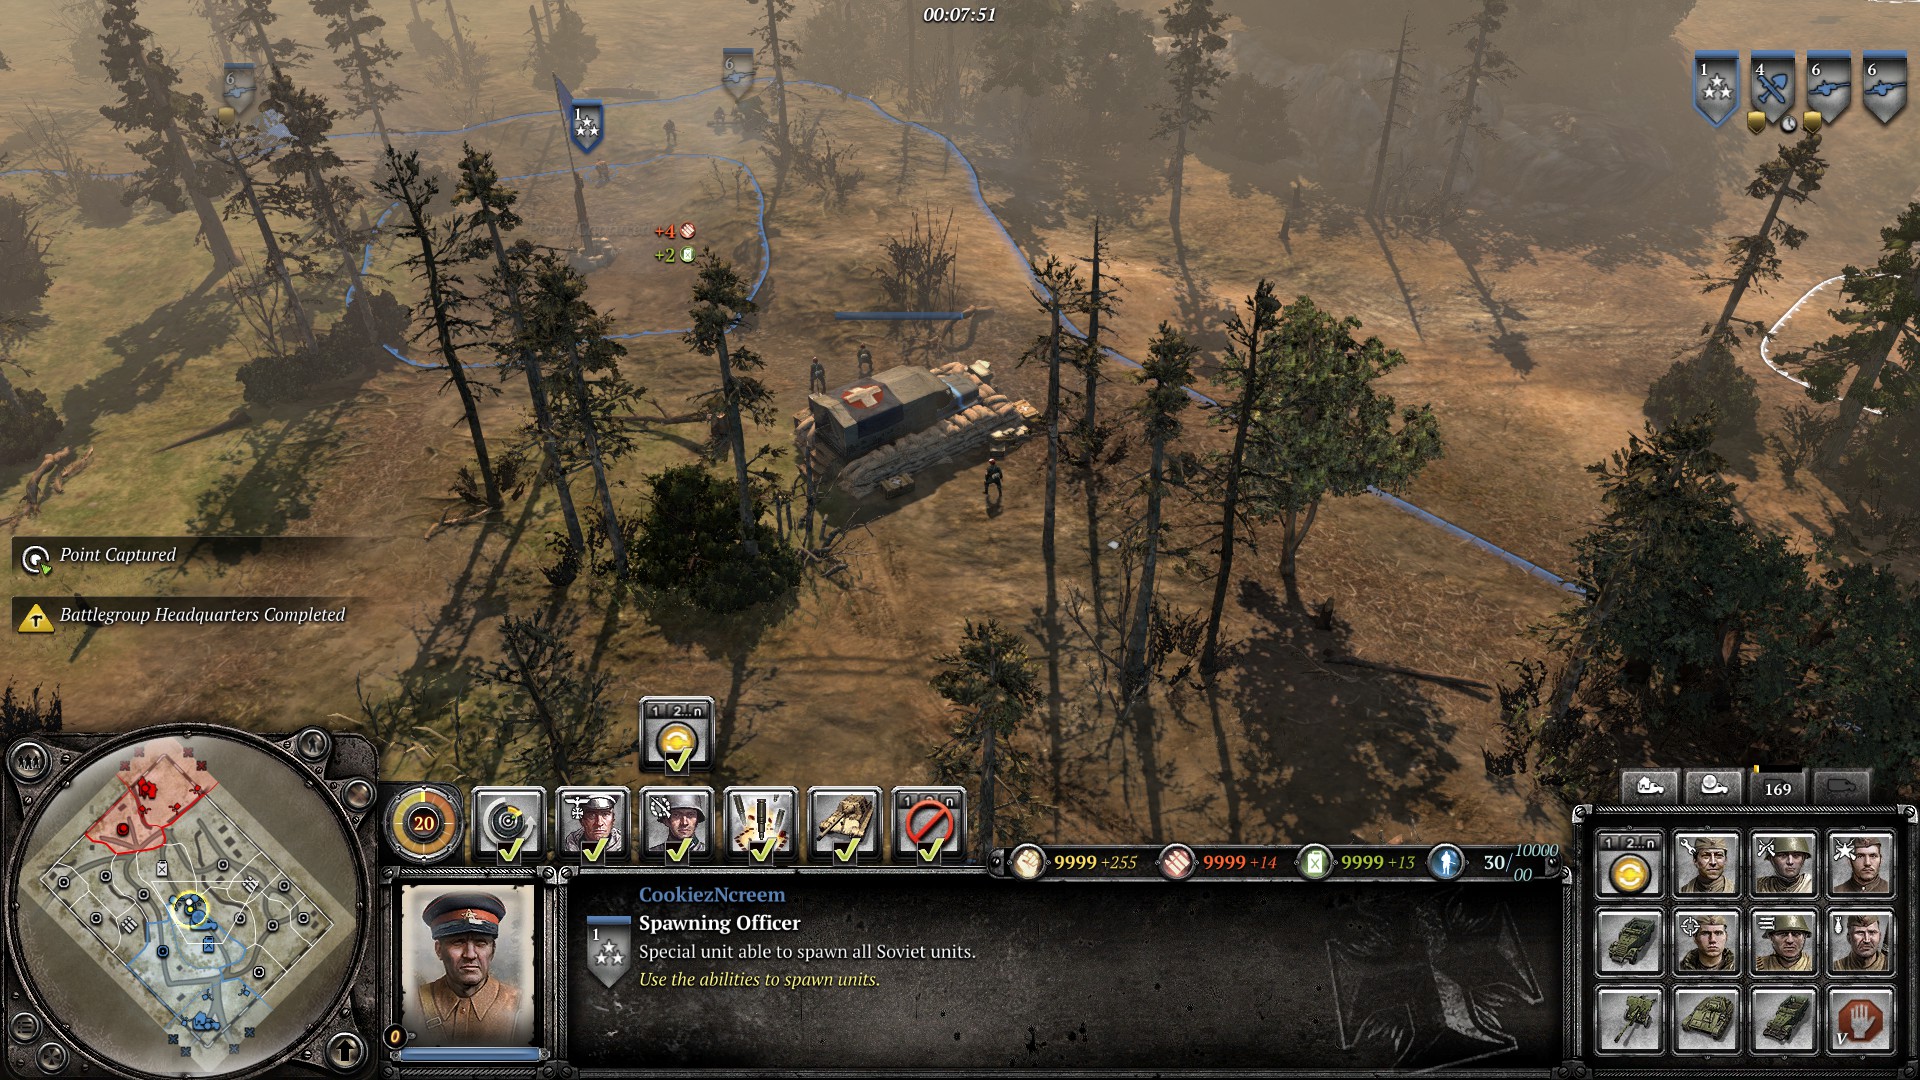
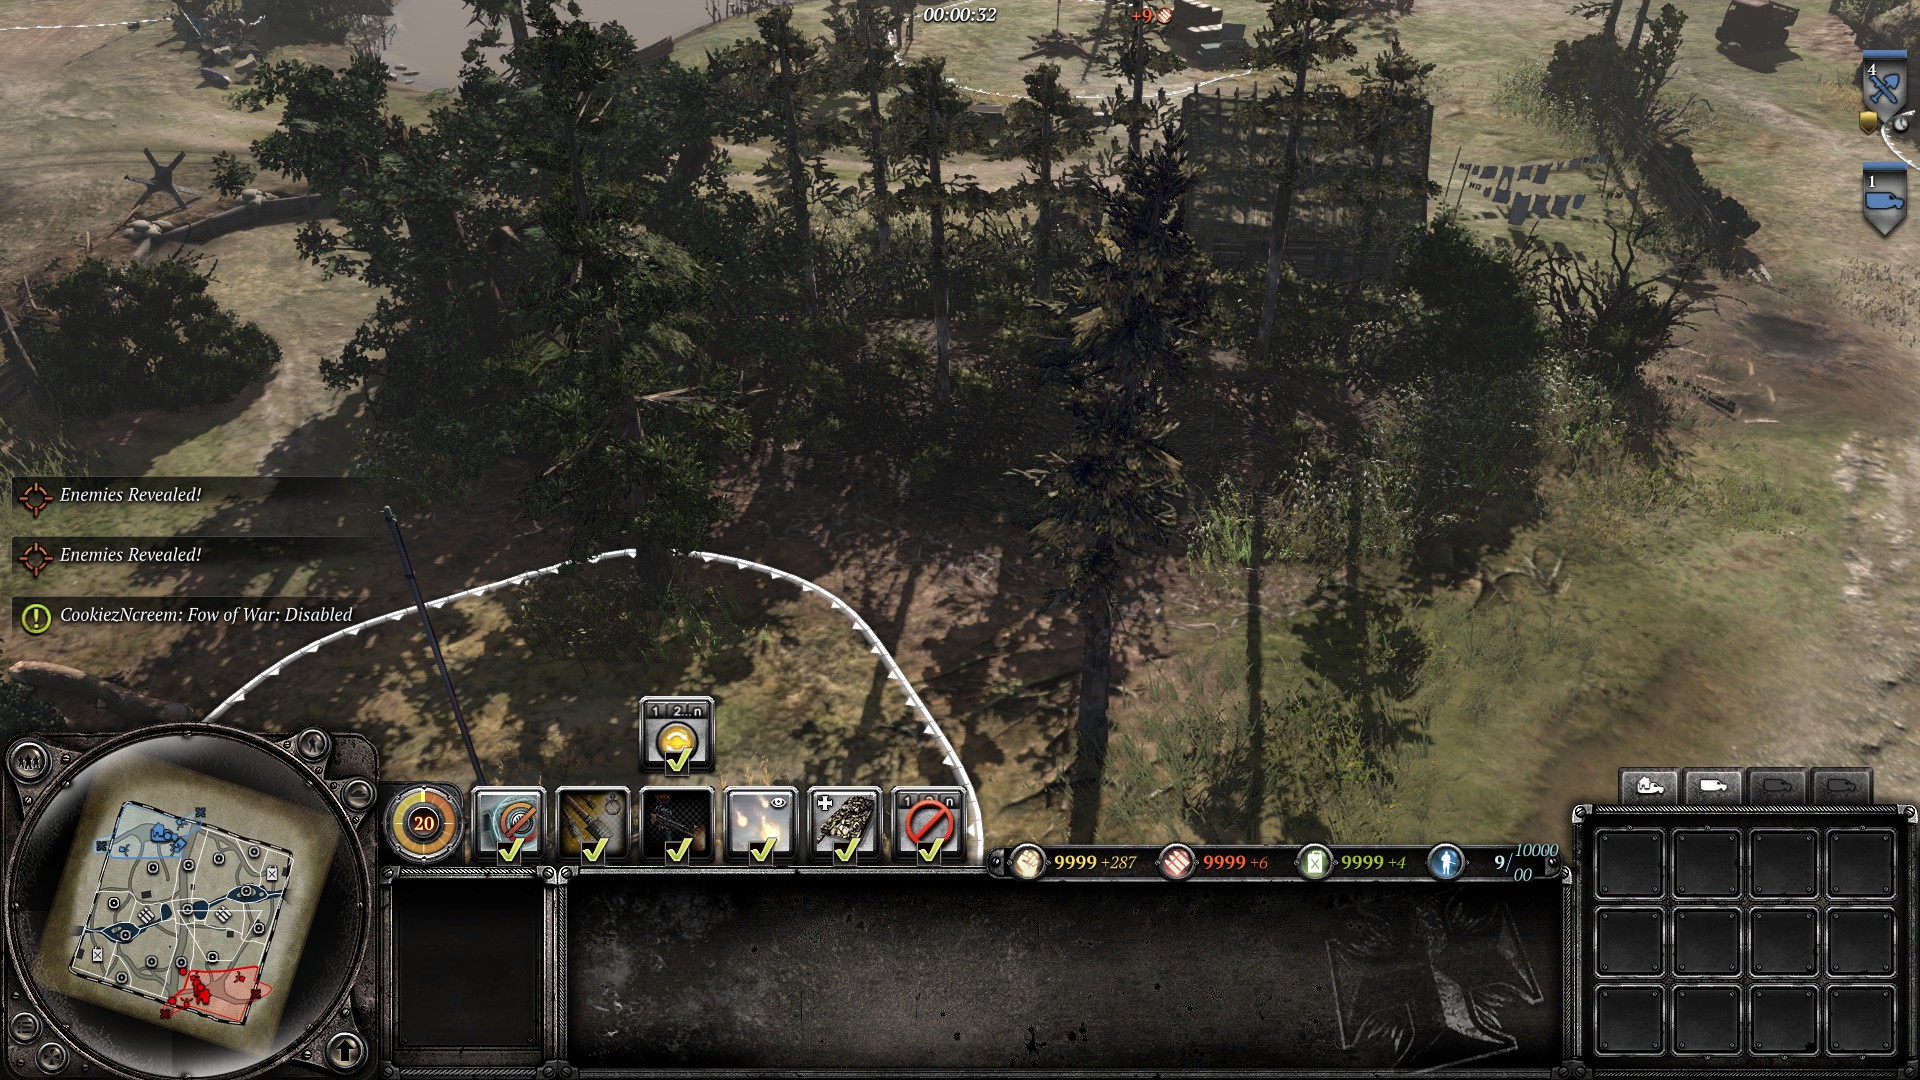
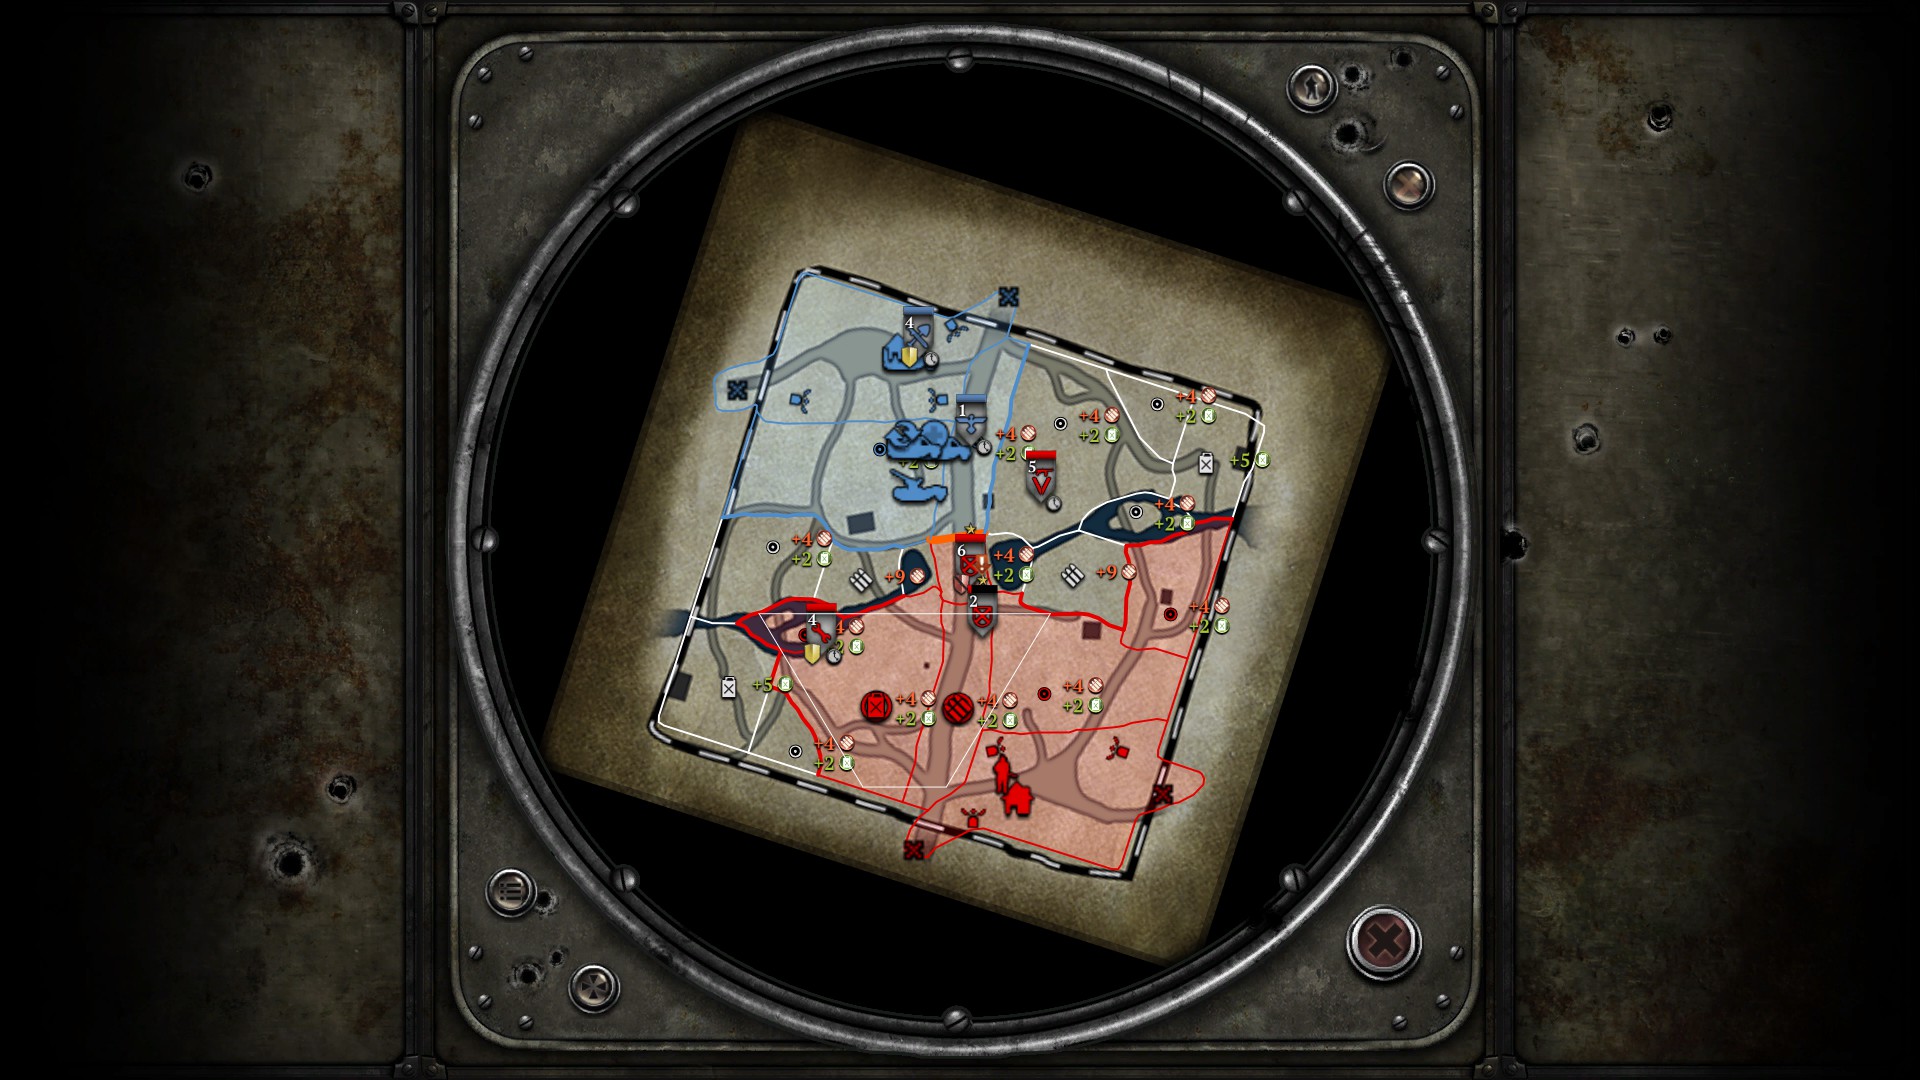
Here is a Battlegroup Headquarters placed properly. We will call this the Supply Route placement.
With this placement you don’t necessarily have to buy a forward retreat point. Just retreat your units normally. Once they get to the main base you don’t have to fully reinforce them there. Instead, send them in transit towards the Battlegroup HQ on a "supply route" to the side of the map you want under your control.
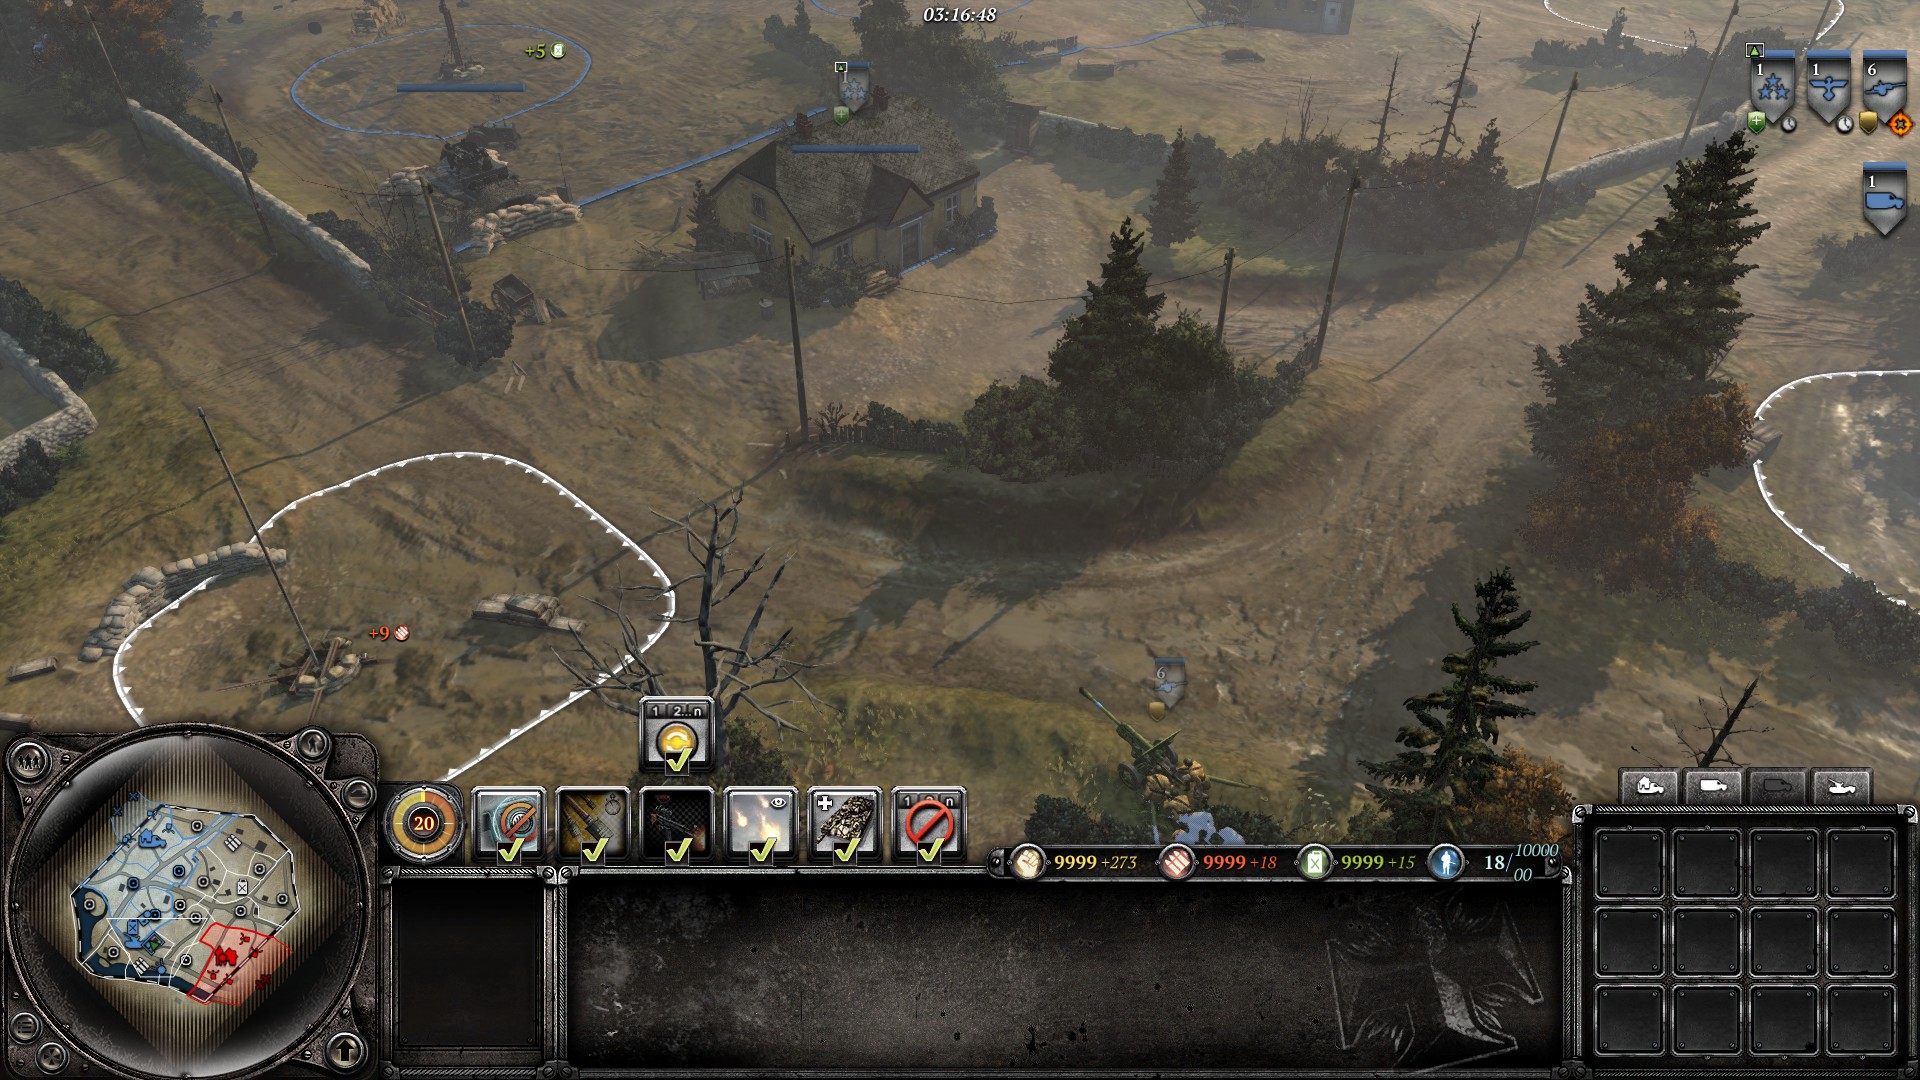
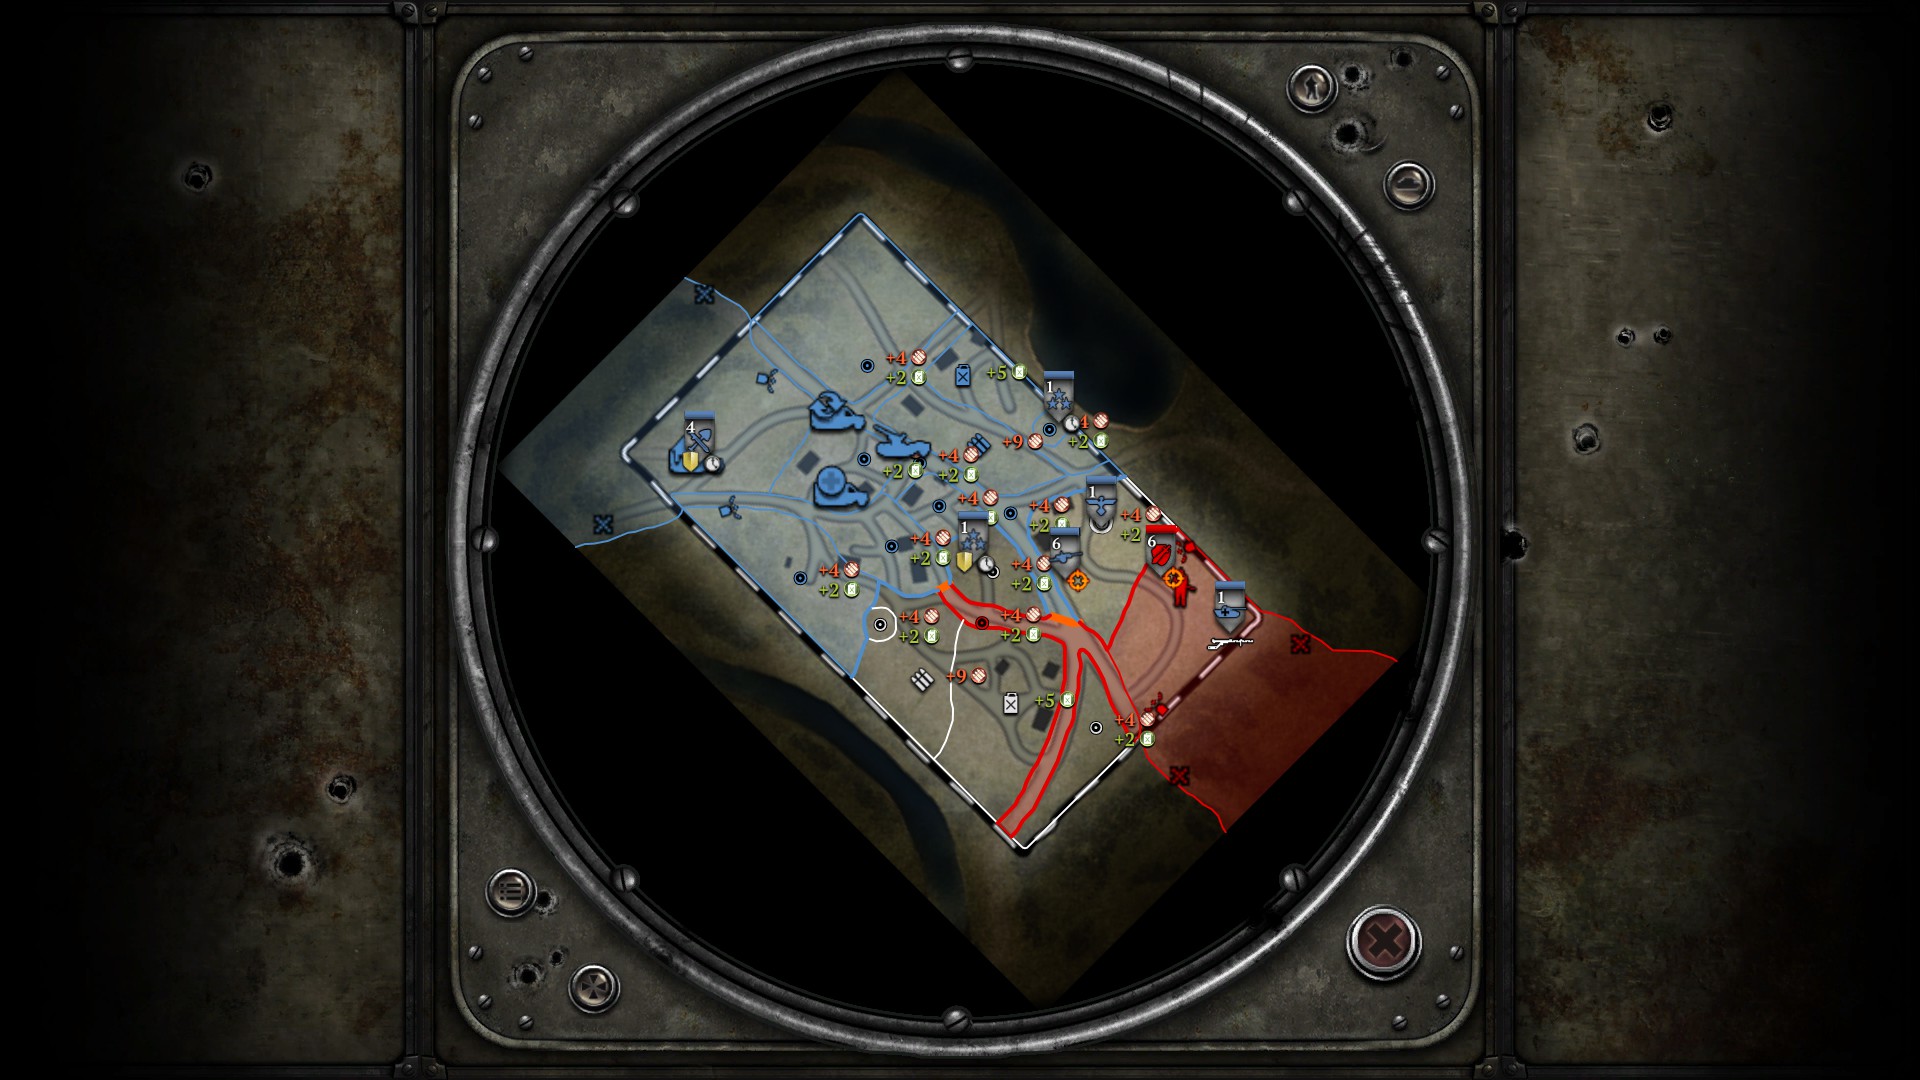
Here is another common Battlegroup HQ placement location.
This is safe to direct attack since you will have to go through a defensive line in order to reach it,usually.
it requires longer range artillery to damage, and thats what we want.
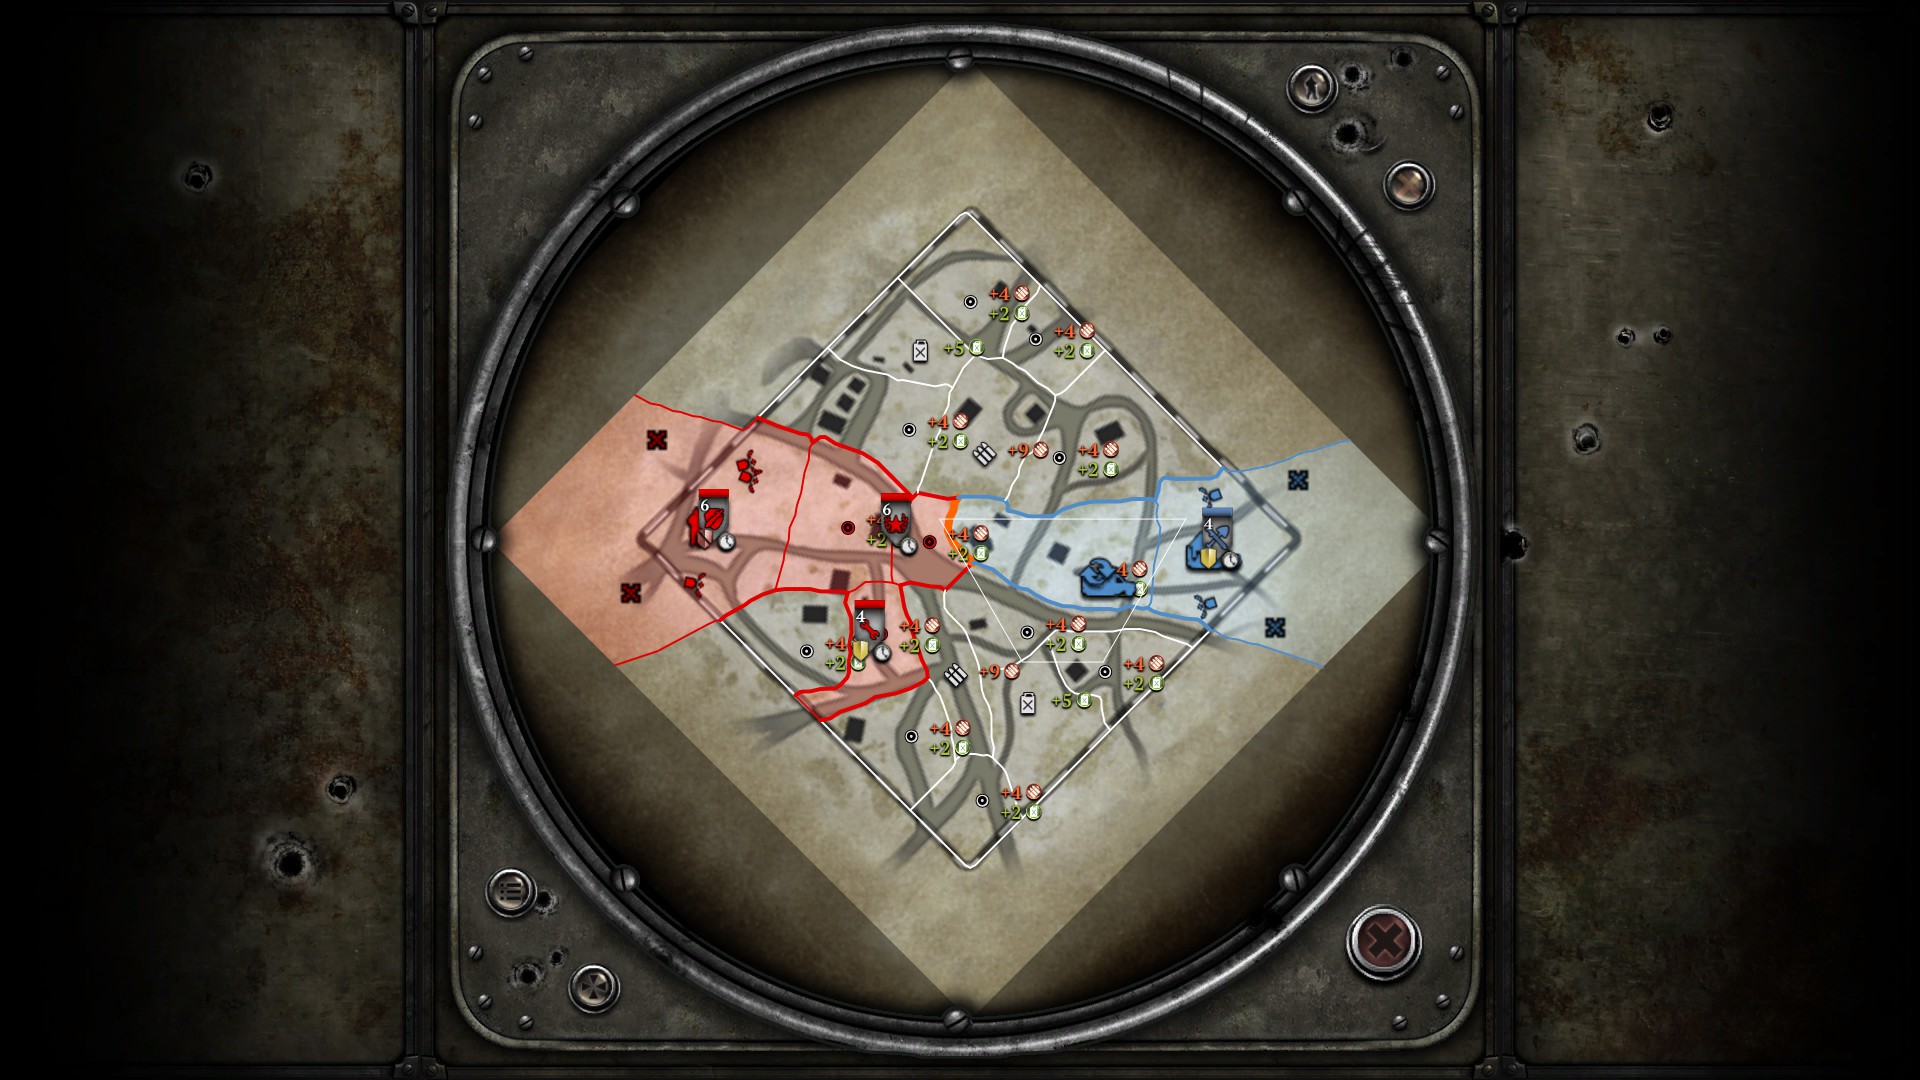
This is bad Battlegroup HQ placement.
An HQ like this even though it’s seemingly in a very useful spot, is extremely vulnerable to all types of attack from: anti-tank guns, artillery. Even enemy infantry will walk up and hug the medics that are employed at the Battlegroup HQ.
No matter how aggressive you are in the early game, never put your truck in a position where it can be attacked like this.
Schwere Panzer Headquarter
The Schwerer HQ follows a similar principle, but as a Tier 4 Structure it is even more important that you place it right.
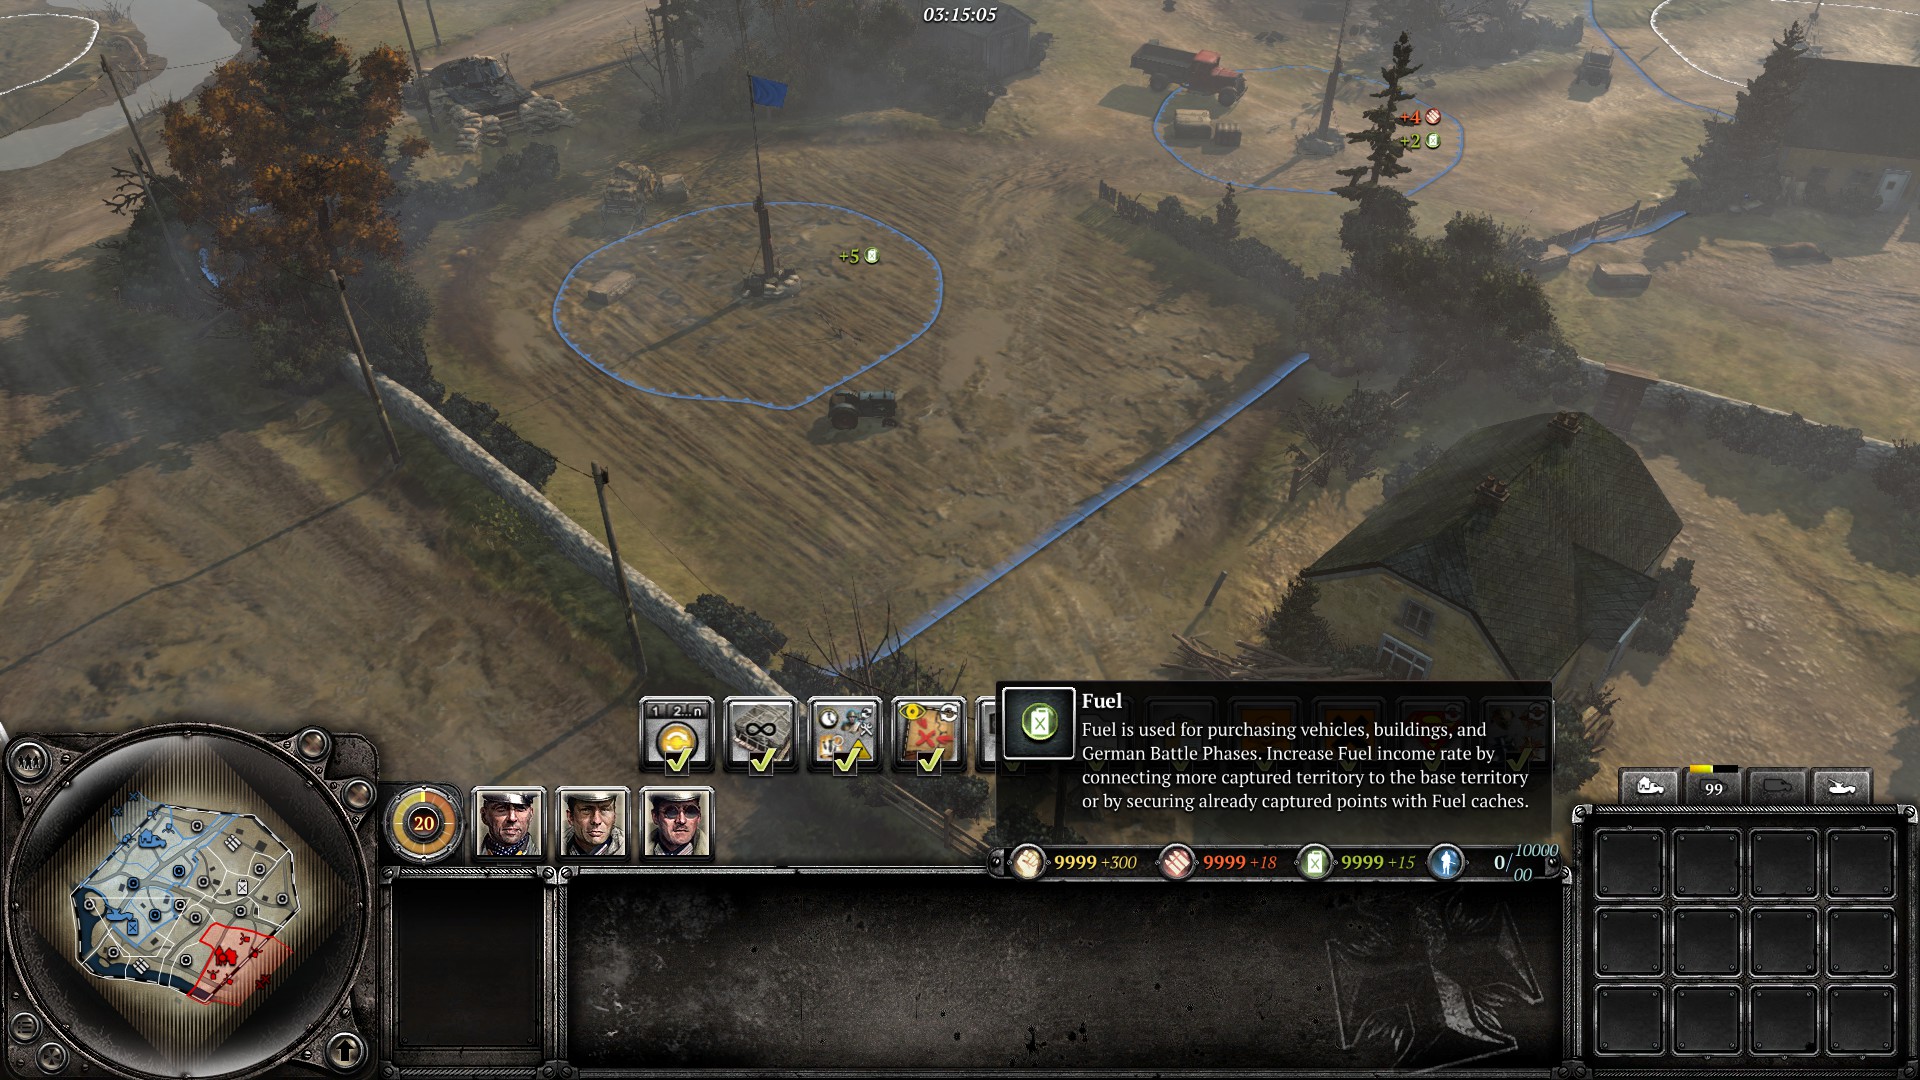
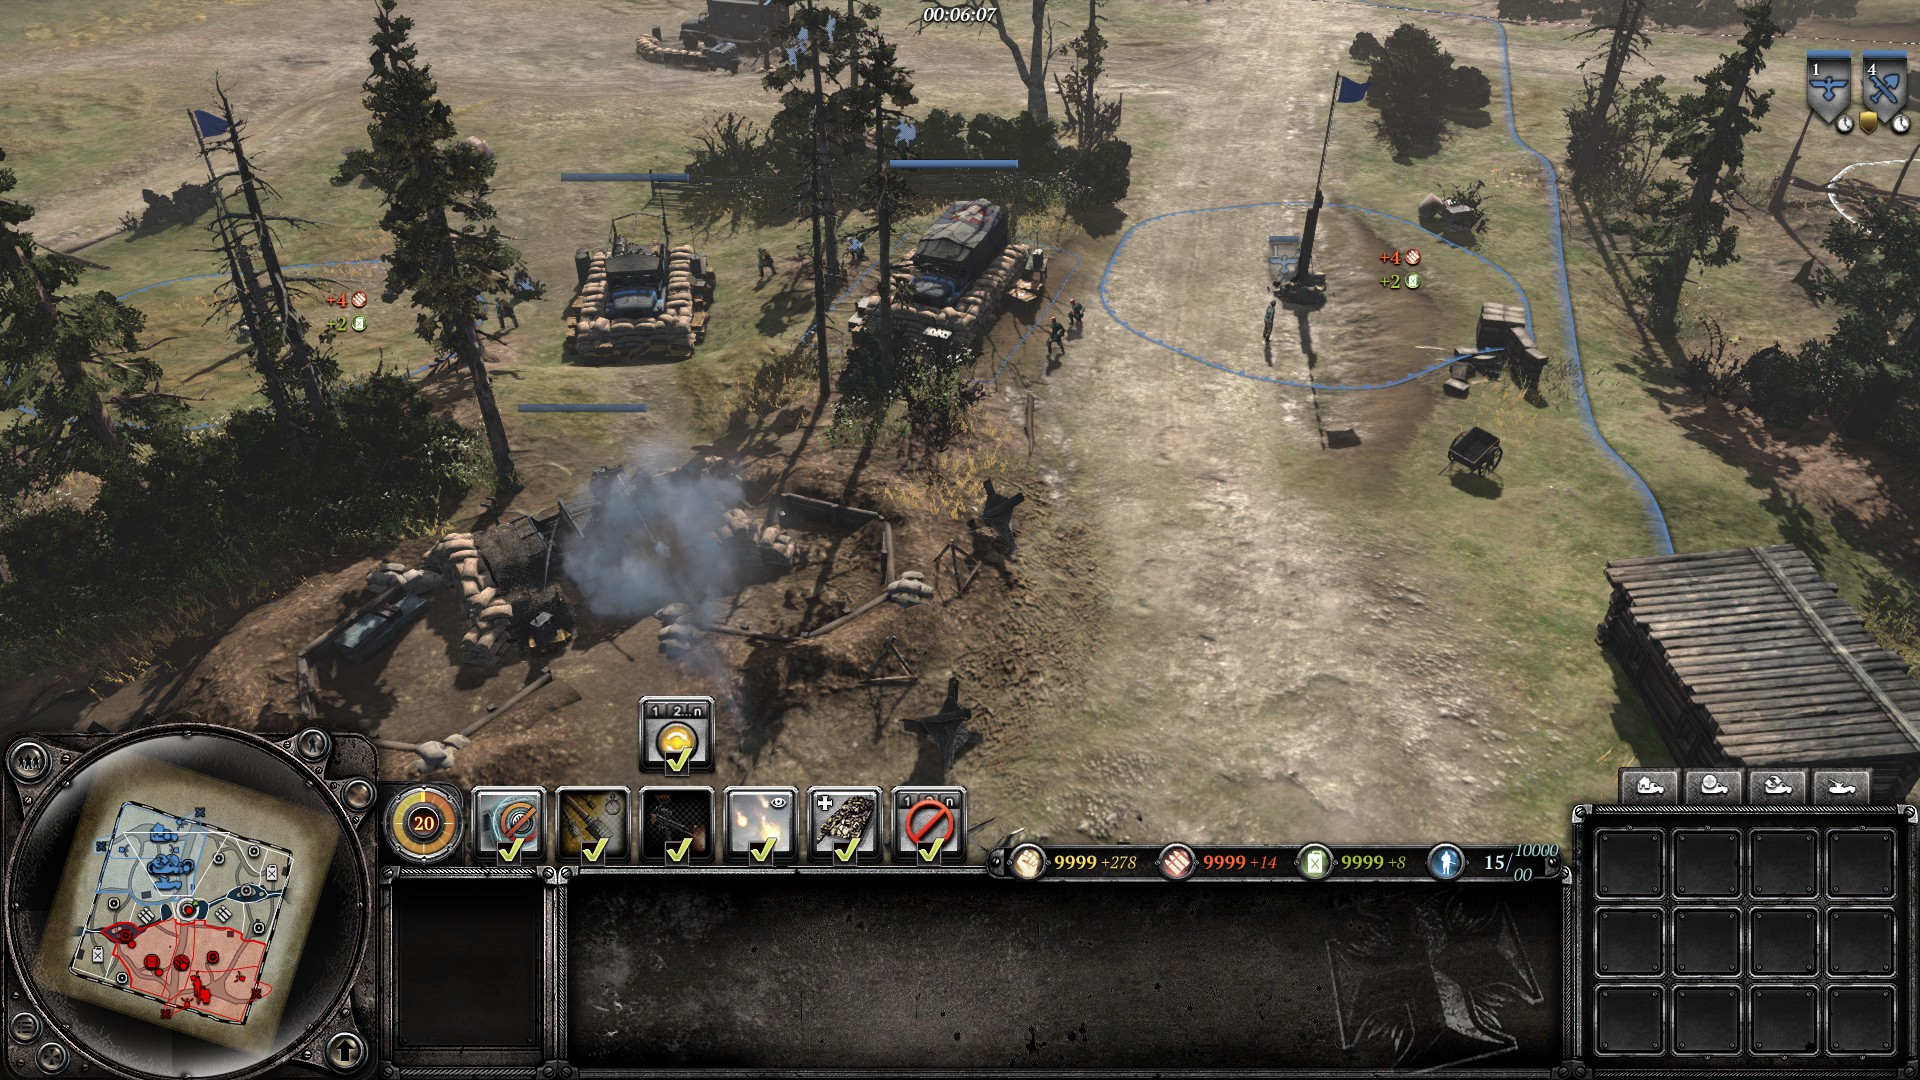
This Schwerer HQ covers the fuel point. It’s also safe from AT Gun attack, because it can only be attacked by overextending an anti-tank gun or artillery.
Which is what we want.
Buildings

It is also important to be very wary of ambient buildings near your HQ buildings.
If the building obstructing your HQ from direct fire is destroyed, then the enemy can simply fire an anti-tank gun through the rubble of the destroyed building at your HQ building with Attack Ground,as if the HQ building was sitting in the open.
If the building obstructing your HQ from direct fire is destroyed, then the enemy can simply fire an anti-tank gun through the rubble of the destroyed building at your HQ building with Attack Ground,as if the HQ building was sitting in the open.
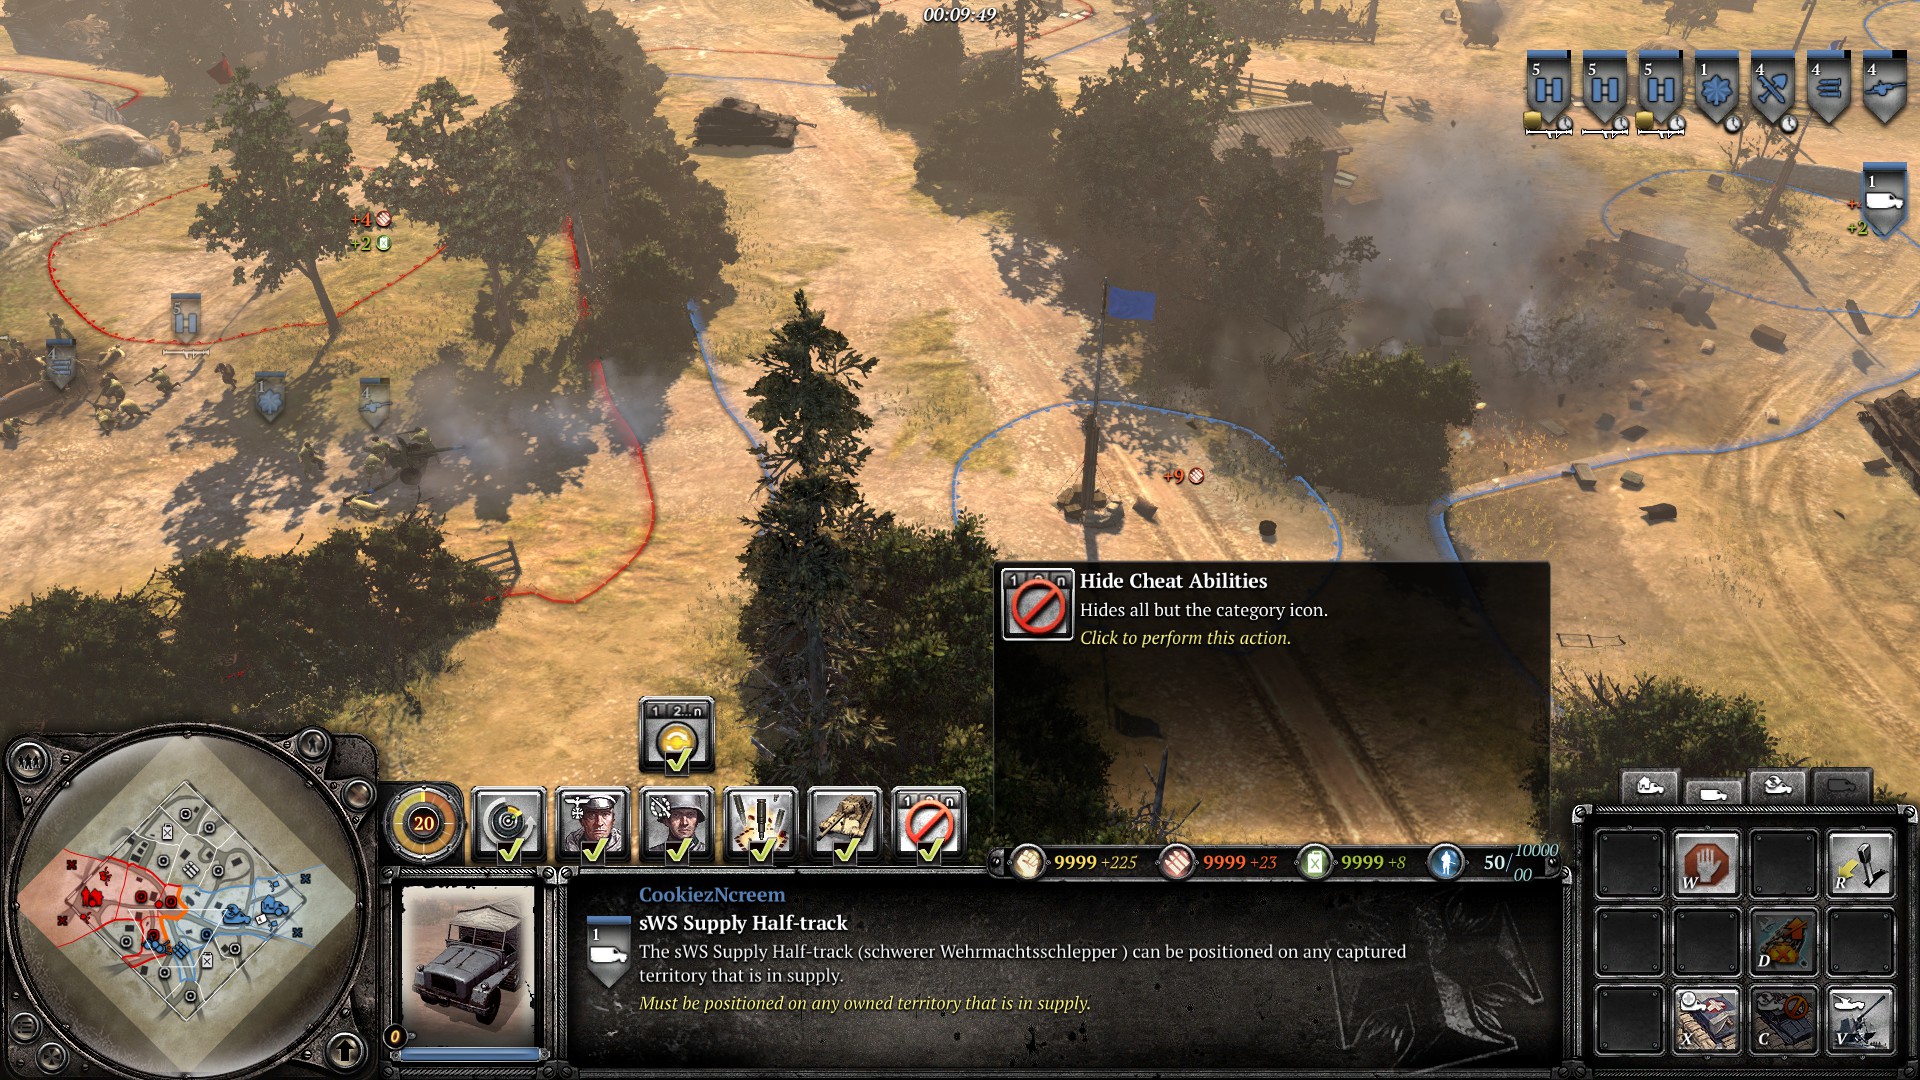
This Schwerer HQ, while it covers the munitions, victory point, and fuel; is extremely vulnerable to attack.
Your enemy can place a squad in the building to draw the HQ's fire (as well as dealing damage by shooting at it with a Rocket launcher or PTRS) and also use those units to spot your HQ for other nearby units or offmap artillery.
Shot blockers
Also be careful when placing your HQ behind a seemingly safe hedge. Some hedges can be shot through with attack ground, as you've learned from previous Tips of the Week.

A good question to ask when wondering which hedge is safe is; "Can a Tiger or Panther crush this?" If they can then the hedge will be vulnerable to attack ground.
Here are examples of safe hedges that cannot be shot through. Note how thick they look.

These hedges offers no protection.
A good question to ask when wondering which hedge is safe is; "Can a Tiger or Panther crush this?" If they can then the hedge will be vulnerable to attack ground.
Here are examples of safe hedges that cannot be shot through. Note how thick they look.
Mechanized Regimental Headquarters
Placement of the Mechanized Regiment HQ is straightforward. There’s no reason to place your HQ anywhere near the front lines. Simply place it in, or just outside your base. Sturmpioneers can be used for repairs closer to the front.
Putting it all together
Its also important to not place all the trucks too close to eachother.

These HQ trucks are placed horribly and do not have enough spacing.
Here is an example of an HQ set placed properly with good spacing
These HQ trucks are placed horribly and do not have enough spacing.
All 3 of them will get pummeled by one artillery shell. Do not make an apartment complex out of your trucks. Spread them out. to avoid unnecessary collateral damage.
Conclusion
That concludes this week's Tip of the Week.
Next week’s Tip will feature the Brummbar, Bulldozer Sherman, and Sturmtiger heavy assault tanks..
Next week’s Tip will feature the Brummbar, Bulldozer Sherman, and Sturmtiger heavy assault tanks..
 CookiezNcreem
  TM.Dutchy
  FestiveLongJohns
  FichtenMoped
 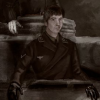 turbotortoise