
WorldBuilder TotW #4: Layering Maps
Welcome back once more, ladies and gents, to the WorldBuilder Tip of the Week. This week, we over at COH2.ORG will be continuing to provide you with small hints and tips to use in WorldBuilder, to improve and ease your mapping experience!
In this week’s TotW we’re looking at how to build your map through Layers. Personally, I use this method in every map I make (although perhaps not as much as I should), but many of the maps I see don’t use it at all.
So, if you’ve made maps before but by the end you can’t work out which Spline is which, where your Splats are, or how to grab that object you want but can’t, because it’s merged with another, then Layers are for you!
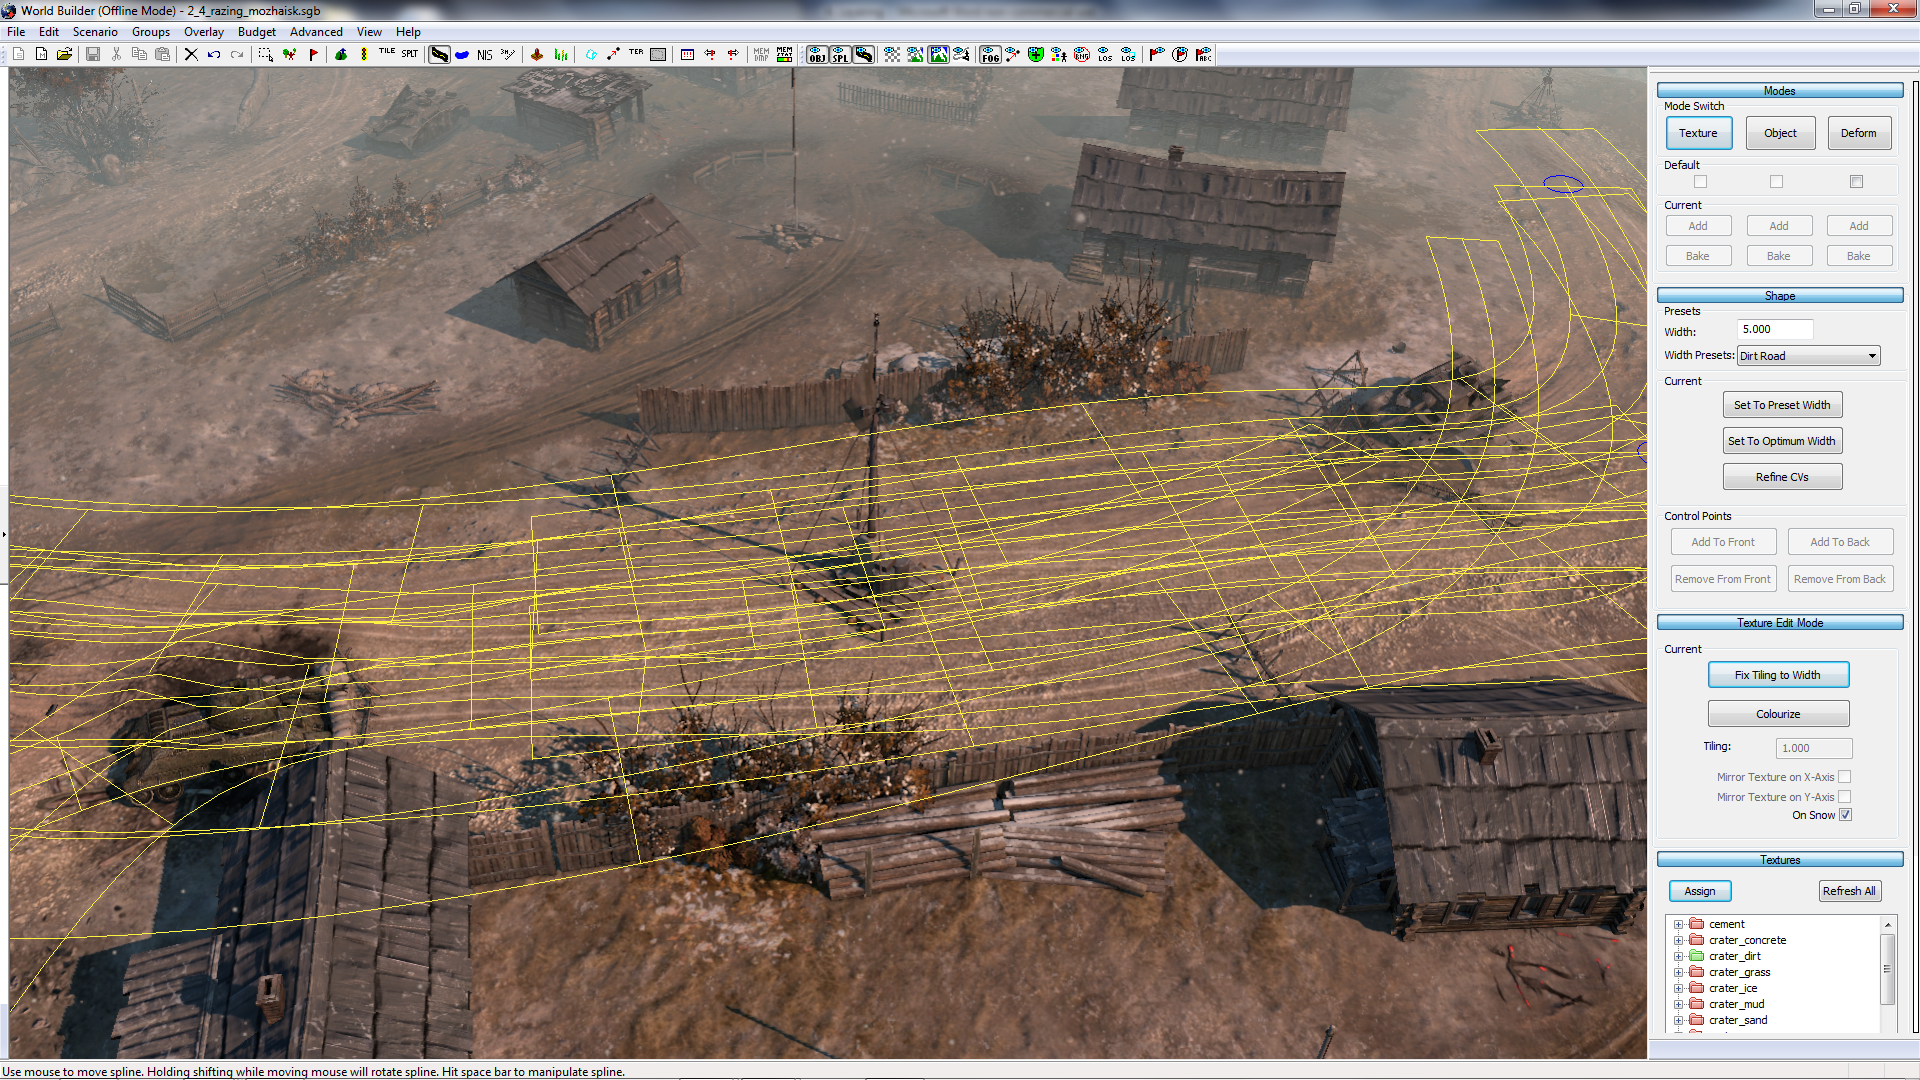
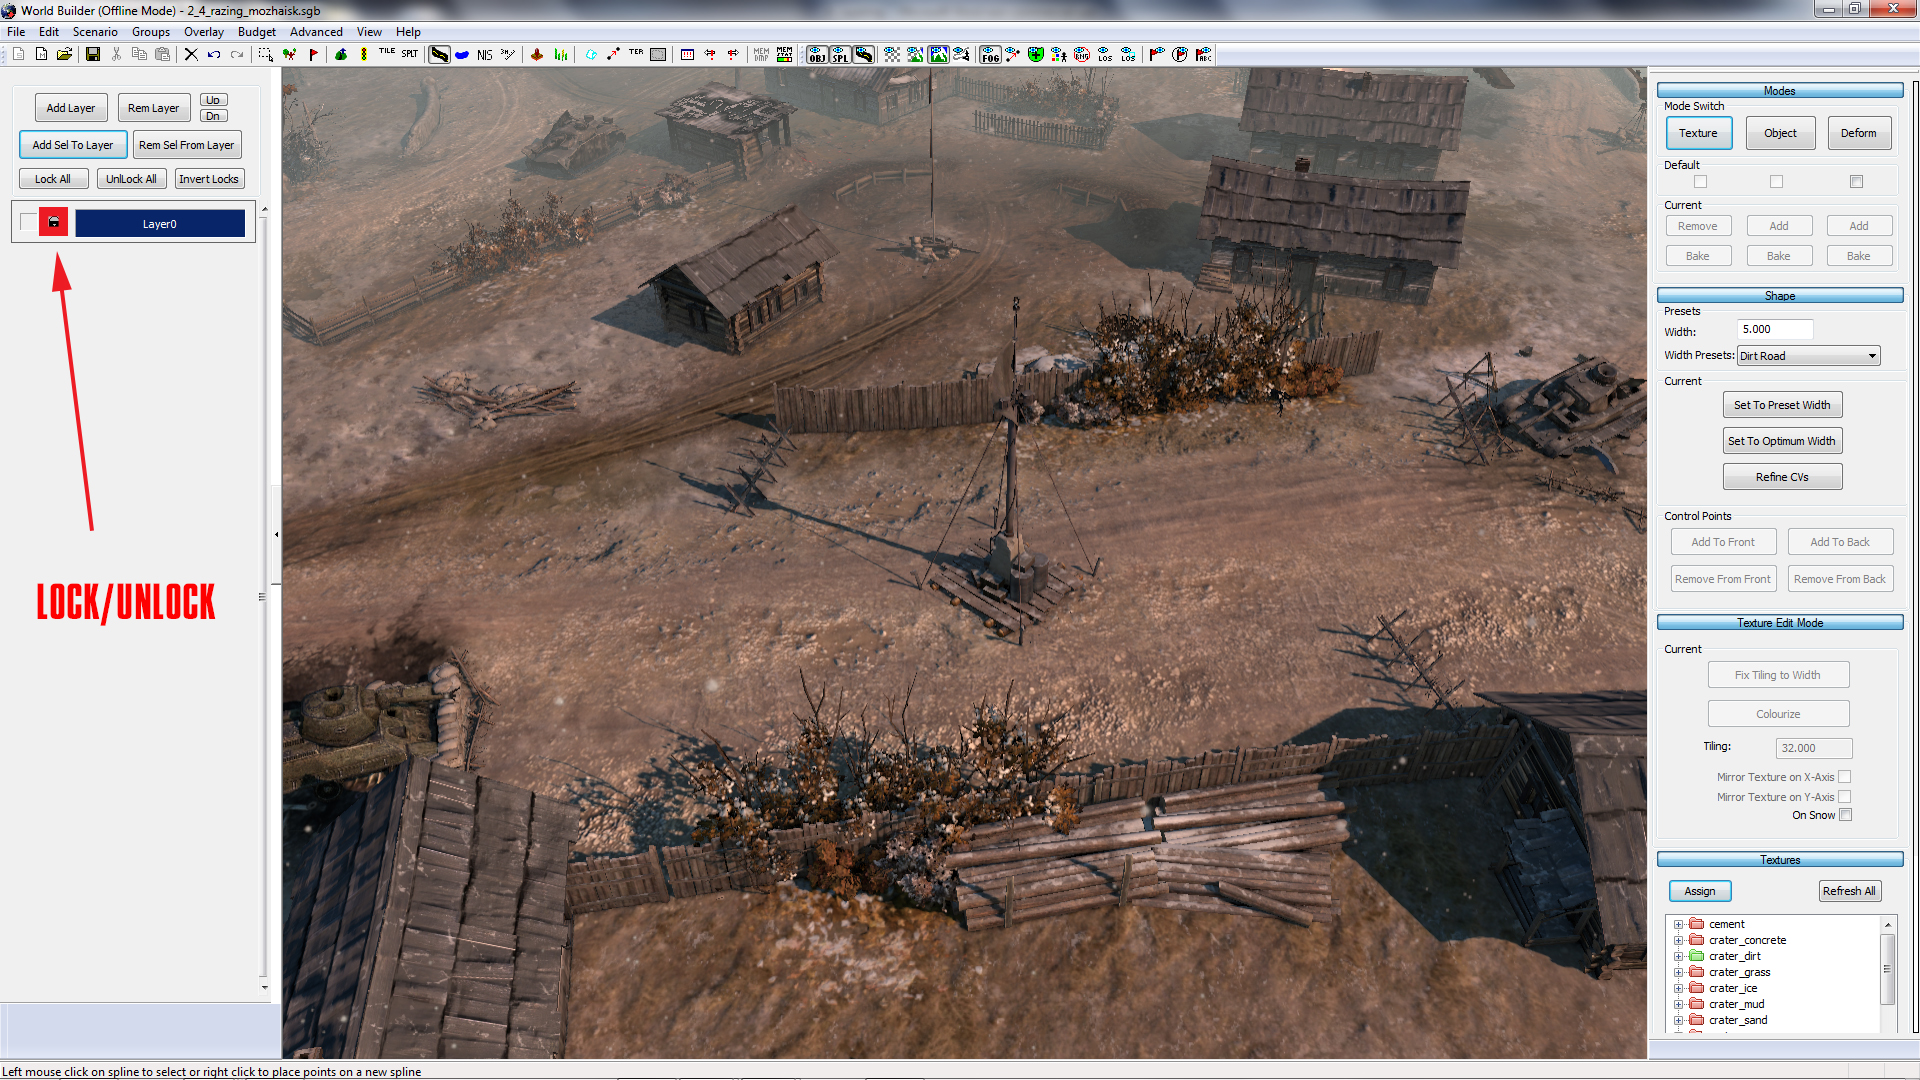
So, while everything else in WorldBuilder can be found on the Taskbar on the top of the screen, or the Tool window on the right, the Layer Tool is that little arrow on the left (See Figure 2).

How long have you made maps without noticing it?
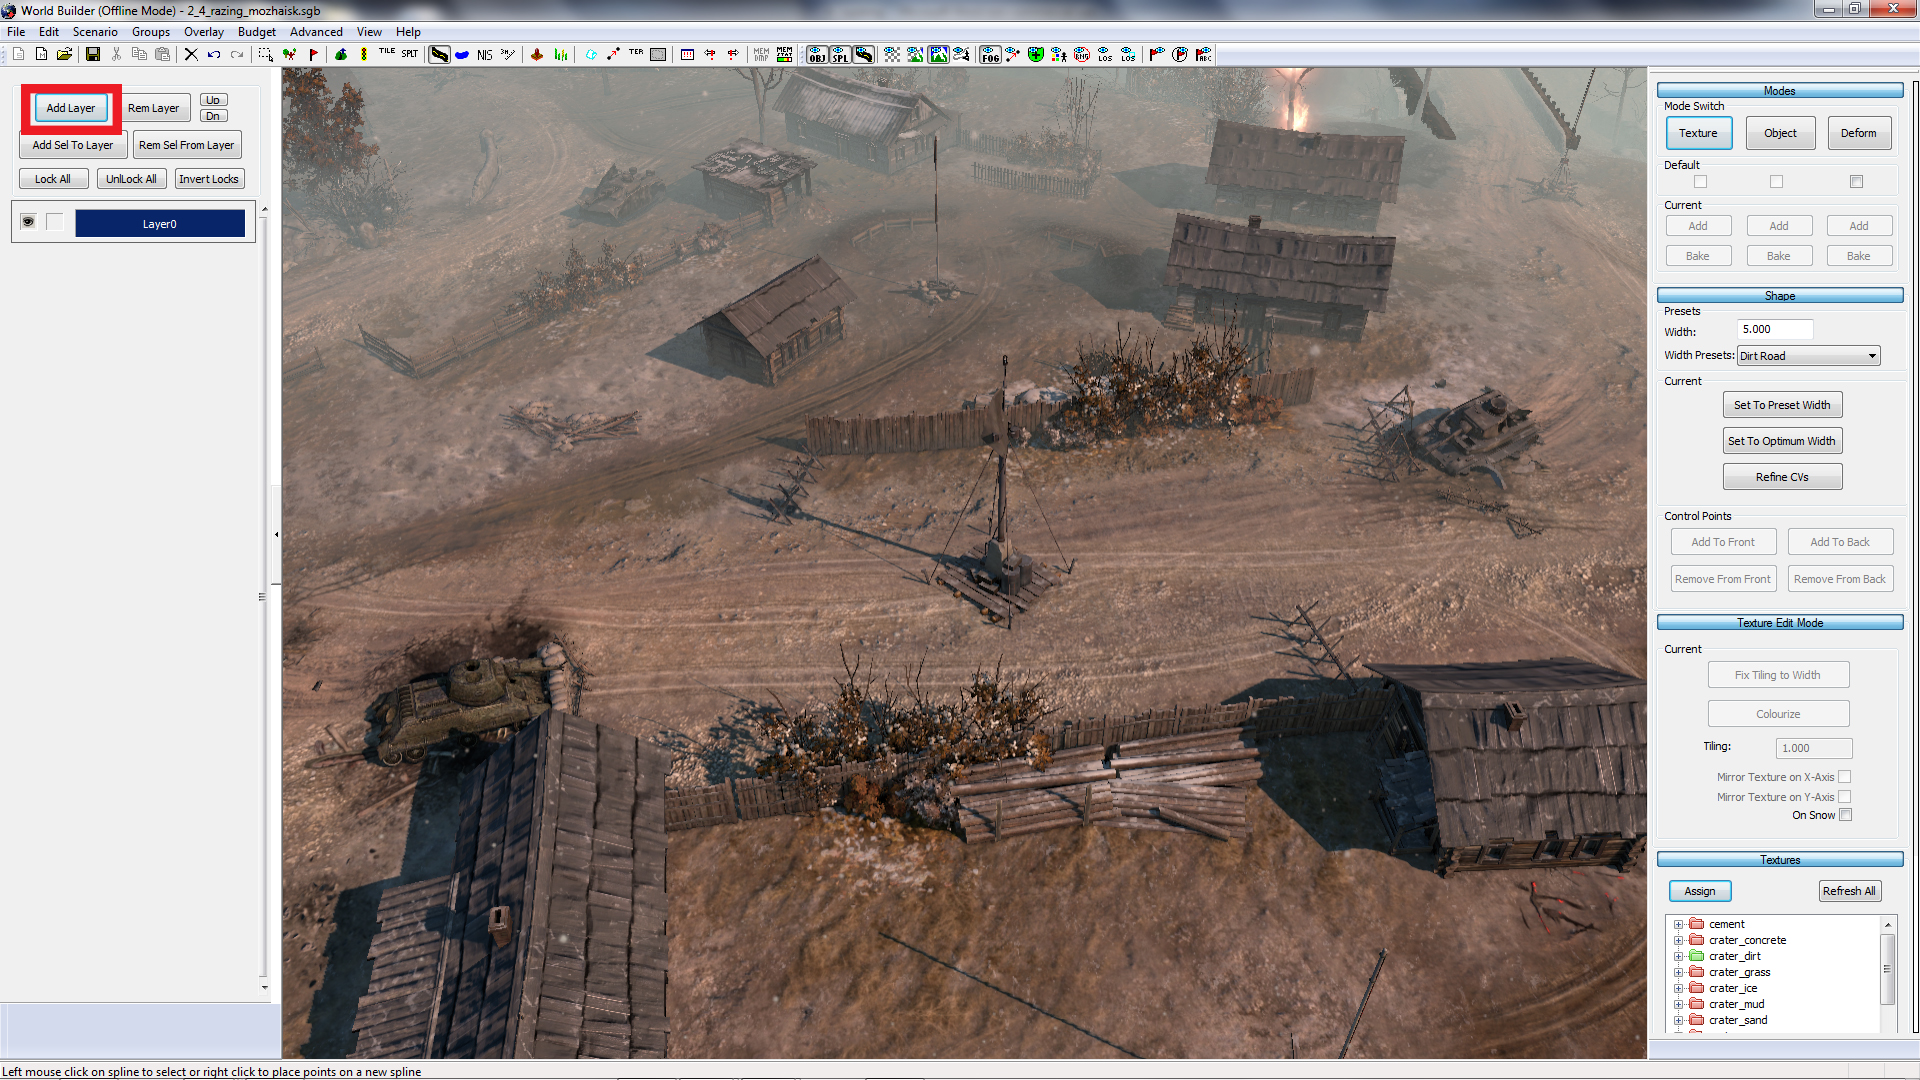
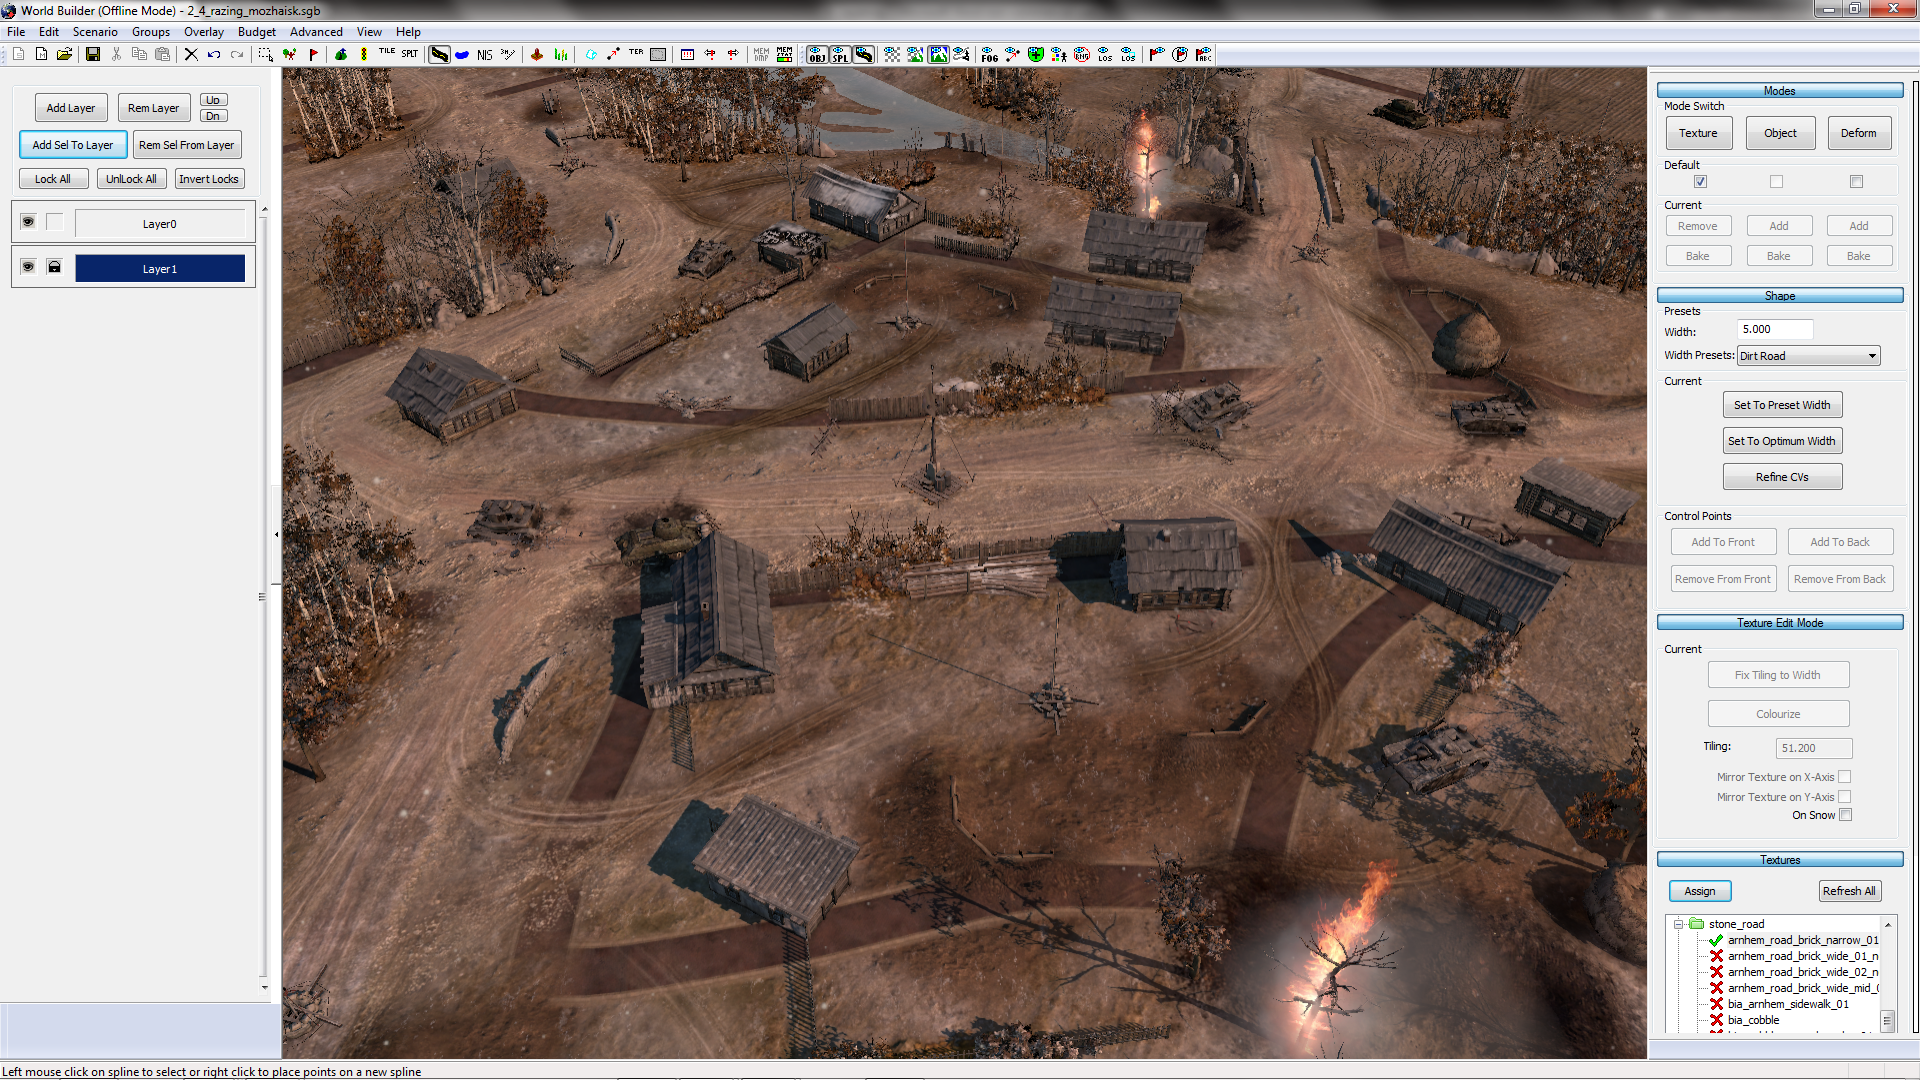
Now, layering is nice and simple. For those of you who have used Photoshop or something similar, this should be pretty familiar. To begin, click the arrow to open up the menu, and select Add Layer from the buttons (See Figure 3).
While this layer is selected (or any other layers that you may add), any Object, Spline or Splat can be selected and added to the layer. Below is a list of descriptions for the important buttons on the Layer Tool:
Add Layer – Adds a new, blank Layer
Rem Layer – Deletes the selected Layer
Up/Dn – Shifts the order of the Layers up or down
Add Sel To Layer – Add any selected Object, Spline or Splat to the highlighted Layer
Rem Sel From Layer – Removes any selected Object, Spline or Splat from the Layer.
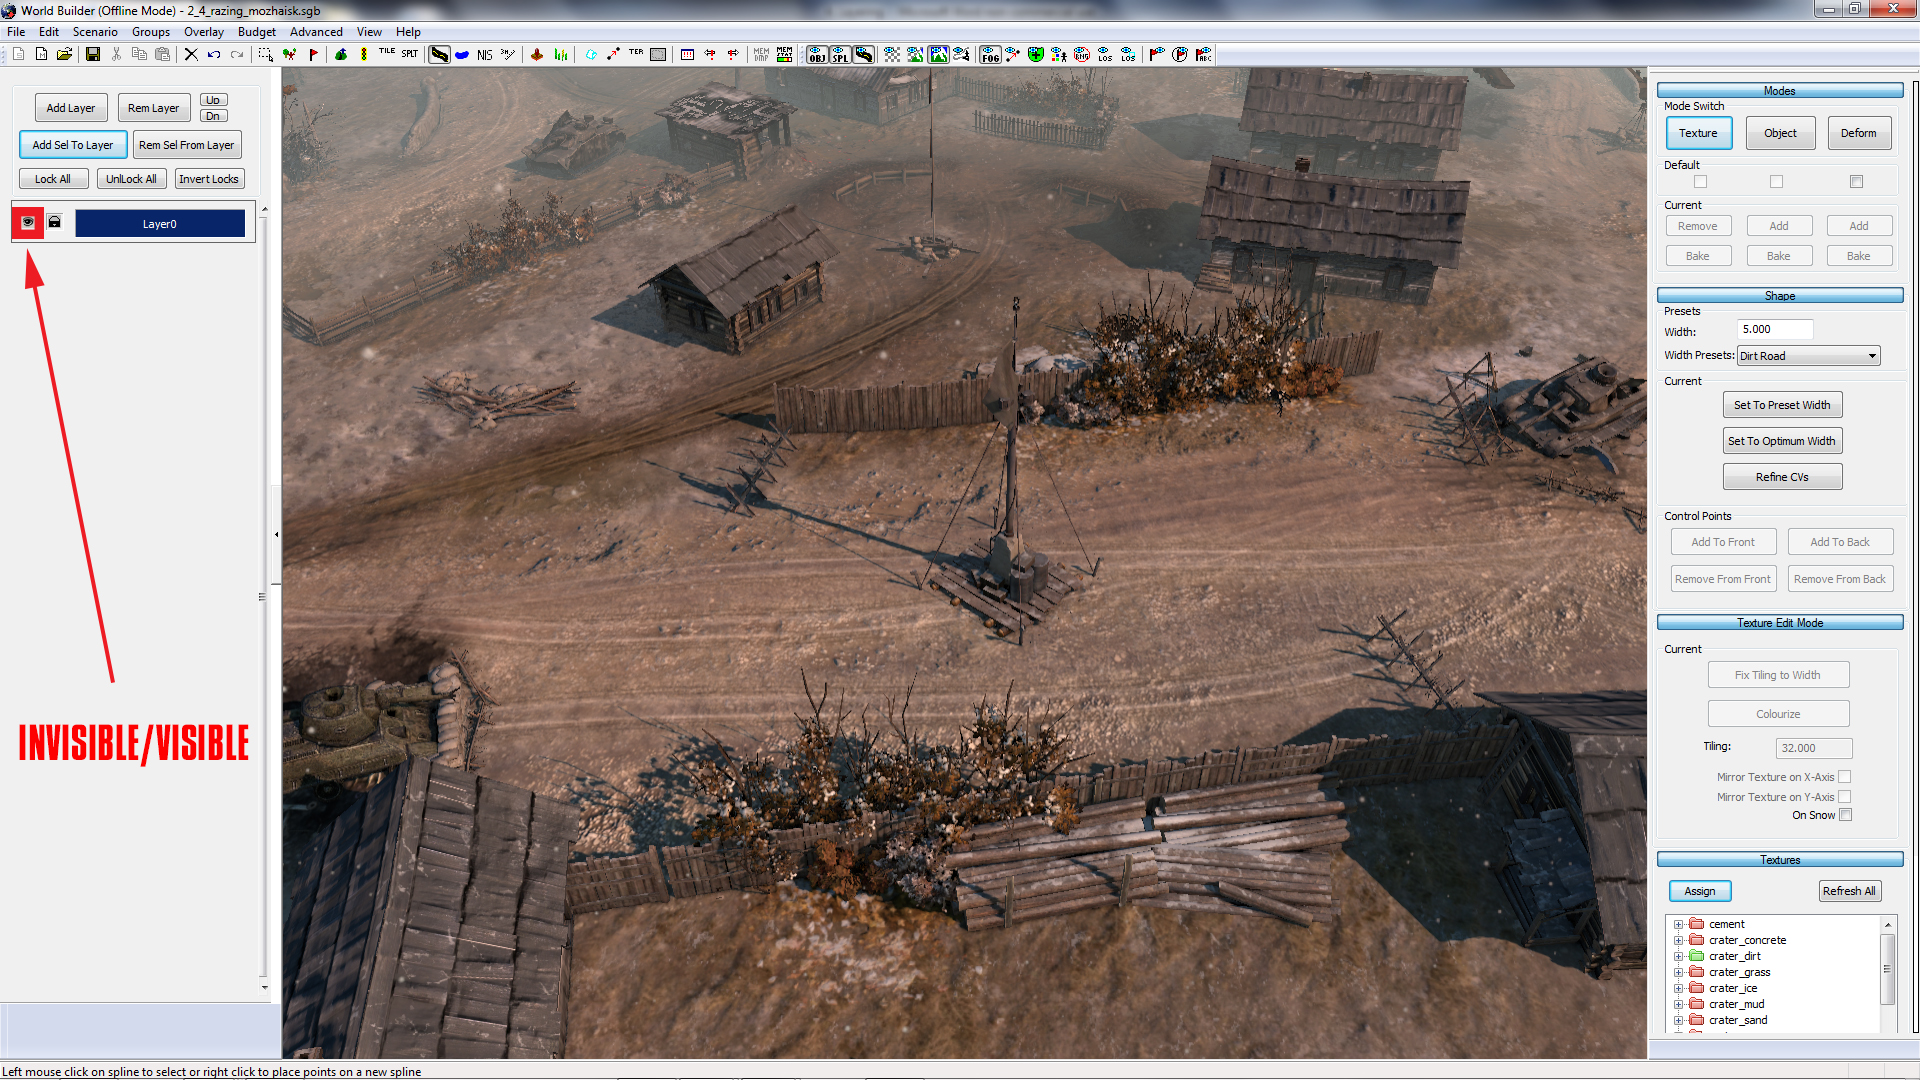
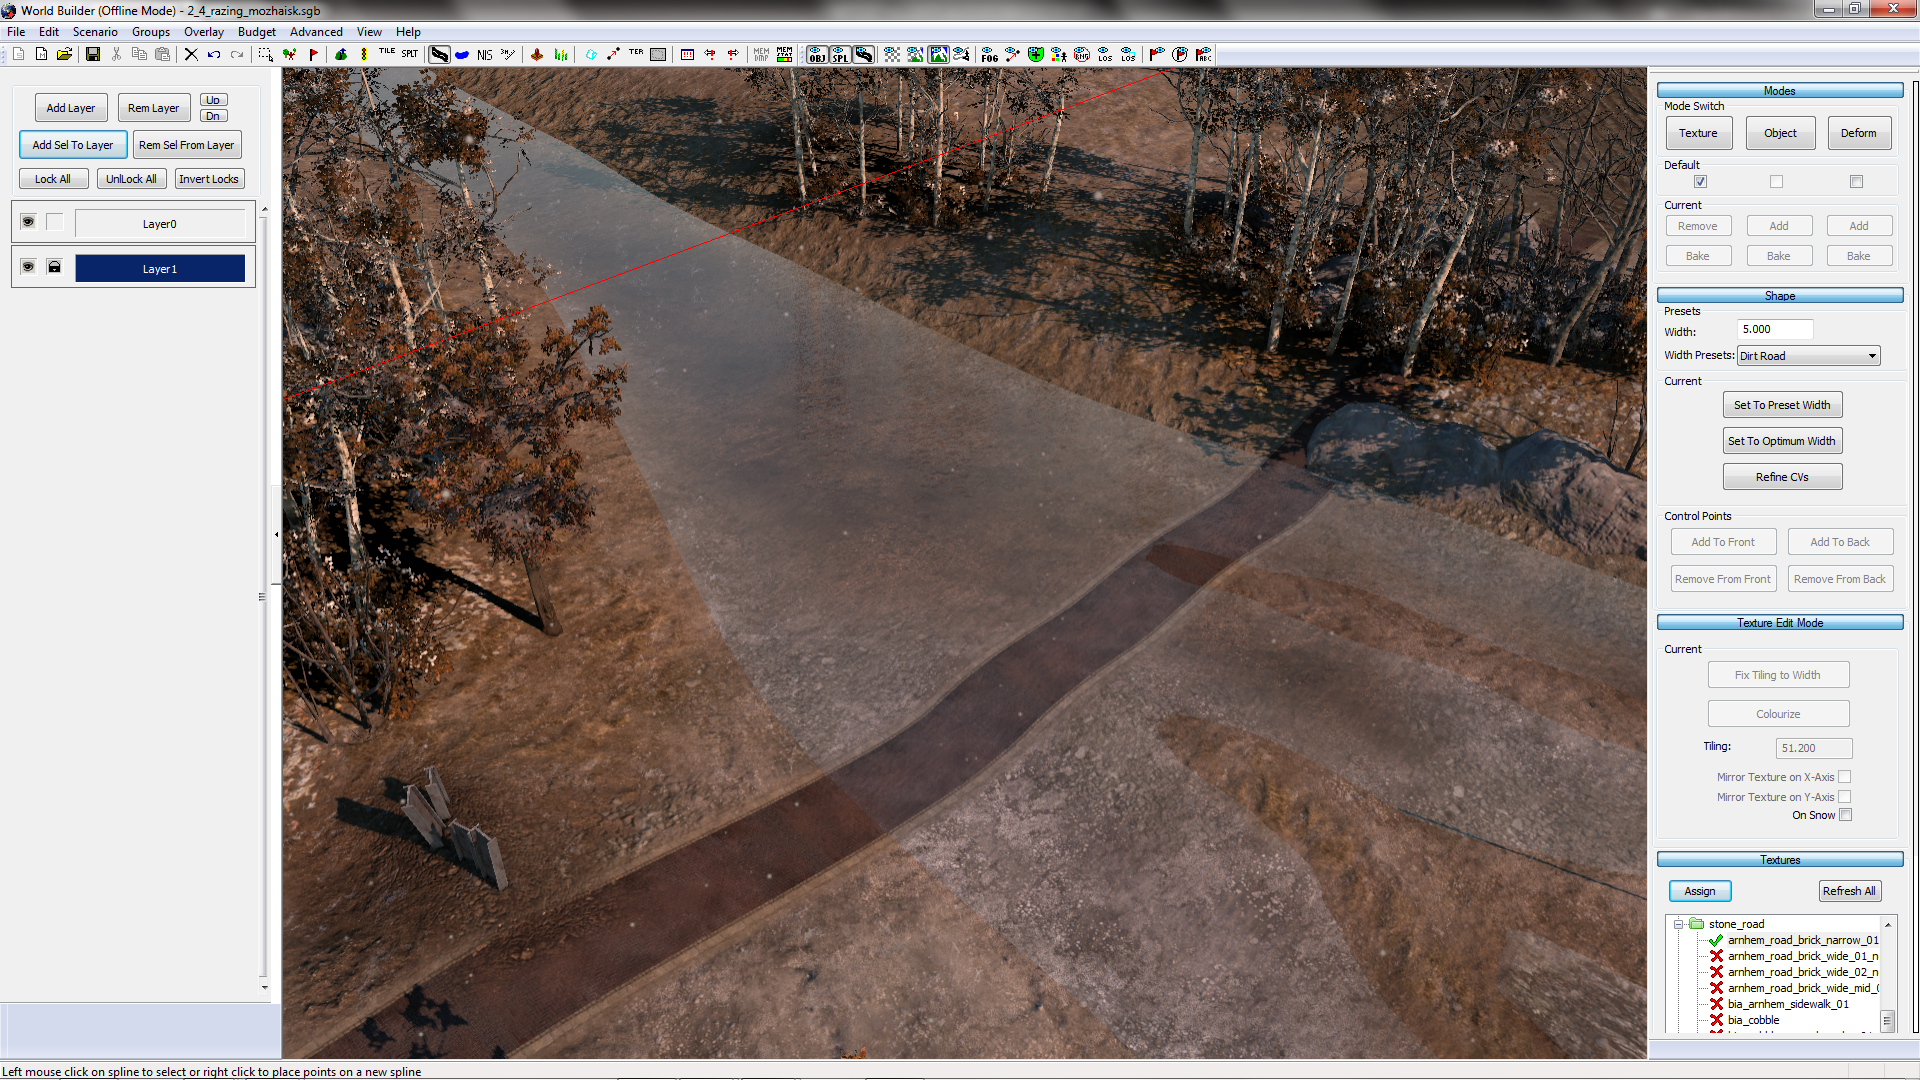
Additionally, on each Layer are two squares (See Figure 4 & 5) which can turn an entire Layer invisible, or lock it, to prevent any changes.
So, although this method of mapping takes a lot more management throughout your design it can always be helpful to know where everything is, such as the design of your sector layout when you’re actually painting it (See Figure 6), or where your Soft Border should be (Figure 7).
We hope that this tip was helpful and that you check back next week, when we will provide you with a new WorldBuilder TotW.
In this week’s TotW we’re looking at how to build your map through Layers. Personally, I use this method in every map I make (although perhaps not as much as I should), but many of the maps I see don’t use it at all.
So, if you’ve made maps before but by the end you can’t work out which Spline is which, where your Splats are, or how to grab that object you want but can’t, because it’s merged with another, then Layers are for you!
Figure 1
Too many Splines to work with?
Too many Splines to work with?
So, while everything else in WorldBuilder can be found on the Taskbar on the top of the screen, or the Tool window on the right, the Layer Tool is that little arrow on the left (See Figure 2).
Figure 2
How long have you made maps without noticing it?
Now, layering is nice and simple. For those of you who have used Photoshop or something similar, this should be pretty familiar. To begin, click the arrow to open up the menu, and select Add Layer from the buttons (See Figure 3).
Figure 3
While this layer is selected (or any other layers that you may add), any Object, Spline or Splat can be selected and added to the layer. Below is a list of descriptions for the important buttons on the Layer Tool:
Add Layer – Adds a new, blank Layer
Rem Layer – Deletes the selected Layer
Up/Dn – Shifts the order of the Layers up or down
Add Sel To Layer – Add any selected Object, Spline or Splat to the highlighted Layer
Rem Sel From Layer – Removes any selected Object, Spline or Splat from the Layer.
Additionally, on each Layer are two squares (See Figure 4 & 5) which can turn an entire Layer invisible, or lock it, to prevent any changes.
Figure 4
Figure 5
So, although this method of mapping takes a lot more management throughout your design it can always be helpful to know where everything is, such as the design of your sector layout when you’re actually painting it (See Figure 6), or where your Soft Border should be (Figure 7).
Figure 6
Figure 7
We hope that this tip was helpful and that you check back next week, when we will provide you with a new WorldBuilder TotW.
 MonolithicBacon
  OnkelSam
  computerheat