

How To: Advanced Object Rotation
Many of you already know how, and this may already be covered in other tutorials, but for the new comers, I decided to go ahead and make a quick guide on Advanced Object Rotation, and spell out some of the details. I will cover, rotating on all three axis, as well as "precise" rotation by degree's.
Step 1: Place your object
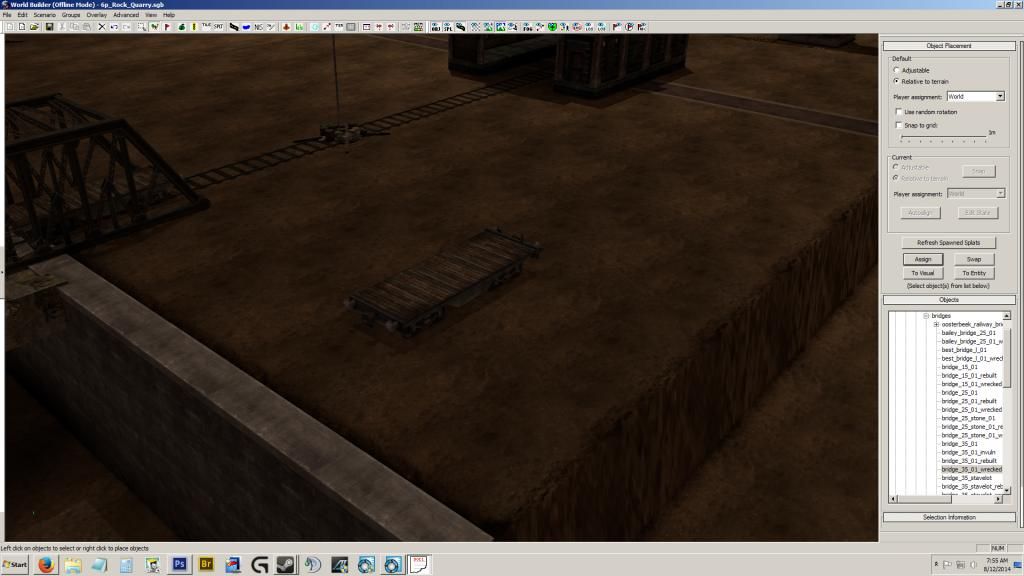
I've chosen a rail car, mainly because it's kind of what I'm working on, for the moment.
")
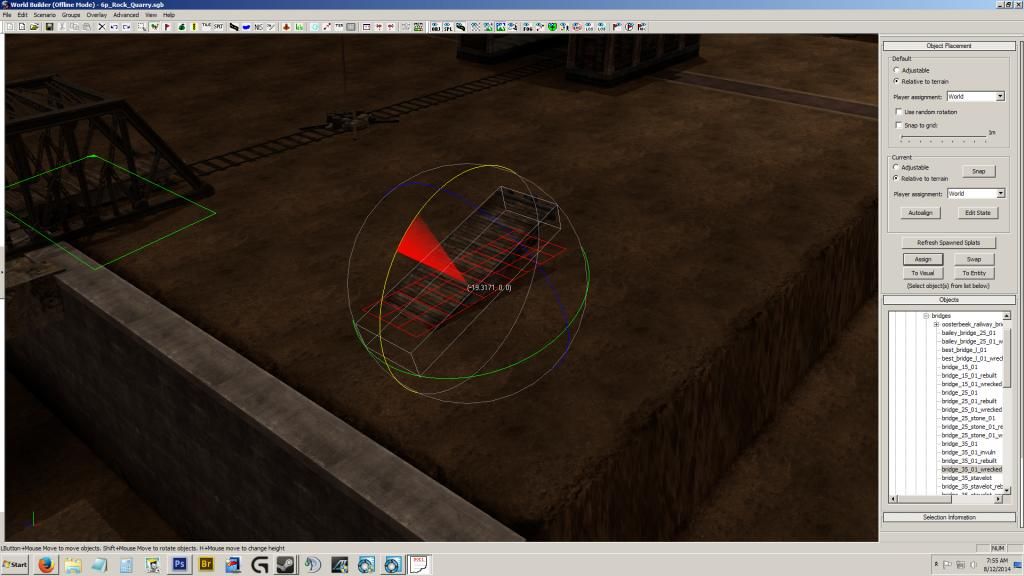
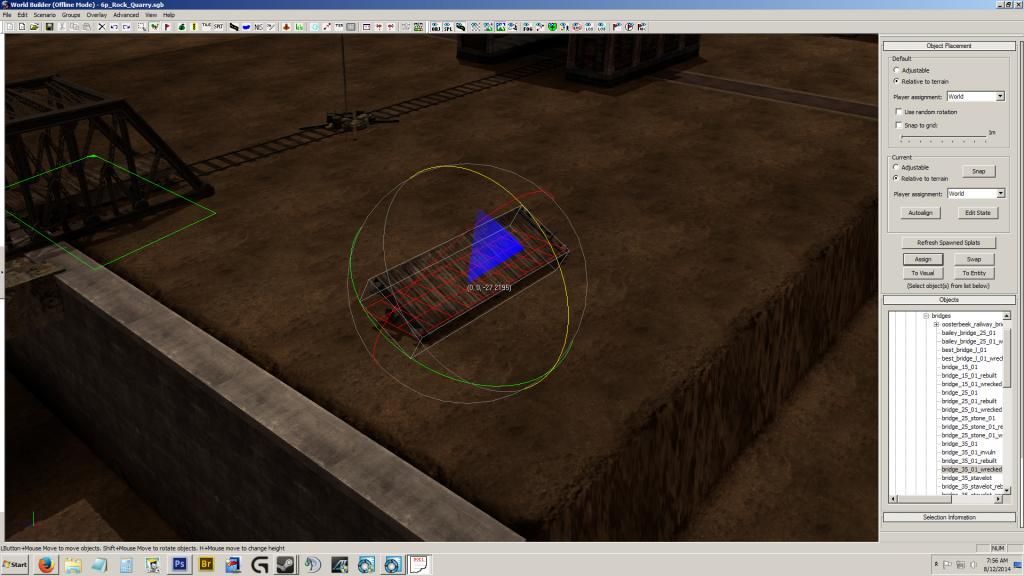
Step 2: Select the object, hover your mouse while holding 'R'
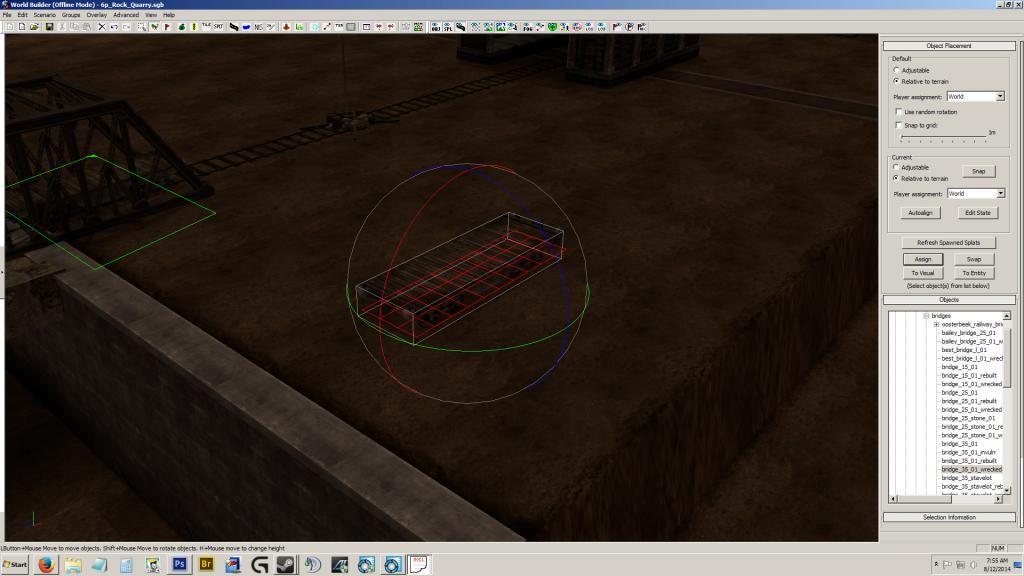
You cannot see my mouse in the screen capture above, so let me describe how this works. With the object selected, a sphere of 3 axis planes shows up, as well as other information, such as possible cover, impass..ect. The sphere is our concern. While selected, if you hold the button 'R', and your mouse crosses one of the circles representing the plane of axis, it will change color. If you click and drag while holding 'R', it will rotate the object on that axis. A numerical value of degree's will show up as well. This will allow you to "precisely" rotate your object as desired, such as a "true" 90 degrees. Keep in mind, I have not been able to get a 90.000 degree.s, but rather a close 90.21 degrees (roughly). It is close enough. There may be a snap feature I'm unaware of, that could get the exact rotation, please let me know if you find one.
Known Issues
Some of the difficulties that come with this method, is where multiple objects reside. This of course, is naturally where you will be doing this. If there is an object behind the one you are rotating, sometimes it will not rotate on the axis, but rather move the object behind the one you are working on. This can be irritating. I've found, if it just will not cooperate, move the object to an empty area, make the assumed adjustments, and move back to inspect.
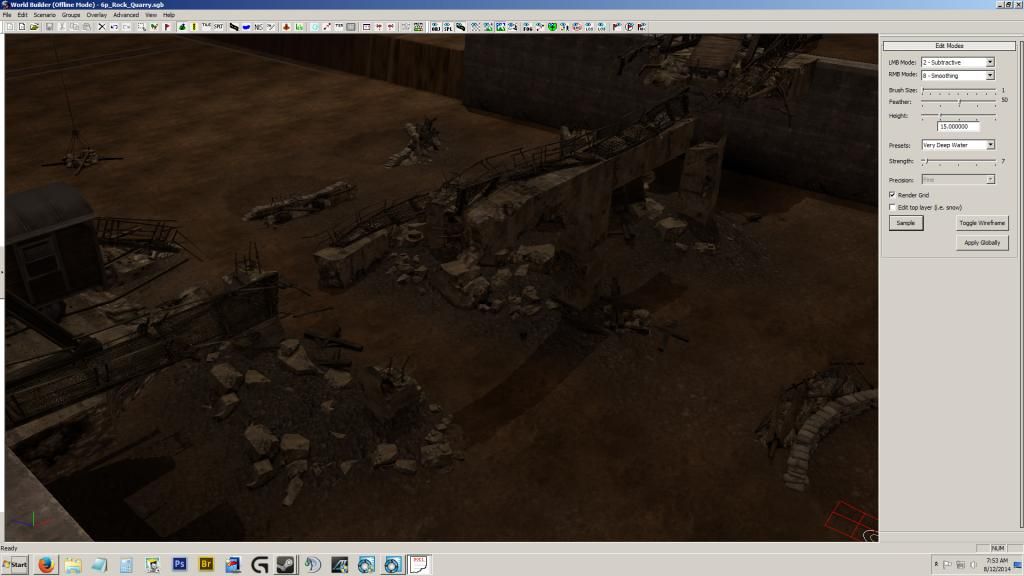
Also, some objects are not rendered in every direction. In my first image, I used some damaged industrial pillars, to create a destroyed bridge. I rotated one of them on its side, to simulate some framing. The bottom of the pillars is invisible, so I made another, and put them bottom to bottom to cover each others void. Another example is the bottom of the rail cars, you can see through them from underneath, so be aware of the possible camera angles that could find such voids, and remove immersion.
Impass is very important as well. When rotating an object, its impass remains original. If you are trying to block something, you can set to visual and paint impass manually with the impass tool. If you are putting an object overhead, just set to visual, so there is no pathfinding issues.
Also, only a single object at a time can be rotated in this manner.


 cblanco ★
  보드카 중대
  VonManteuffel
  Heartless Jäger