
How to: Introduction to Map Detailing
Hi all,
In this tutorial I will walk you through step-by-step how to create a realistic rural scene in the WorldBuilder and give some general ideas on how to approach detailing maps. This should serve as a good starting point on how to make your maps aesthetically pleasing.
This is the way I have taught myself how to use WorldBuilder. It is possible that this methodology is not optimal for game performance; if anyone knows about that, please post your info here.
I will not cover over-arching map design or how to use each of these tools specifically, please refer to OnkelSam's tutorials on this:
How to: Set up a CoH2 multiplayer map
How to: Create a map layout and draw sectors
How to: The spline tool in detail
In order to make the most of this tutorial, please go back and watch OnkelSam's videos and learn some basics about map design. If anyone has any questions, I would be happy to answer them here in this thread. Just post your questions.
If you have already set up a map and have your territory sectors laid out and are looking to add some detail to your map, then this tutorial may be of some help to you.
This is what we will be making:
Starting Out
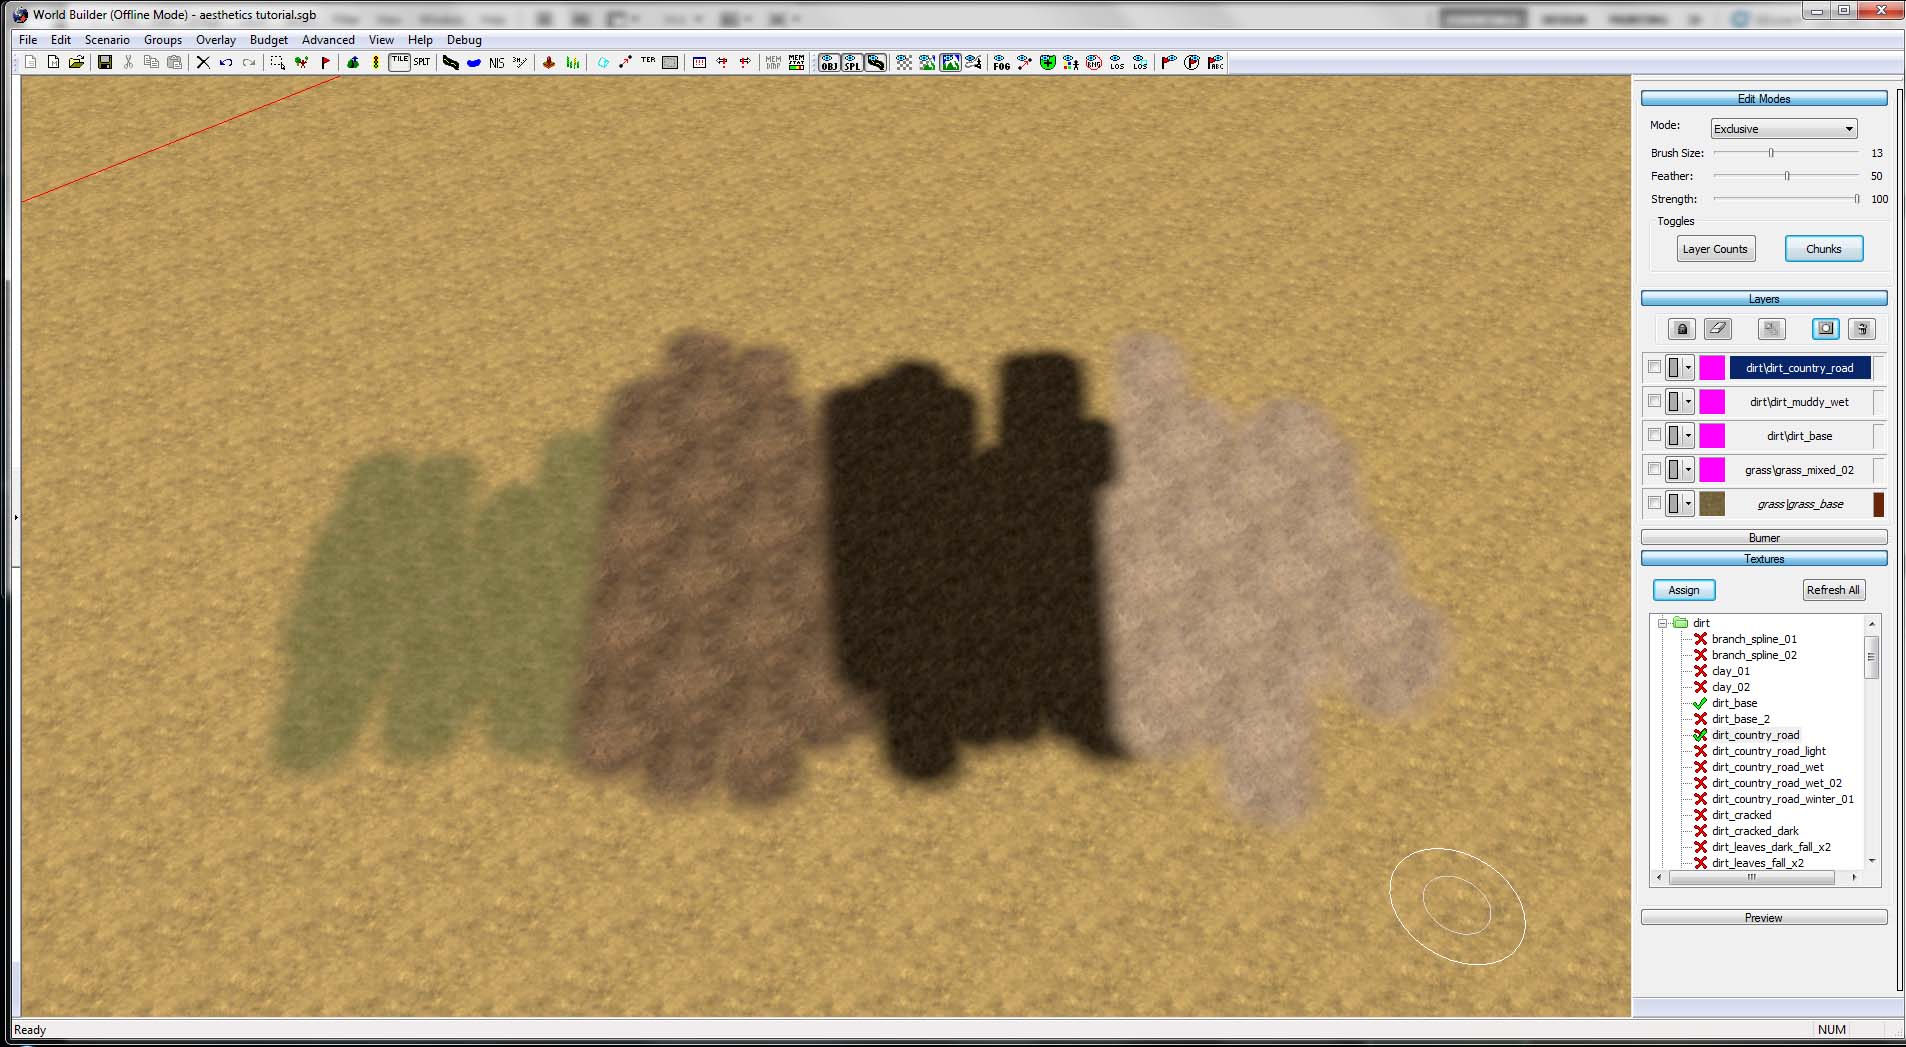
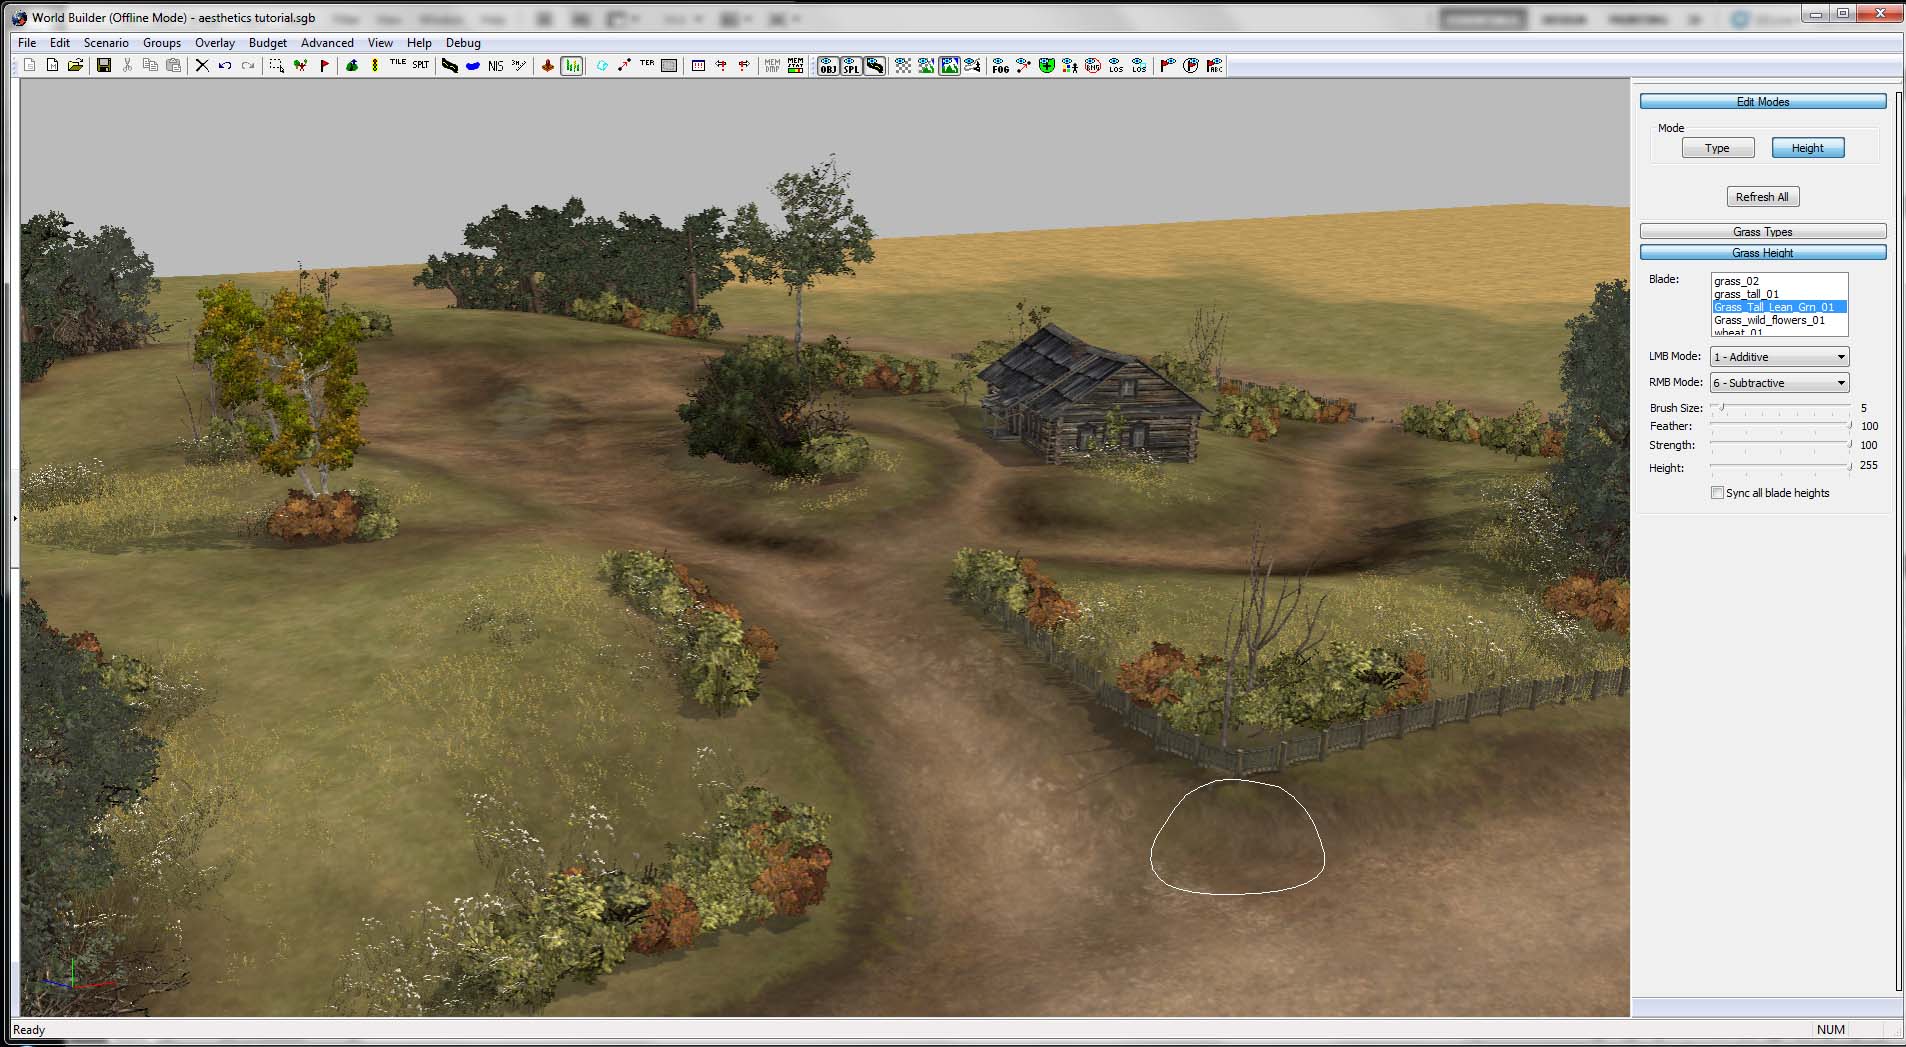
1. Make sure to have your texture pallet ready to go. Choose whatever you like. These are the textures I will be painting with today.
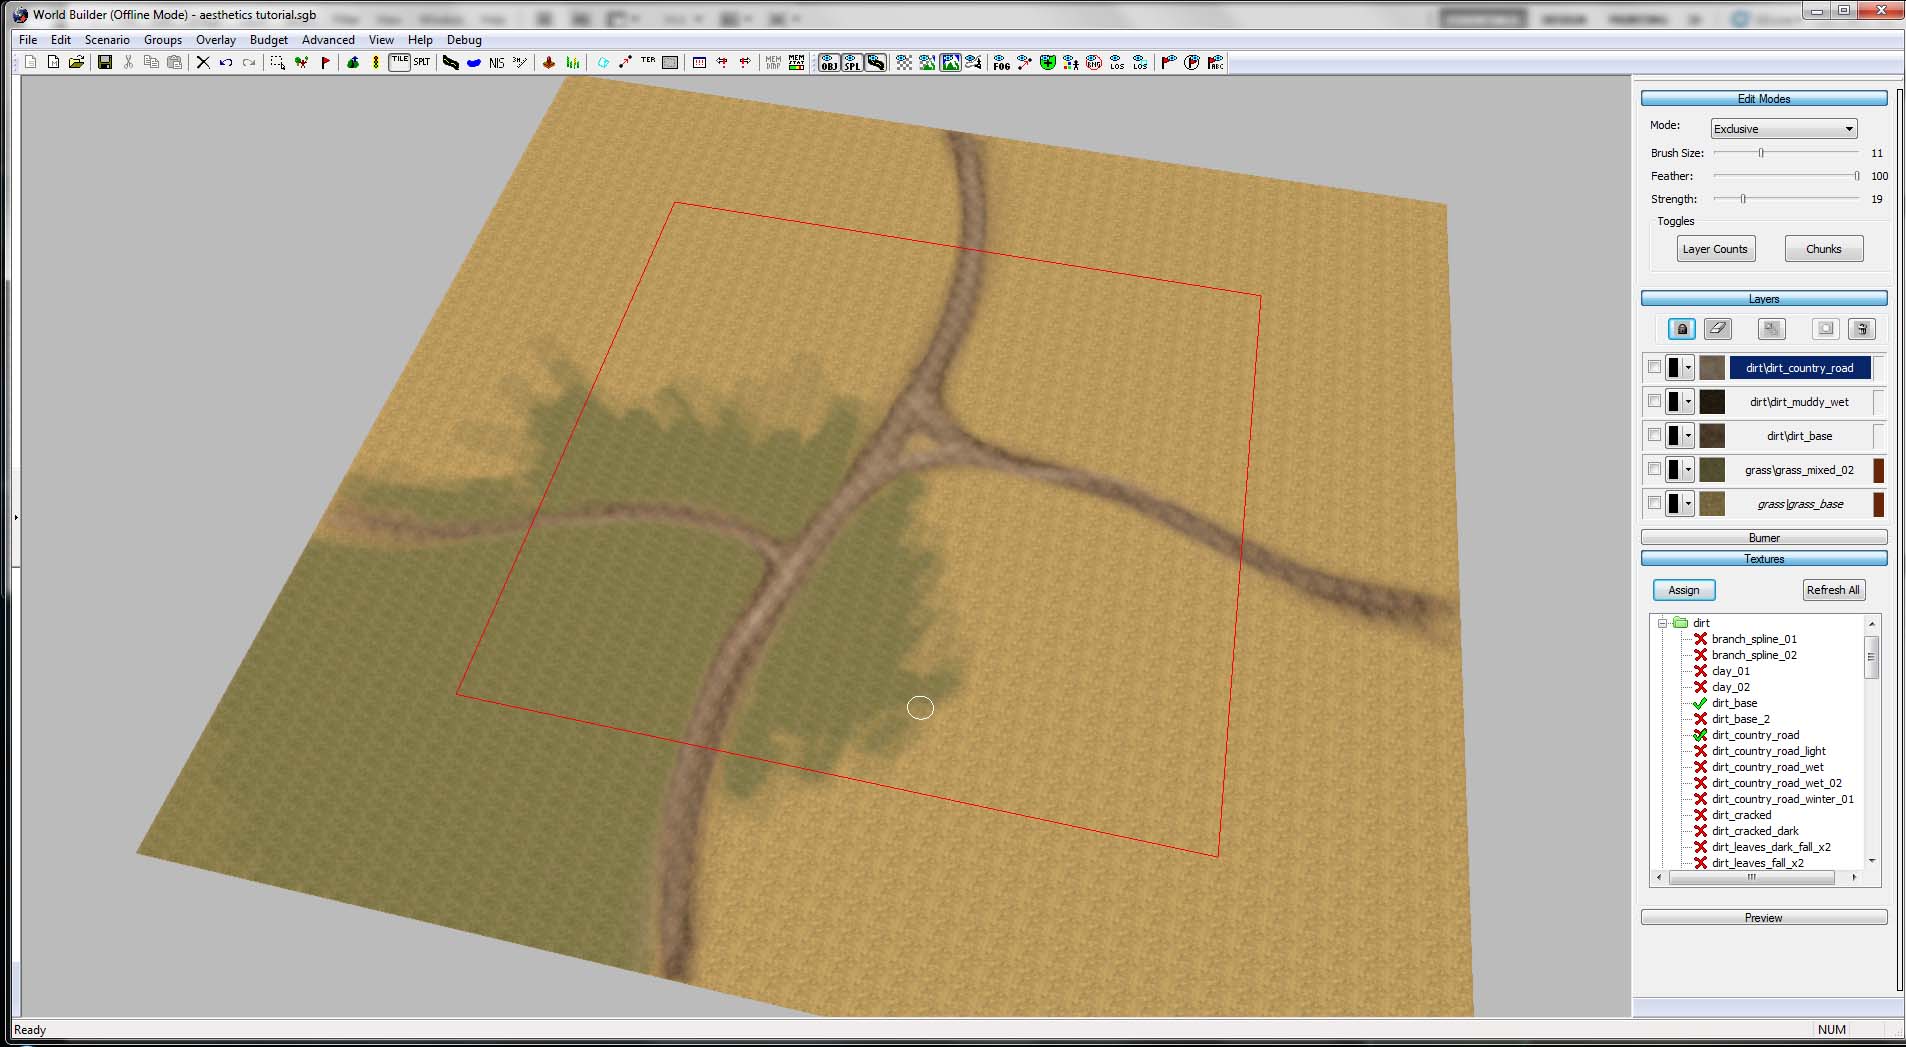
2. This will be my setup. Let's pretend that I have all my balance done throughout the map and that I have a general plan for my map, a thesis. I will be focusing on the corner of the map that is nestled between the road intersection.
Landscaping
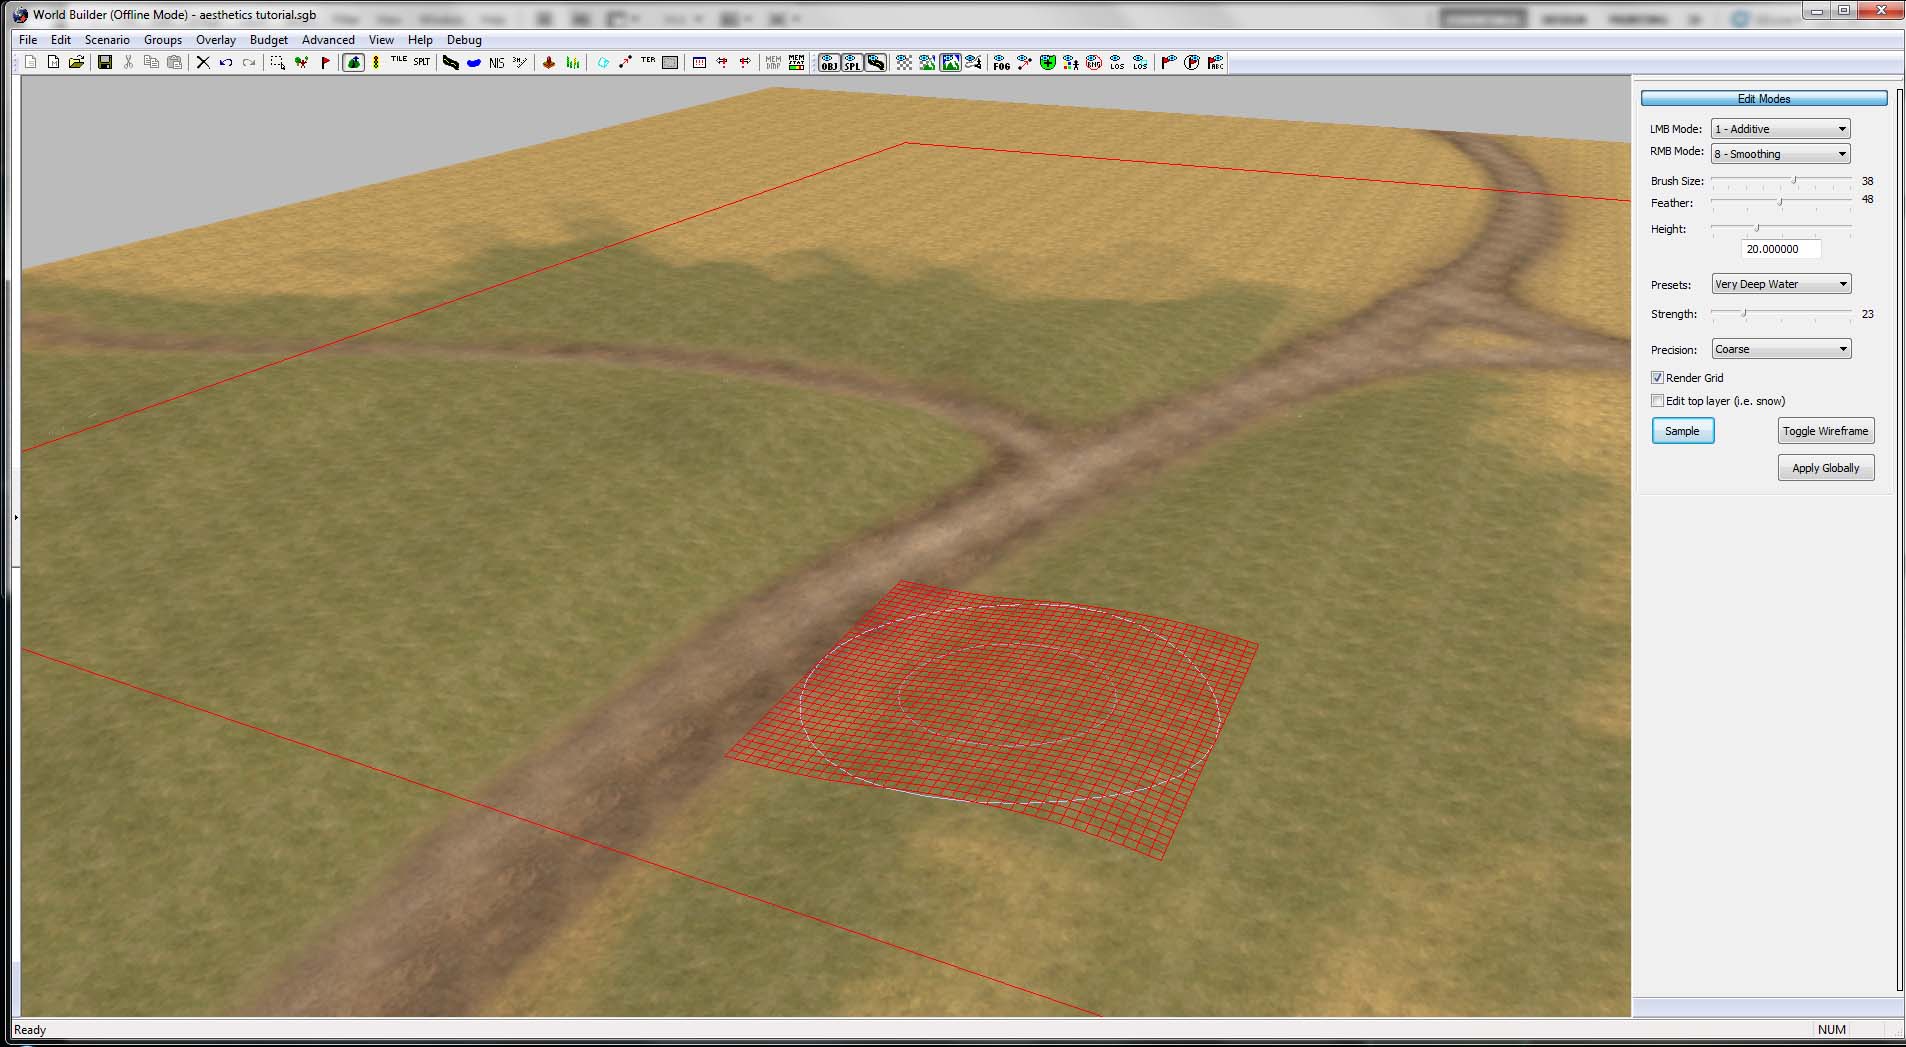
3. Let's add some dimension to the land. Flat maps can be boring, and even just slight changes in elevation can help define your map sectors.
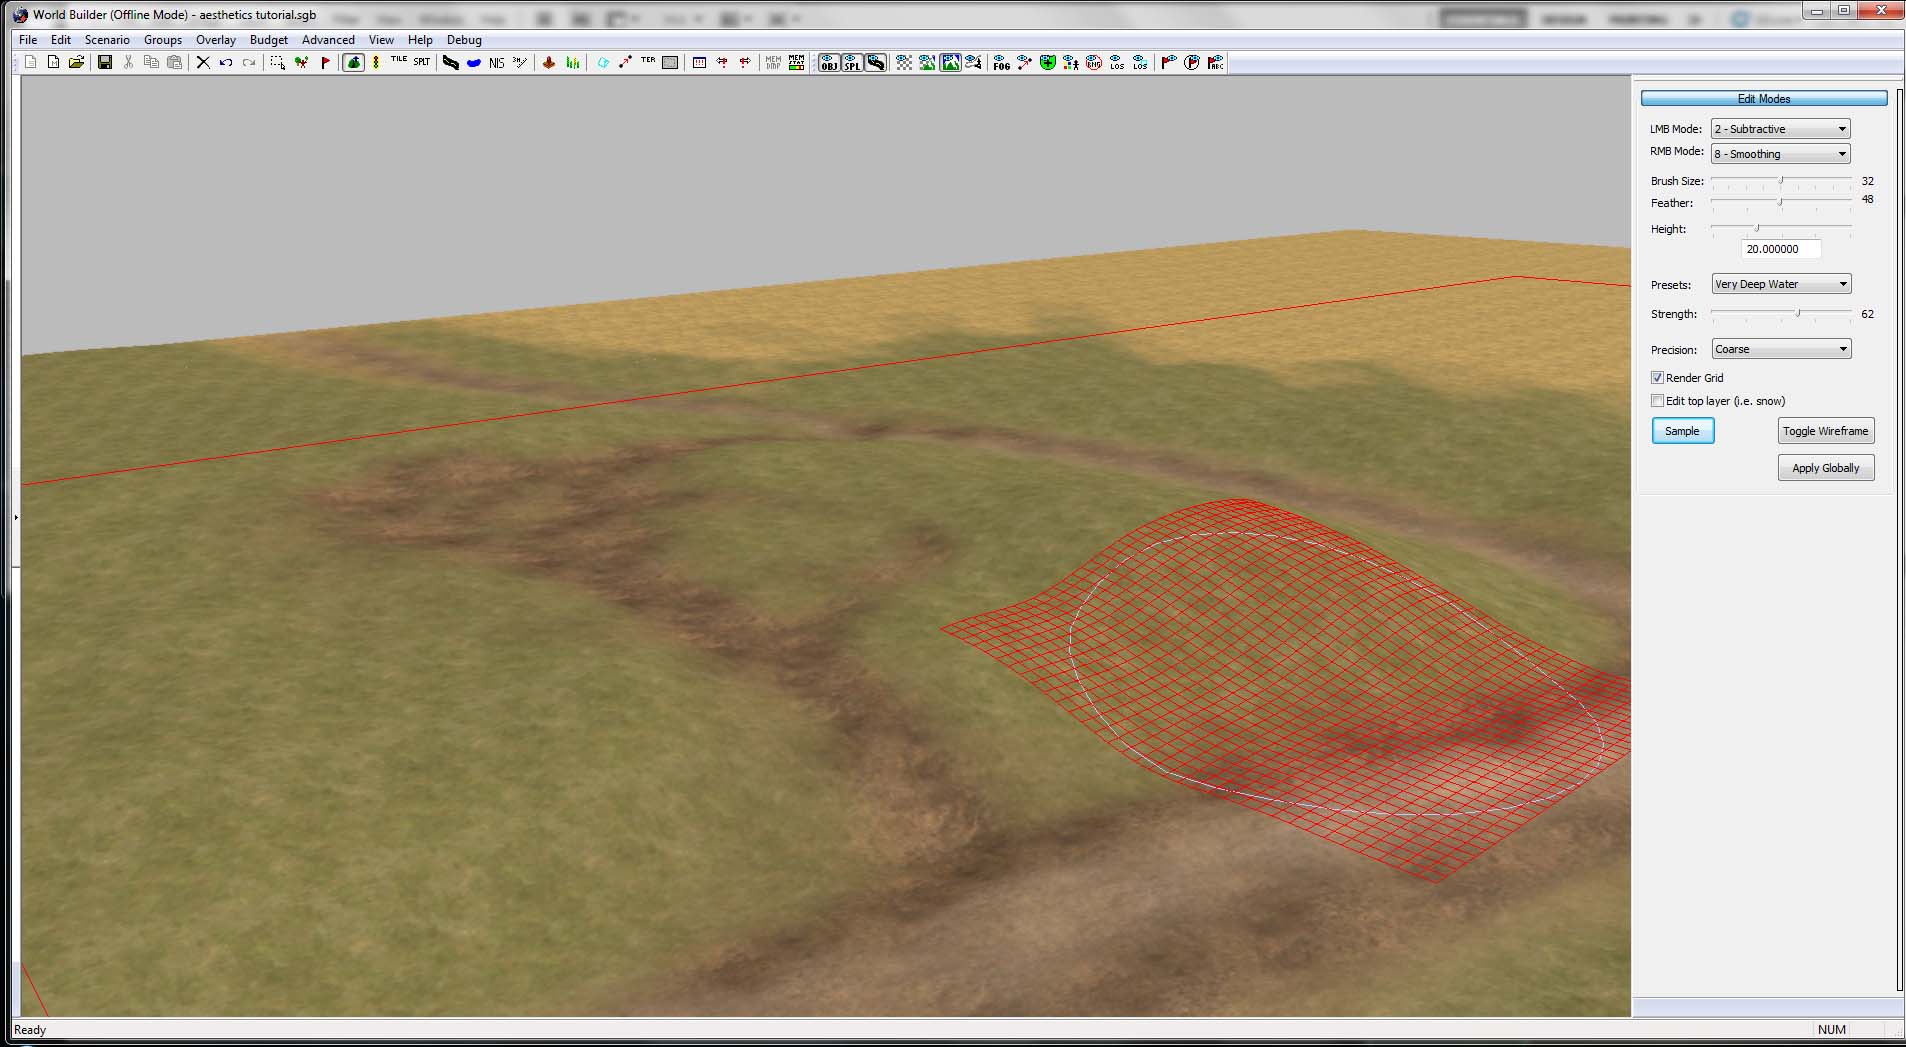
4. Now I'm adding some more dirt paths to help break up this section of grass. Not only this, but adding more detail to the landscape will help define the paths I just added. I used the subtractive tool to slightly indent the footpath.

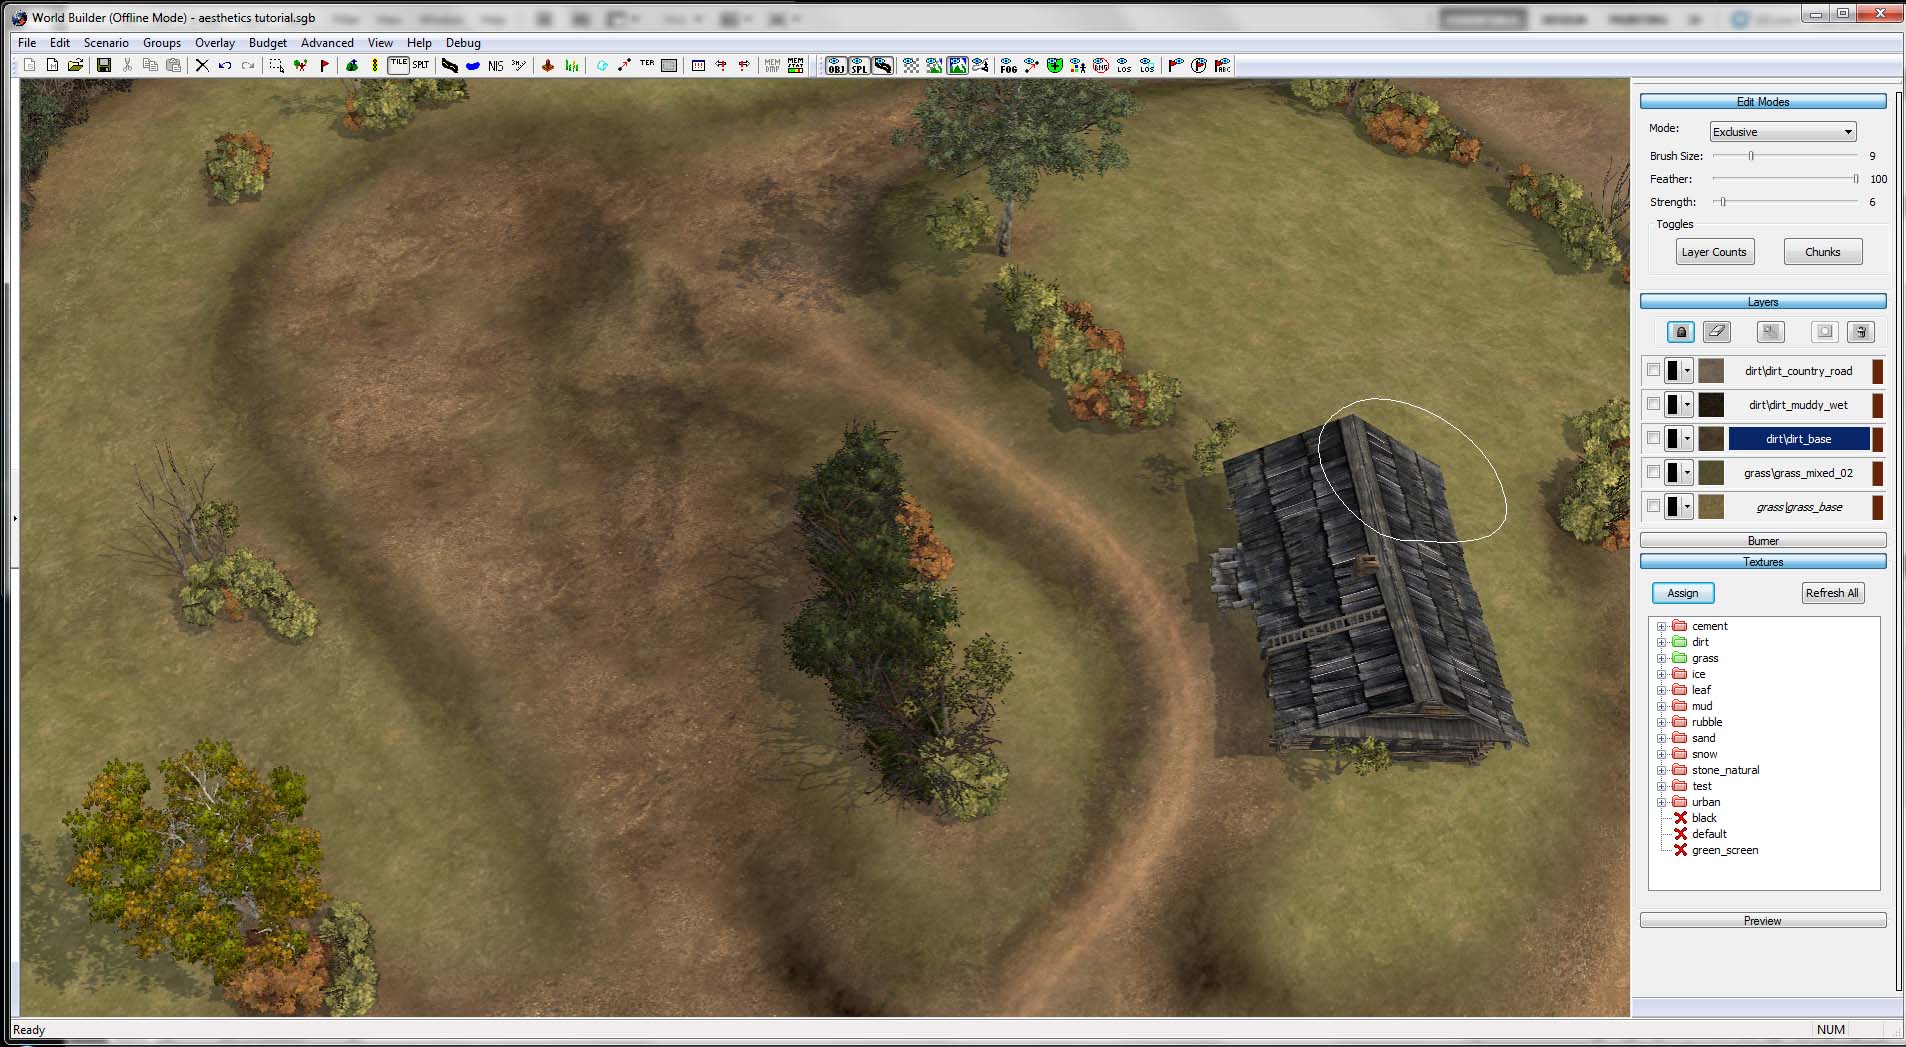
5. Now to smooth the adjustments to the landscape using the "Smooth" tool. In addition, a little texturing to outline the grassy areas can help. For this I'm using the darkest layer in my pallet, a mud texture.
Object Placement
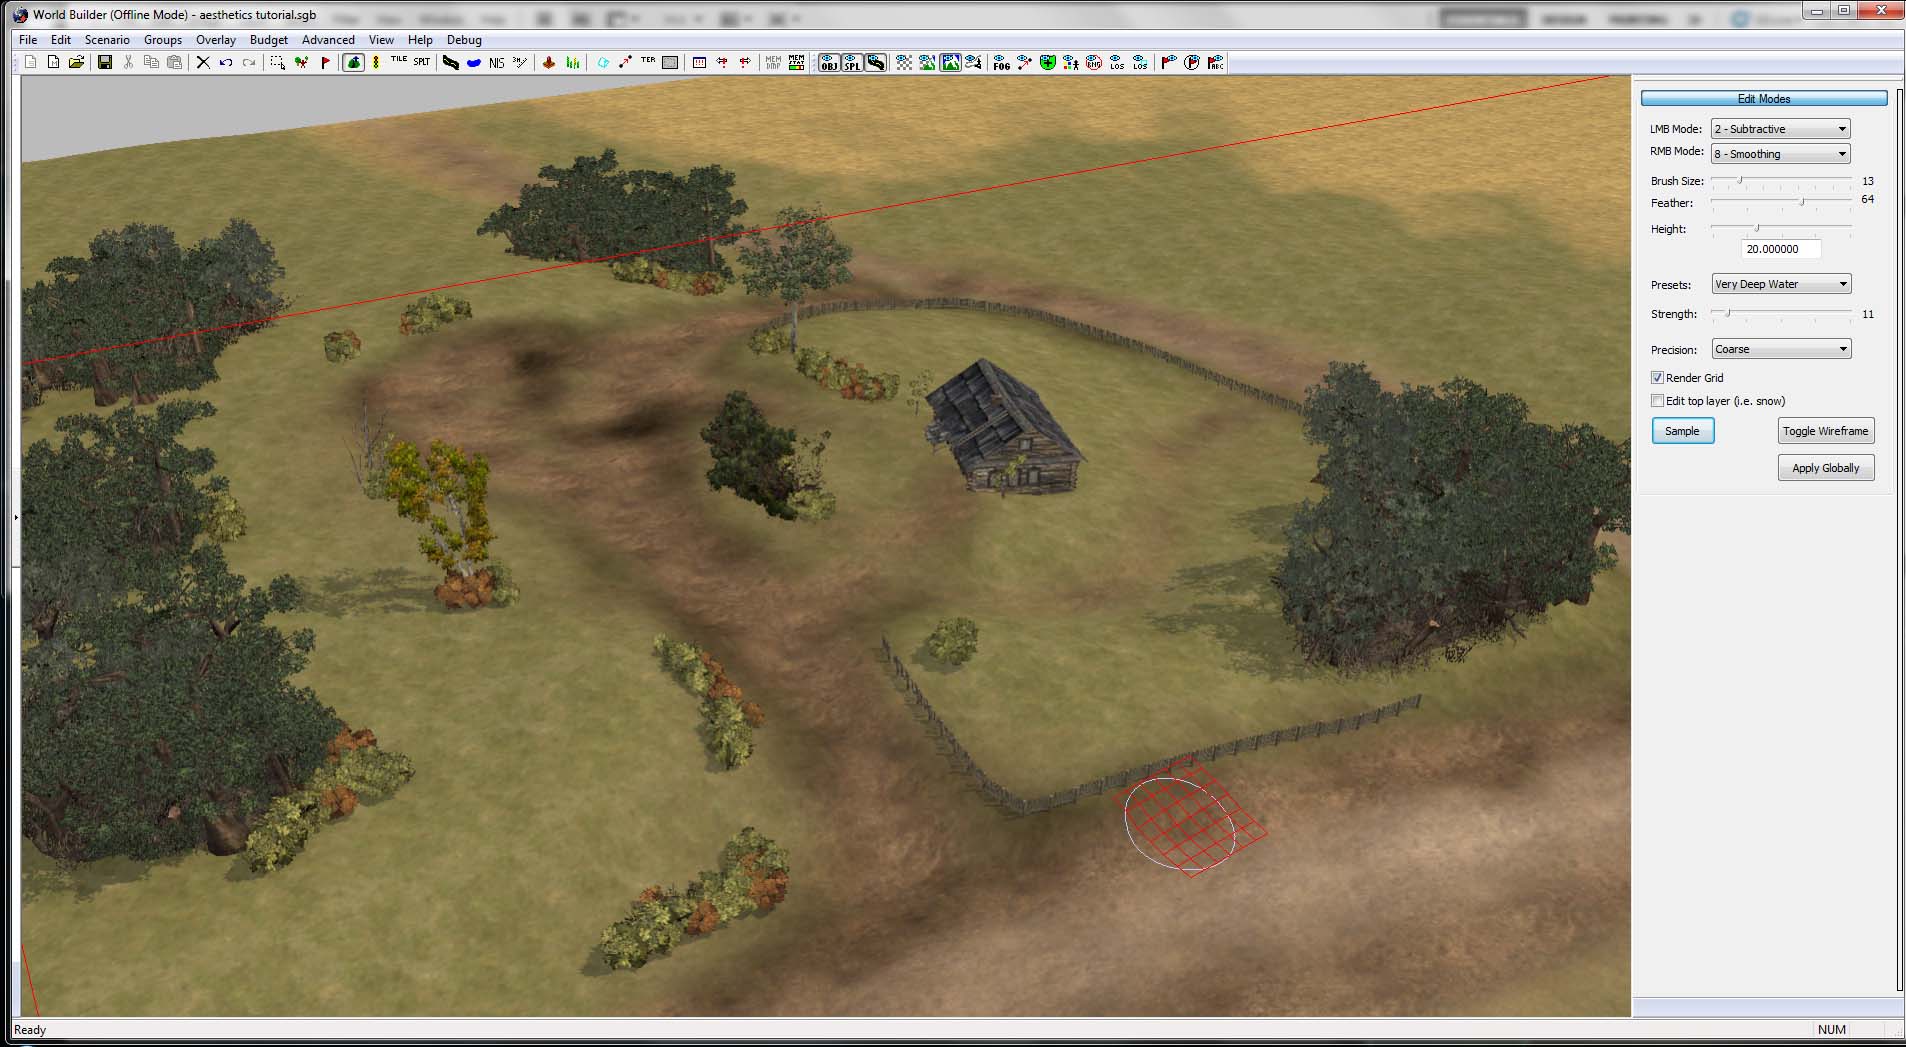
6. It's time to add some objects. Many of you may have this stuff already hashed out, so go with what you have, and make sure to tweak/add objects as you go. I have added some groves to deny larger areas of this part of the map and to provide some natural map boundaries. I have also placed a house, with a short line of hedges to deny line of sight to a portion of the area. Other than that I placed a fence to make a boundary of this person's property and to make general approaches to the area. Place objects not only to seem natural, but also to provide cover to the players in crucial points.
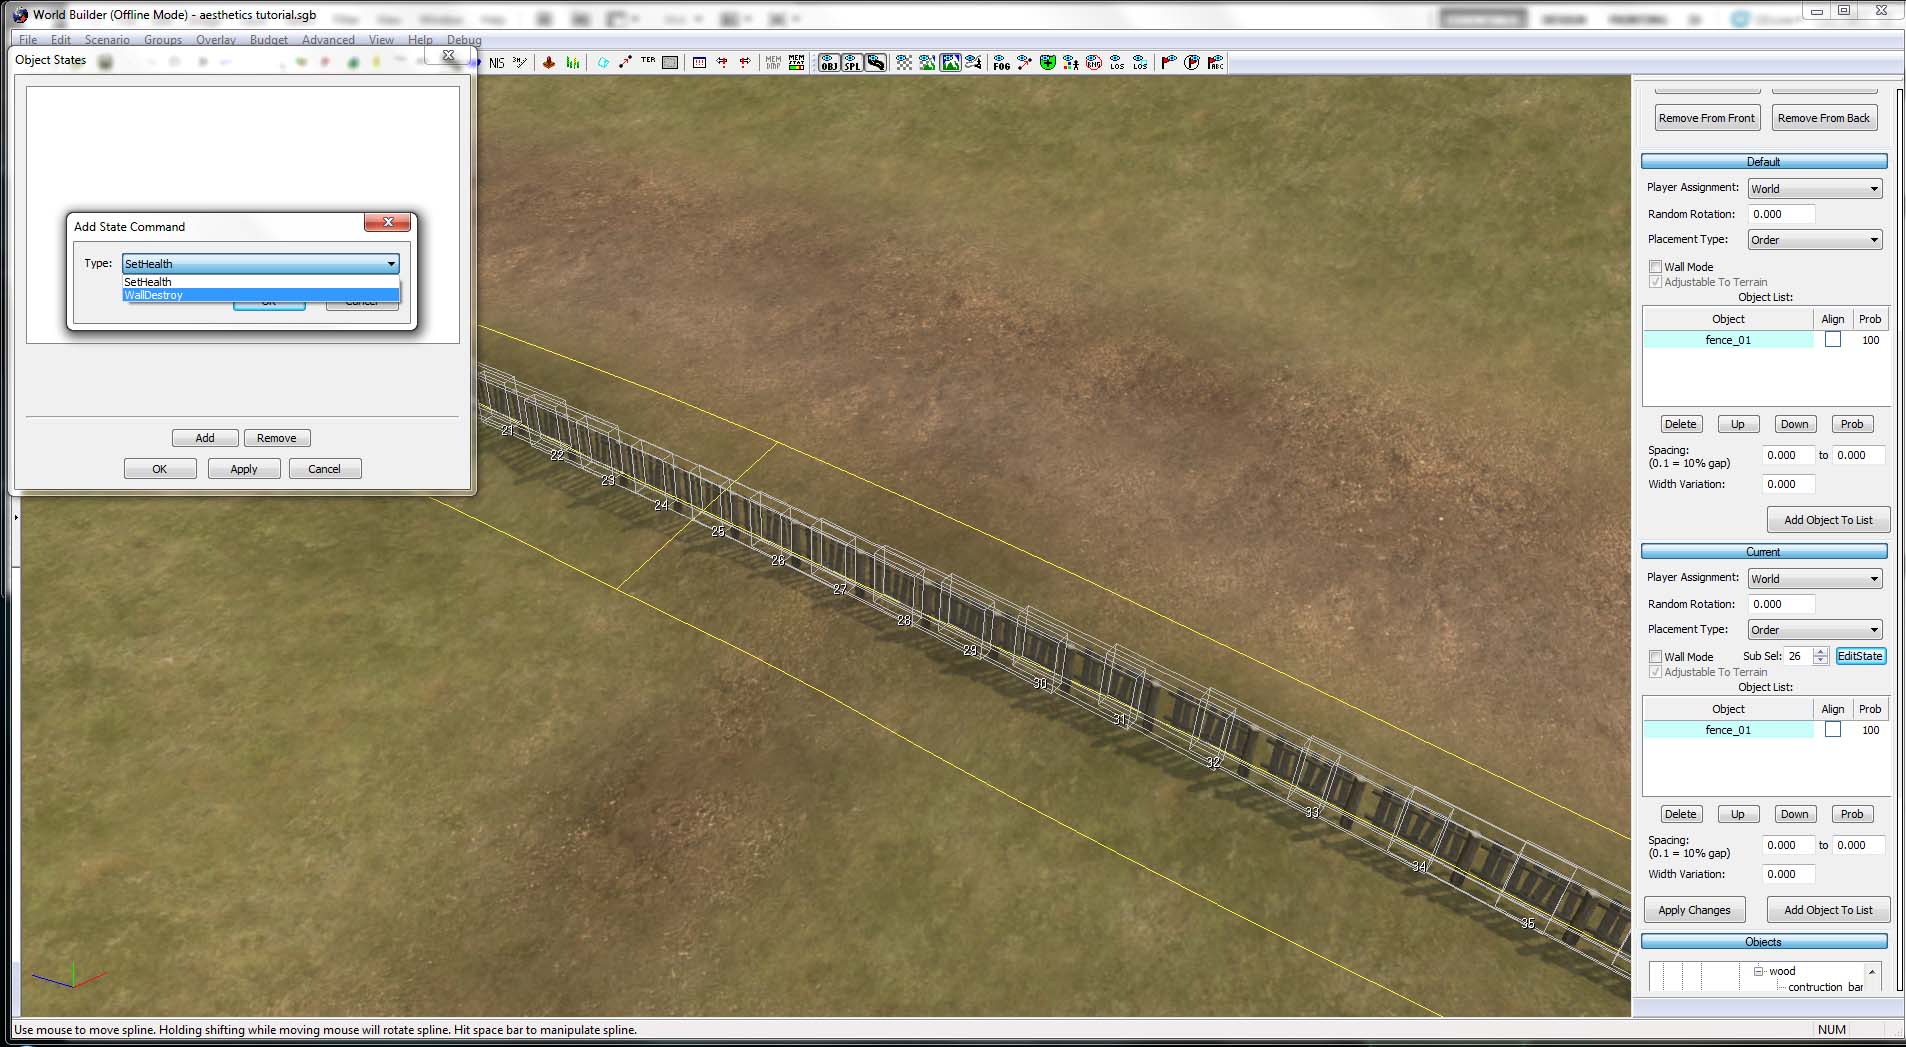
7. When using splines to create walls, make sure to break up long sections of wall. Here I will break the wall to create another opening.
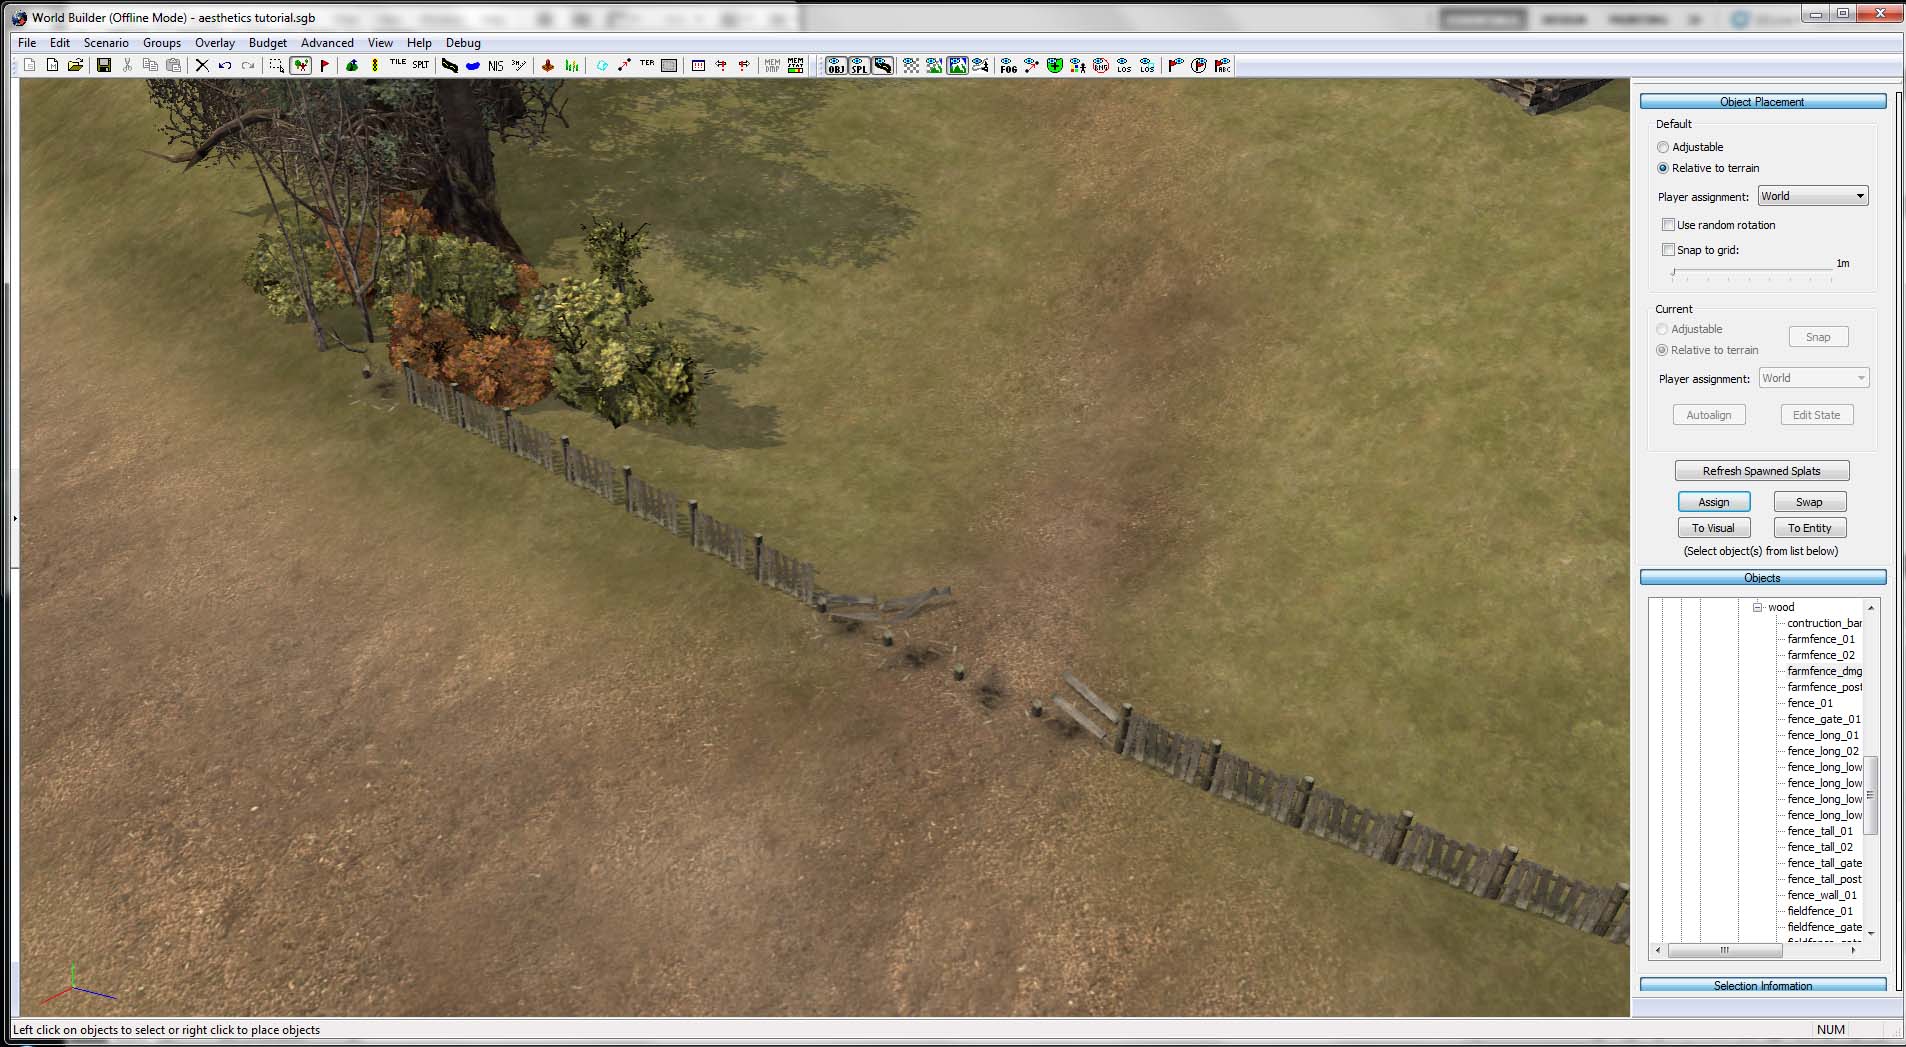
8. I have decided to damage the fence here and I am also adding some wood debris along the opening as well as some bushes to help blend the end of the fence spline. It will almost always look ugly to just have a fence end without any objects interrupting the fence. When placing man-made objects try to imagine how someone would build a fence, stone wall, or leave their car. Each object tells some sort of story. To top this off, I added some dirt texture to complete a footpath through the break in the fence. So the fence is broken because of a vehicle, or people coming through tore it down. Either way, it seems believable to me.
Adding Texture Splines
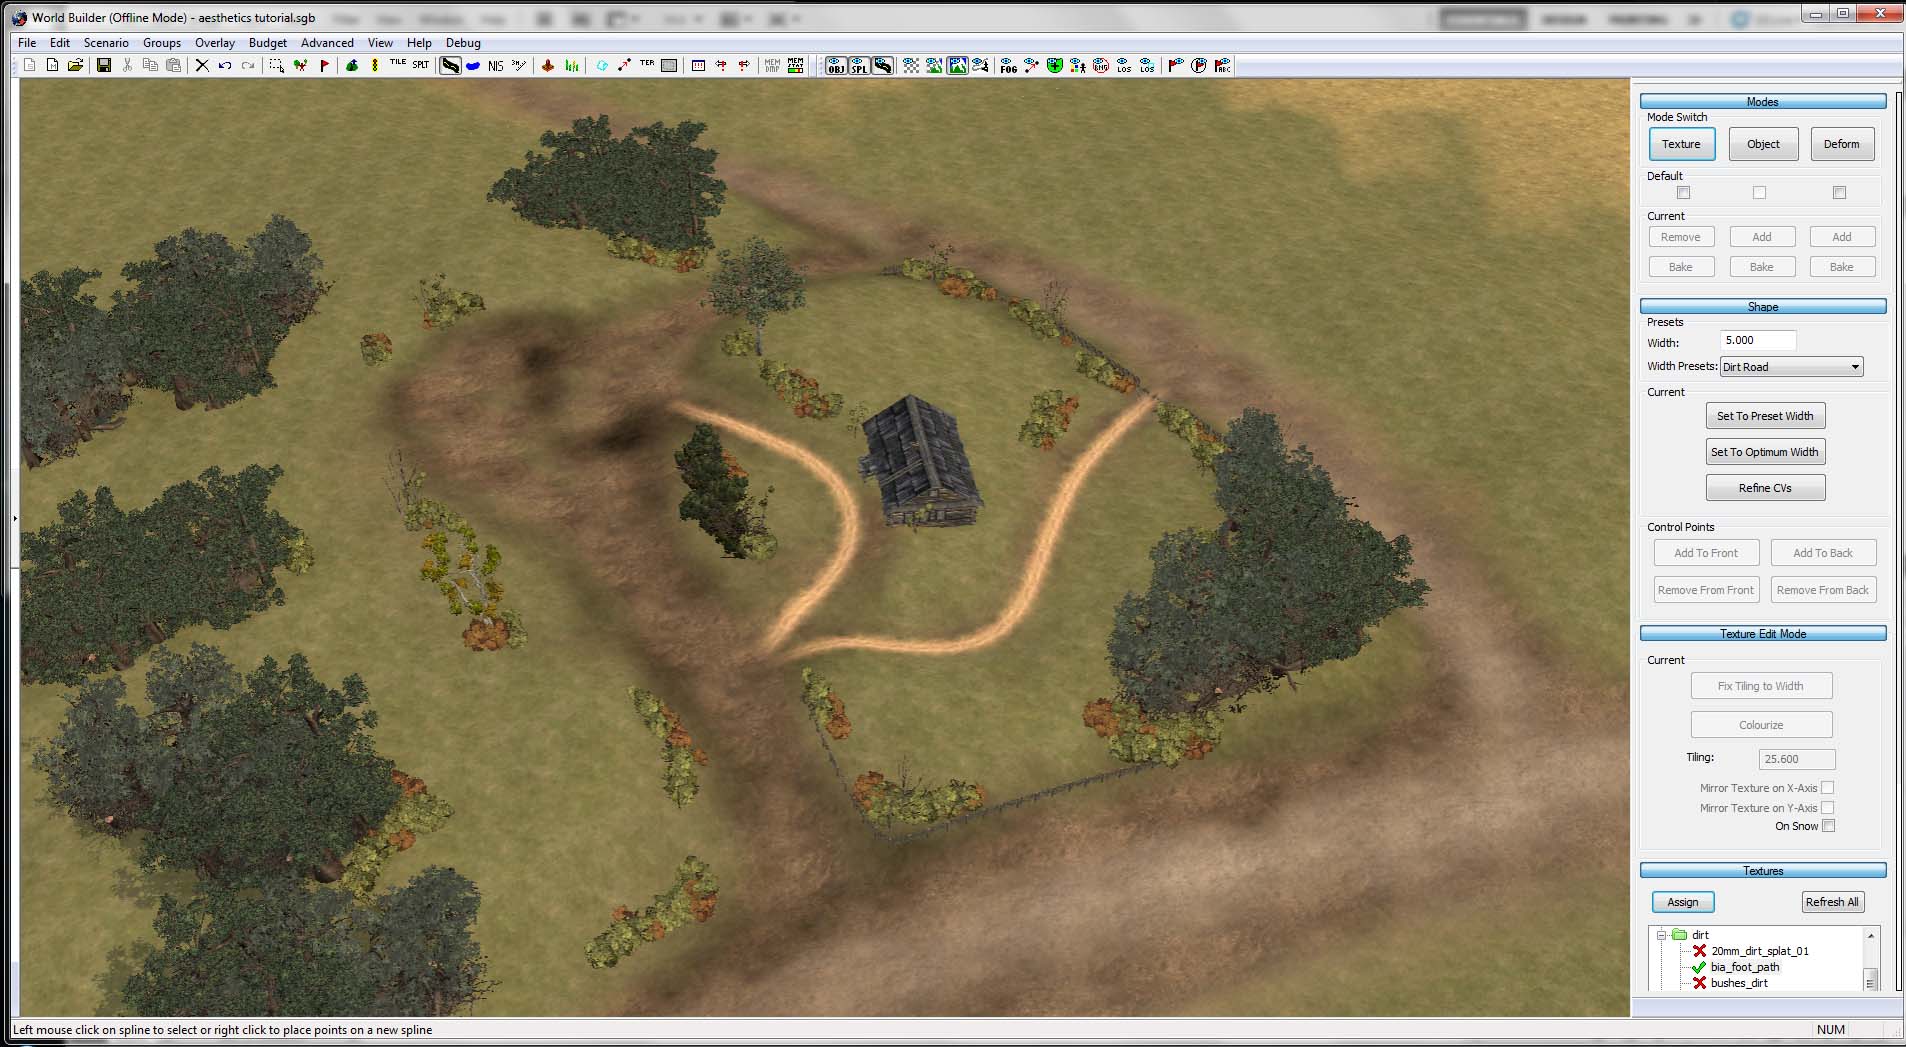
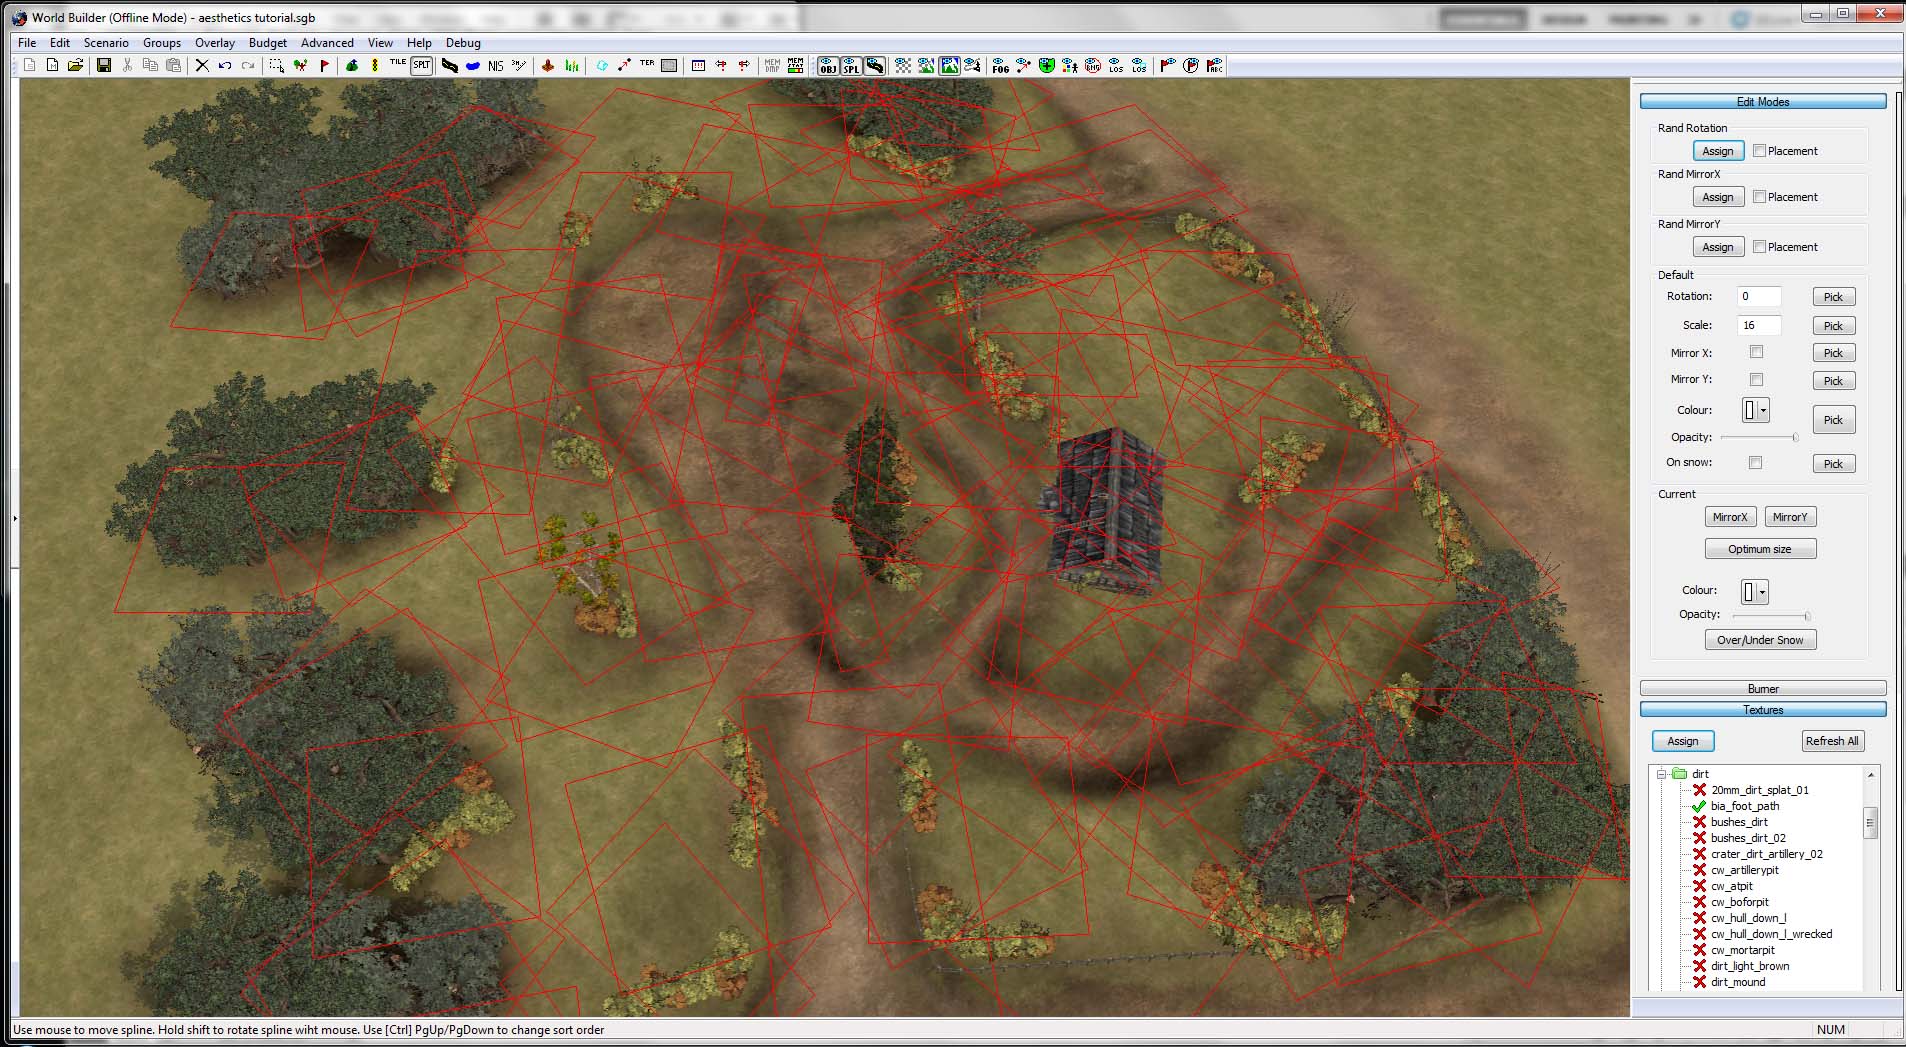
9. Adding some texture splines will help with texturing. I'm adding some basic footpath splines along the secondary paths in the area.
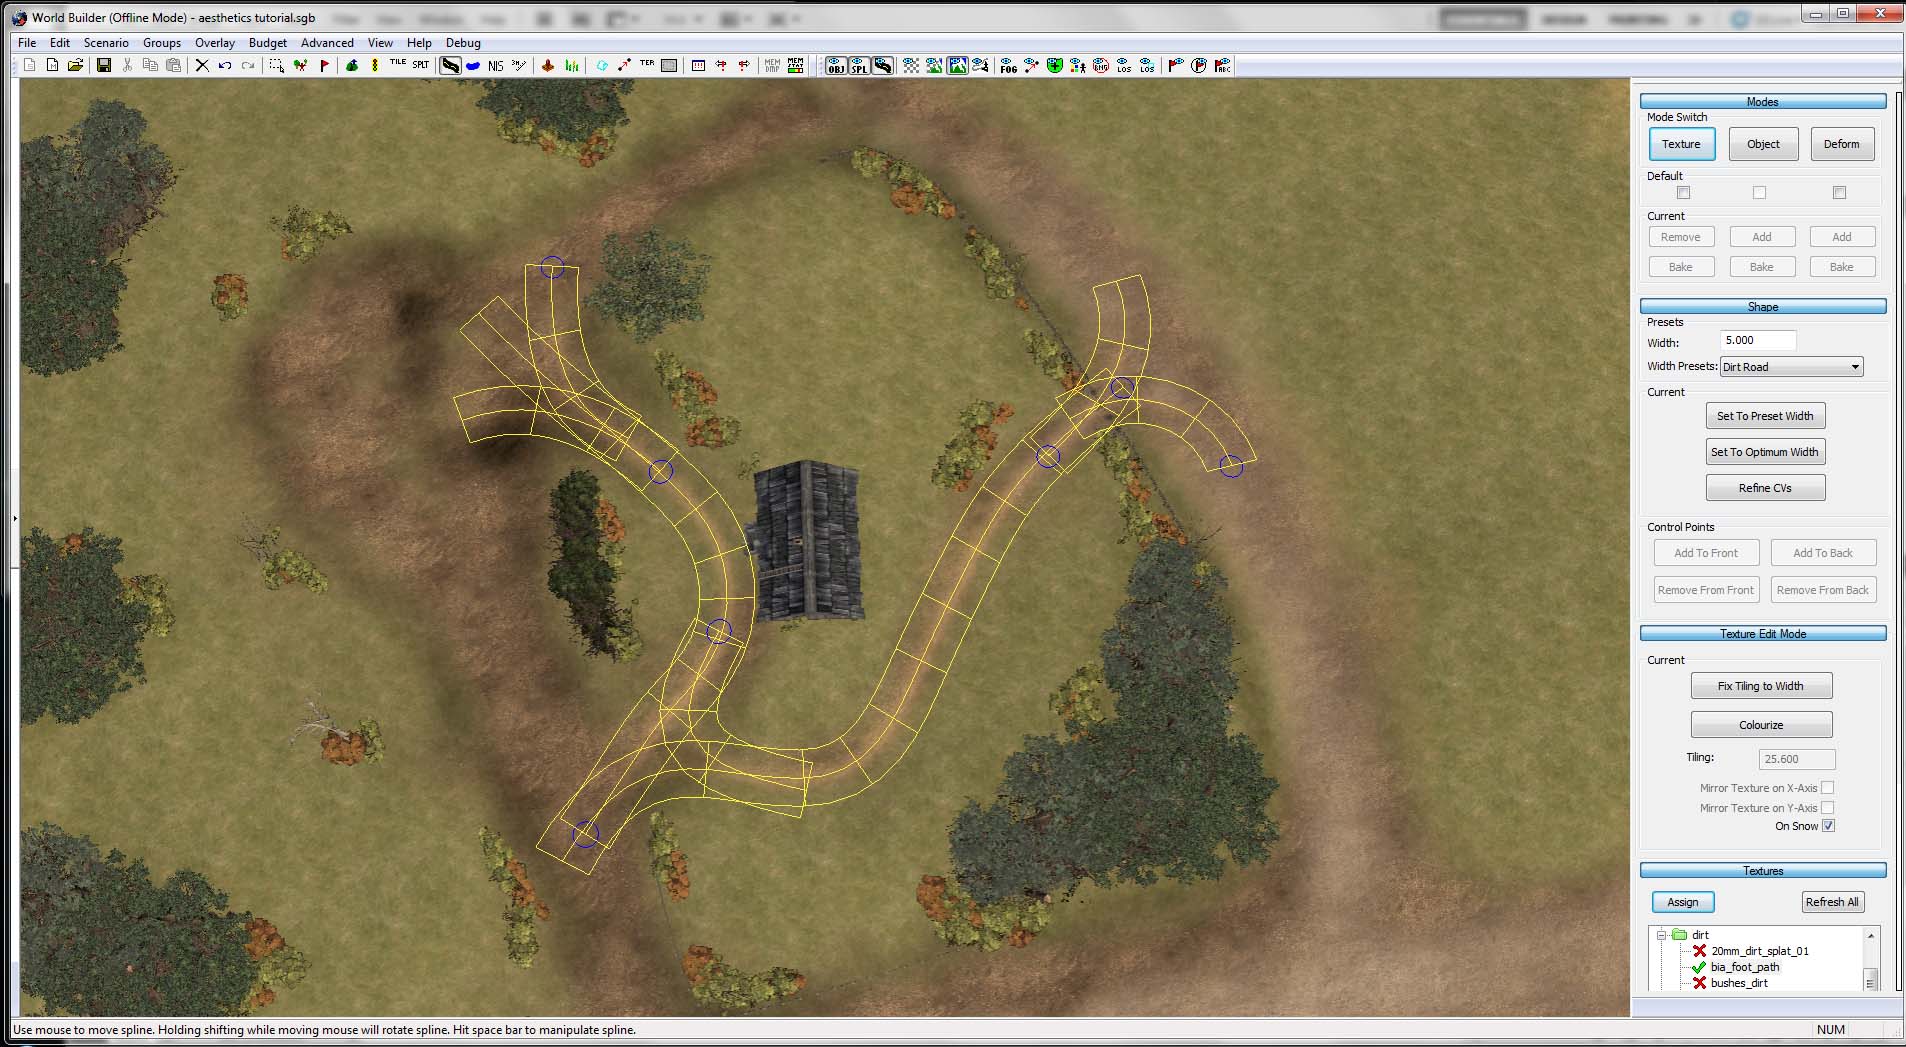
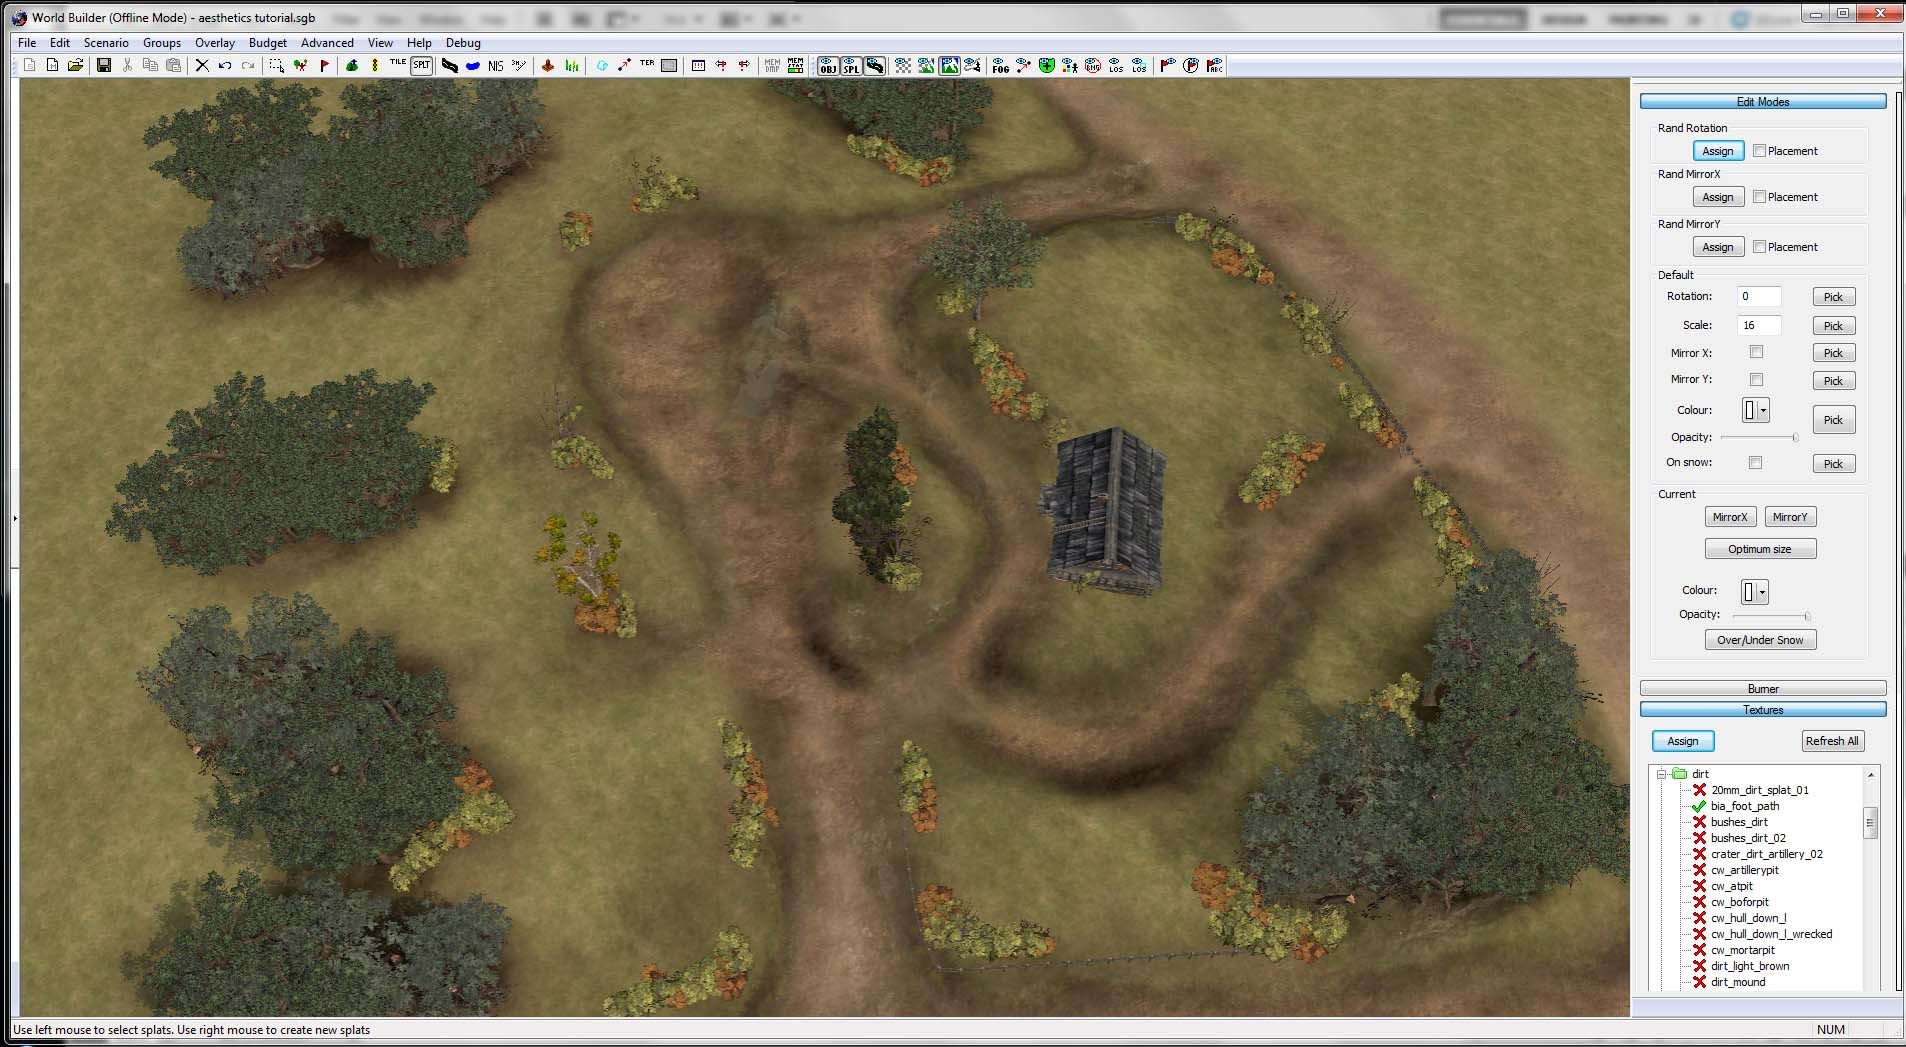
10. Making the splines more transparent using the "colorize" tool will help blend them. Once you have transparency, you can blend multiple splines to get more complex shapes.

11. Once the splines are placed, we can do a little texturing to help blend them.
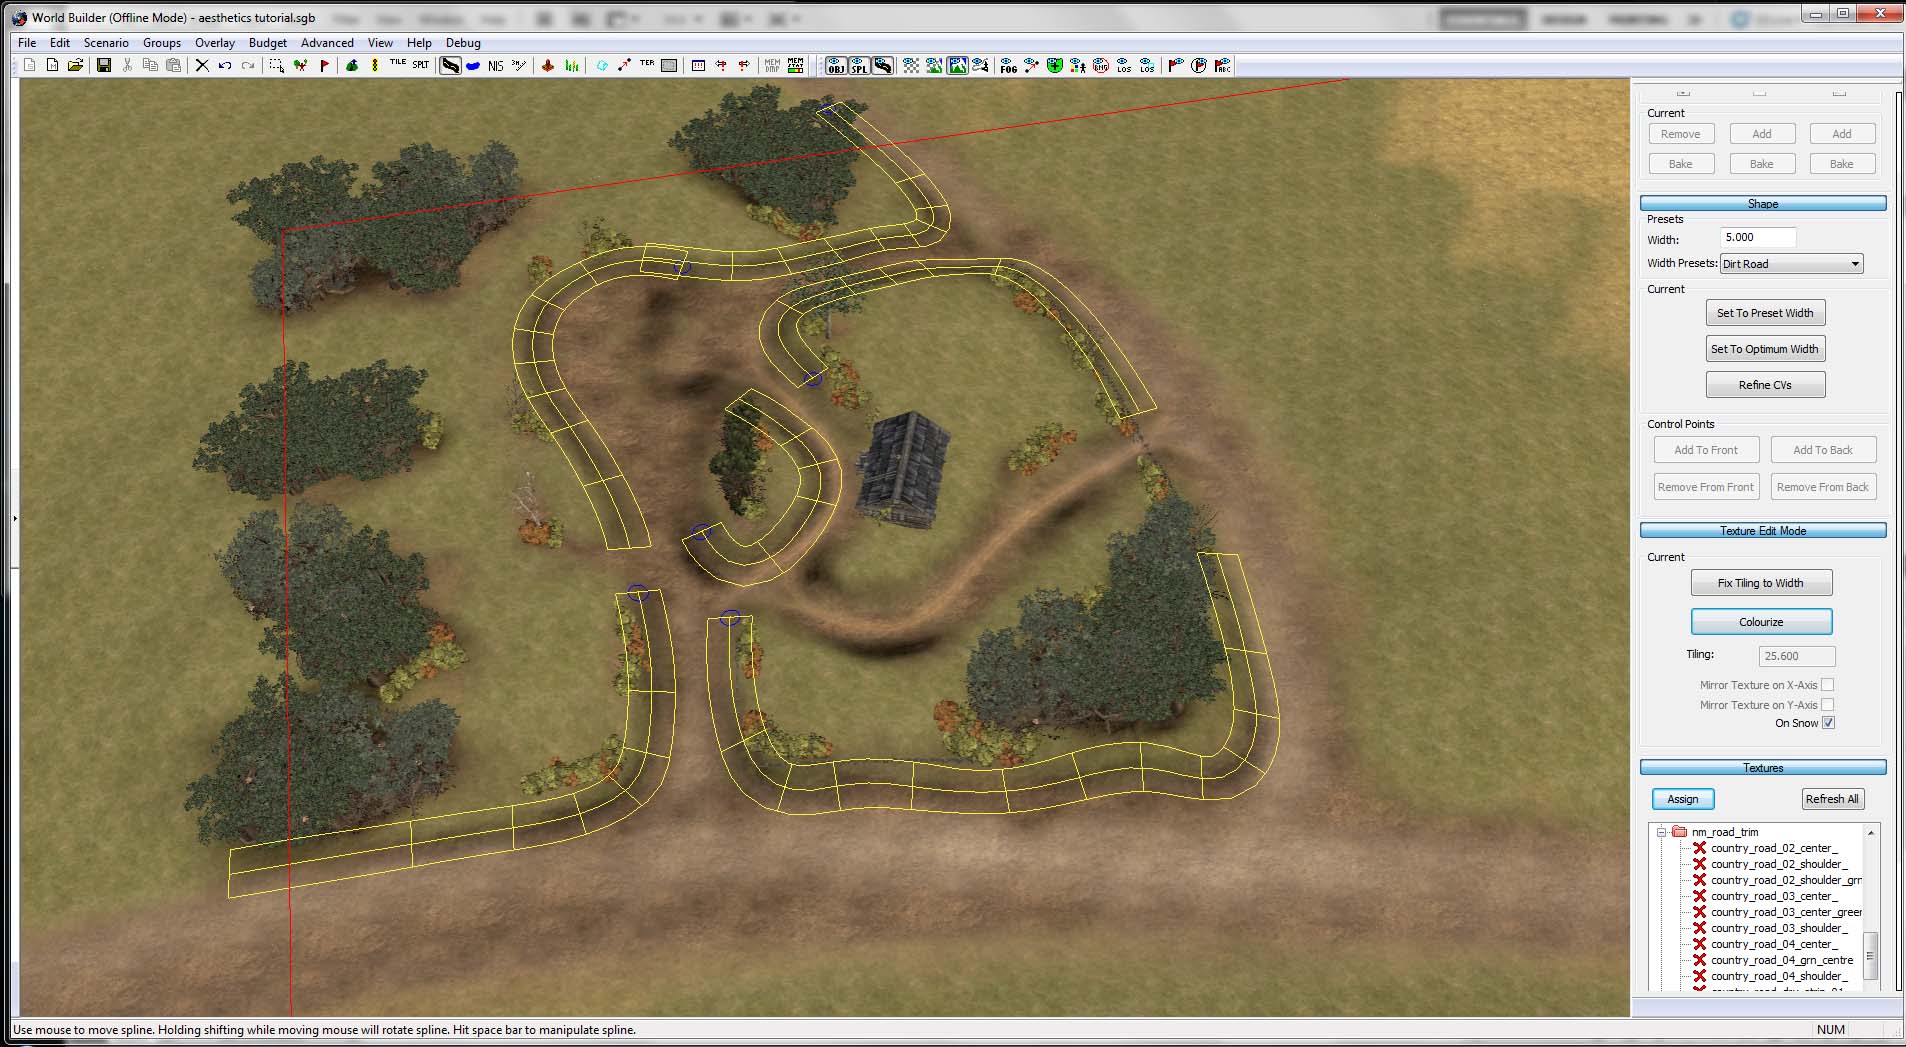
12. The next step is to get some edge textures to make thresholds between your different textures. Use whatever road shoulder you want that blends your texture pallet best.
Adding Splats
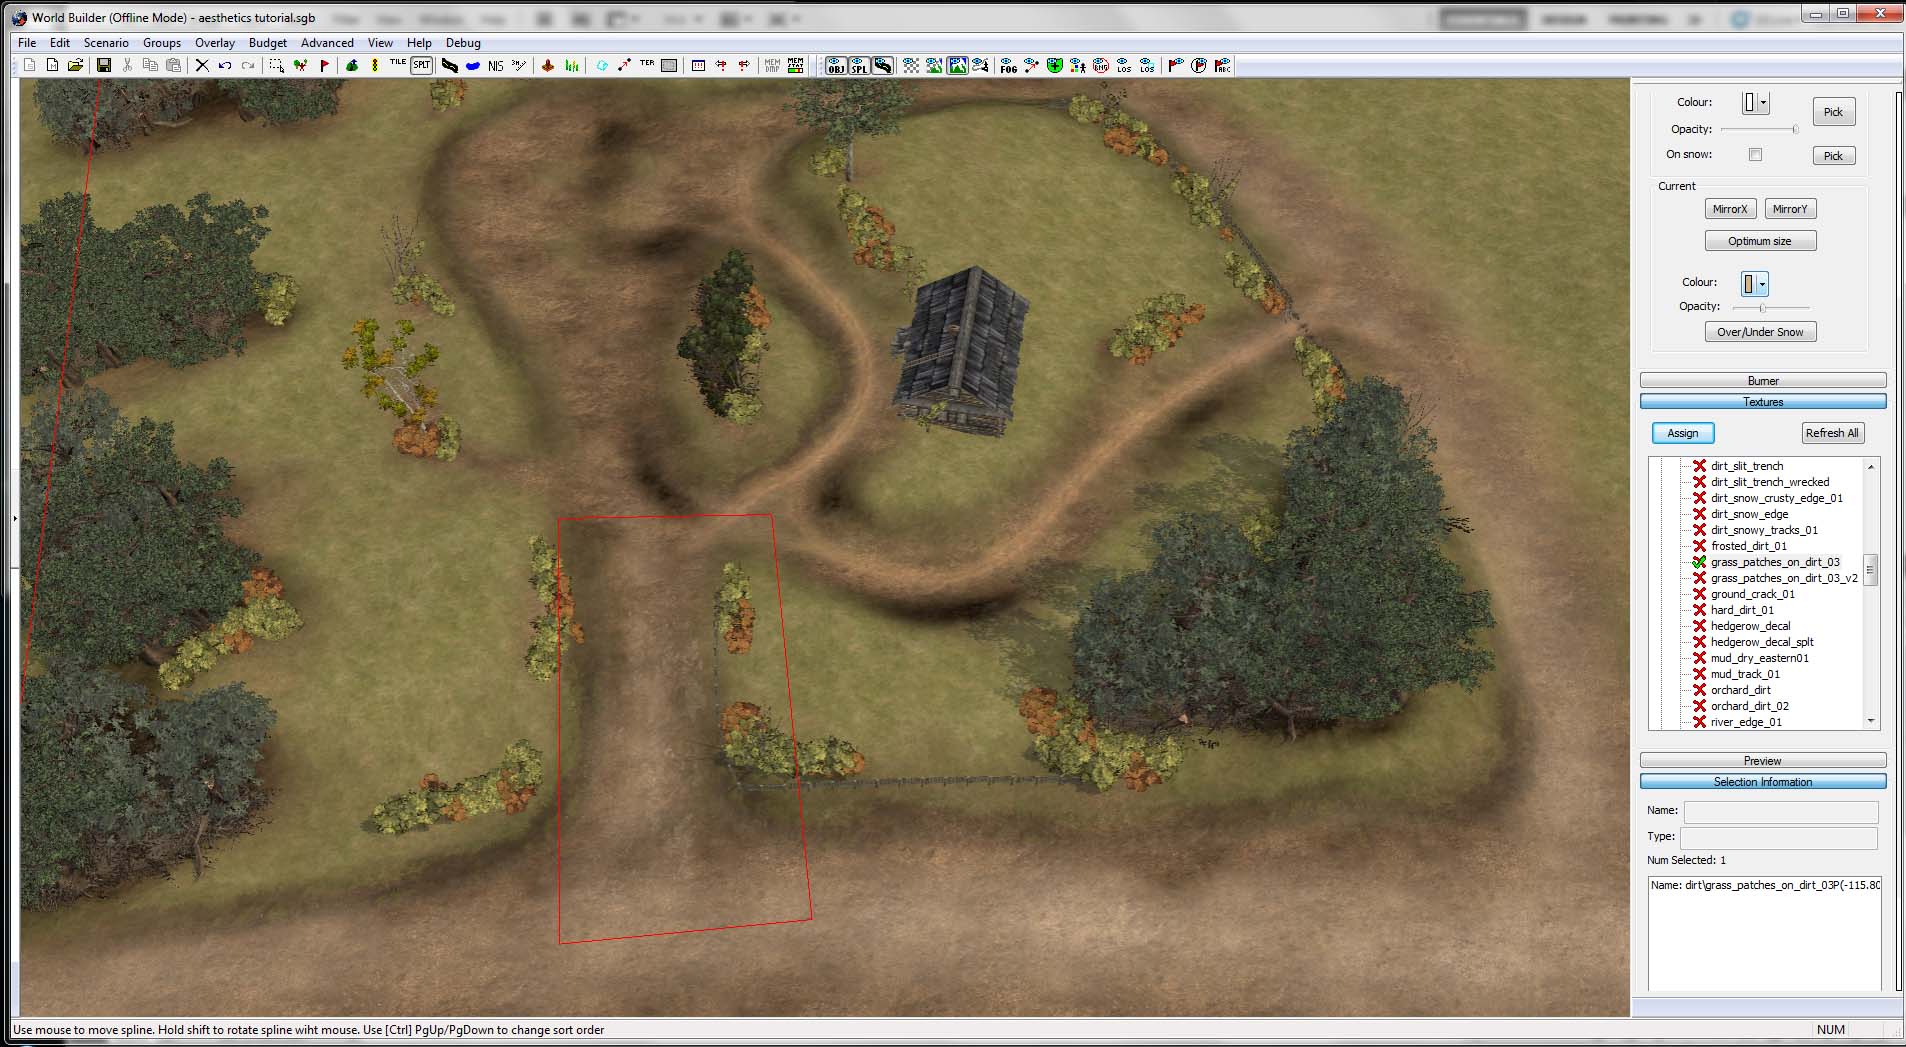
13. Time to add splats to further blend and add detail to the terrain. I'm starting with a basic dirt/grass patch splat that I can use in a variety of ways. I will start by just using one splat in many ways.
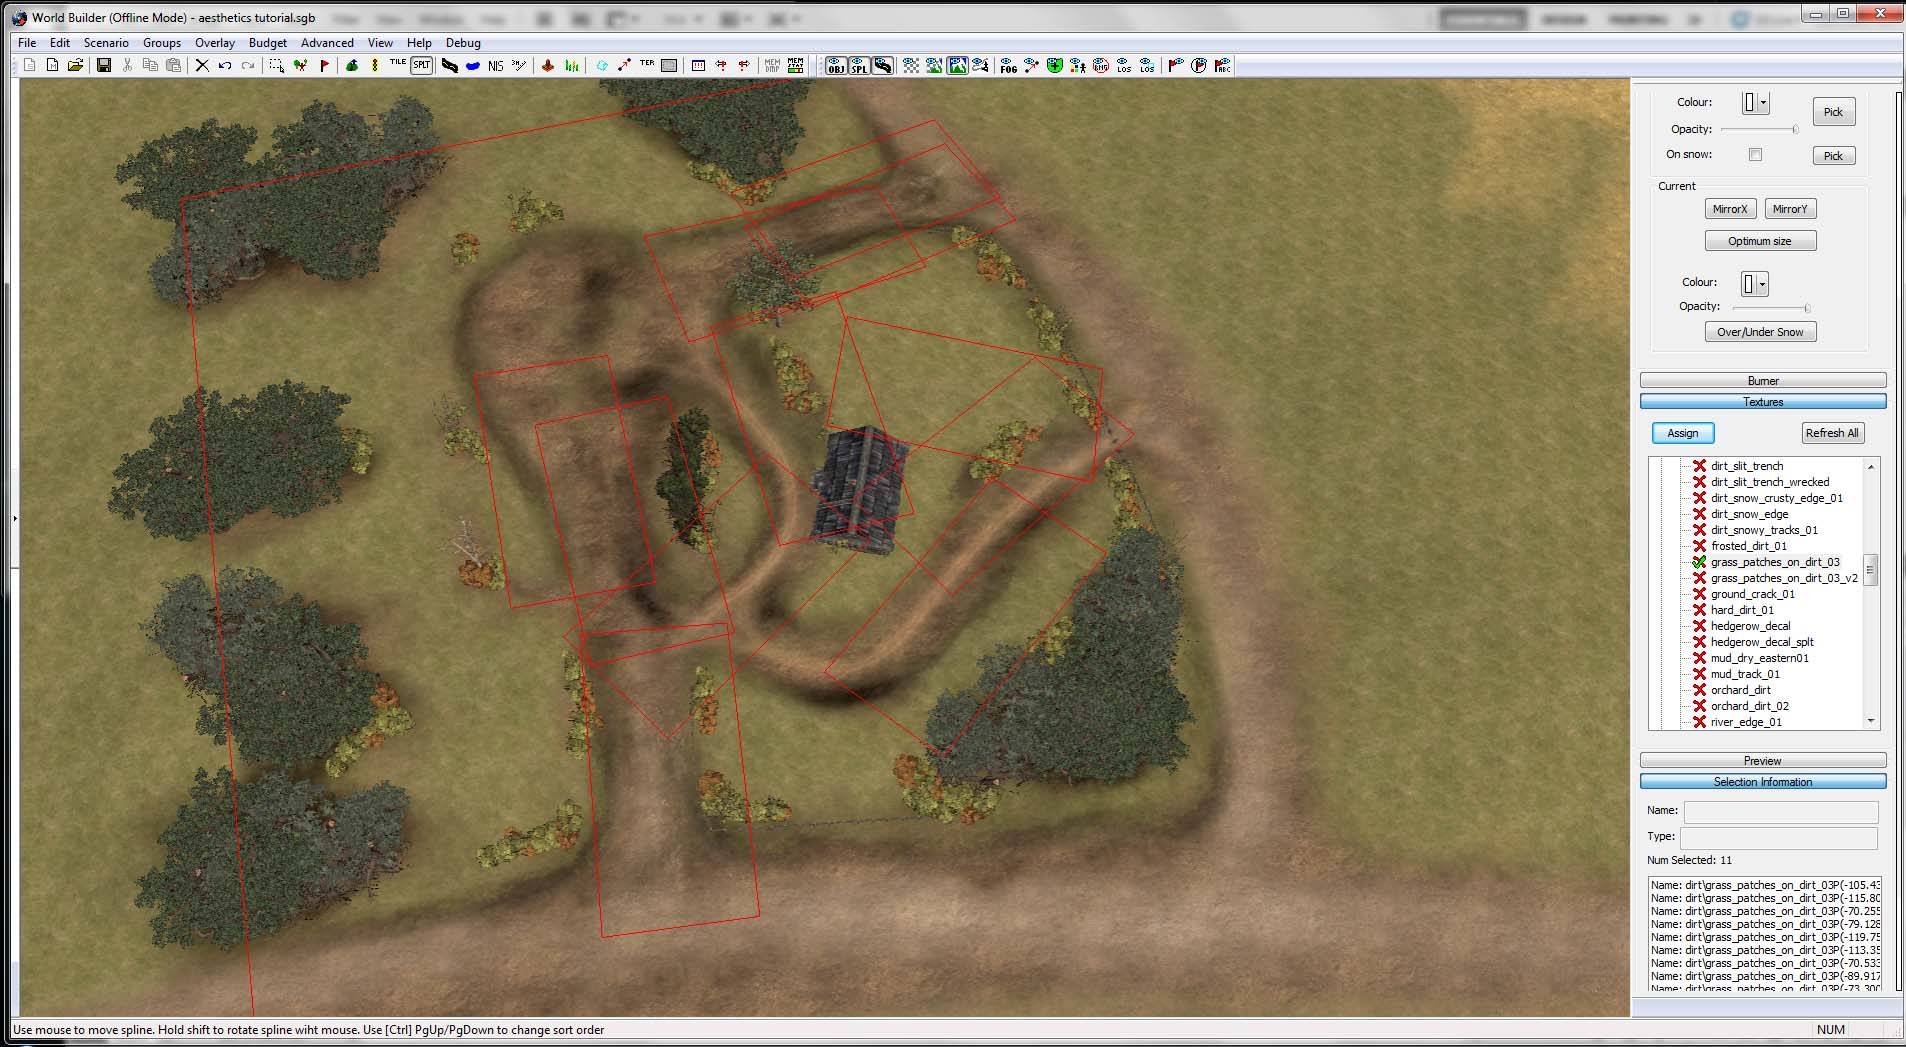
14. To help yourself use splats in a wide range of uses, use the "colorize" tool to not only adjust the opacity, but to adjust the color.
15. Here is what we have so far.
16. To get more detail out of splats, use the scale tool. You can manually set the scale at which the splat spawns or you can use "optimize size" to get the intended size of the splat.
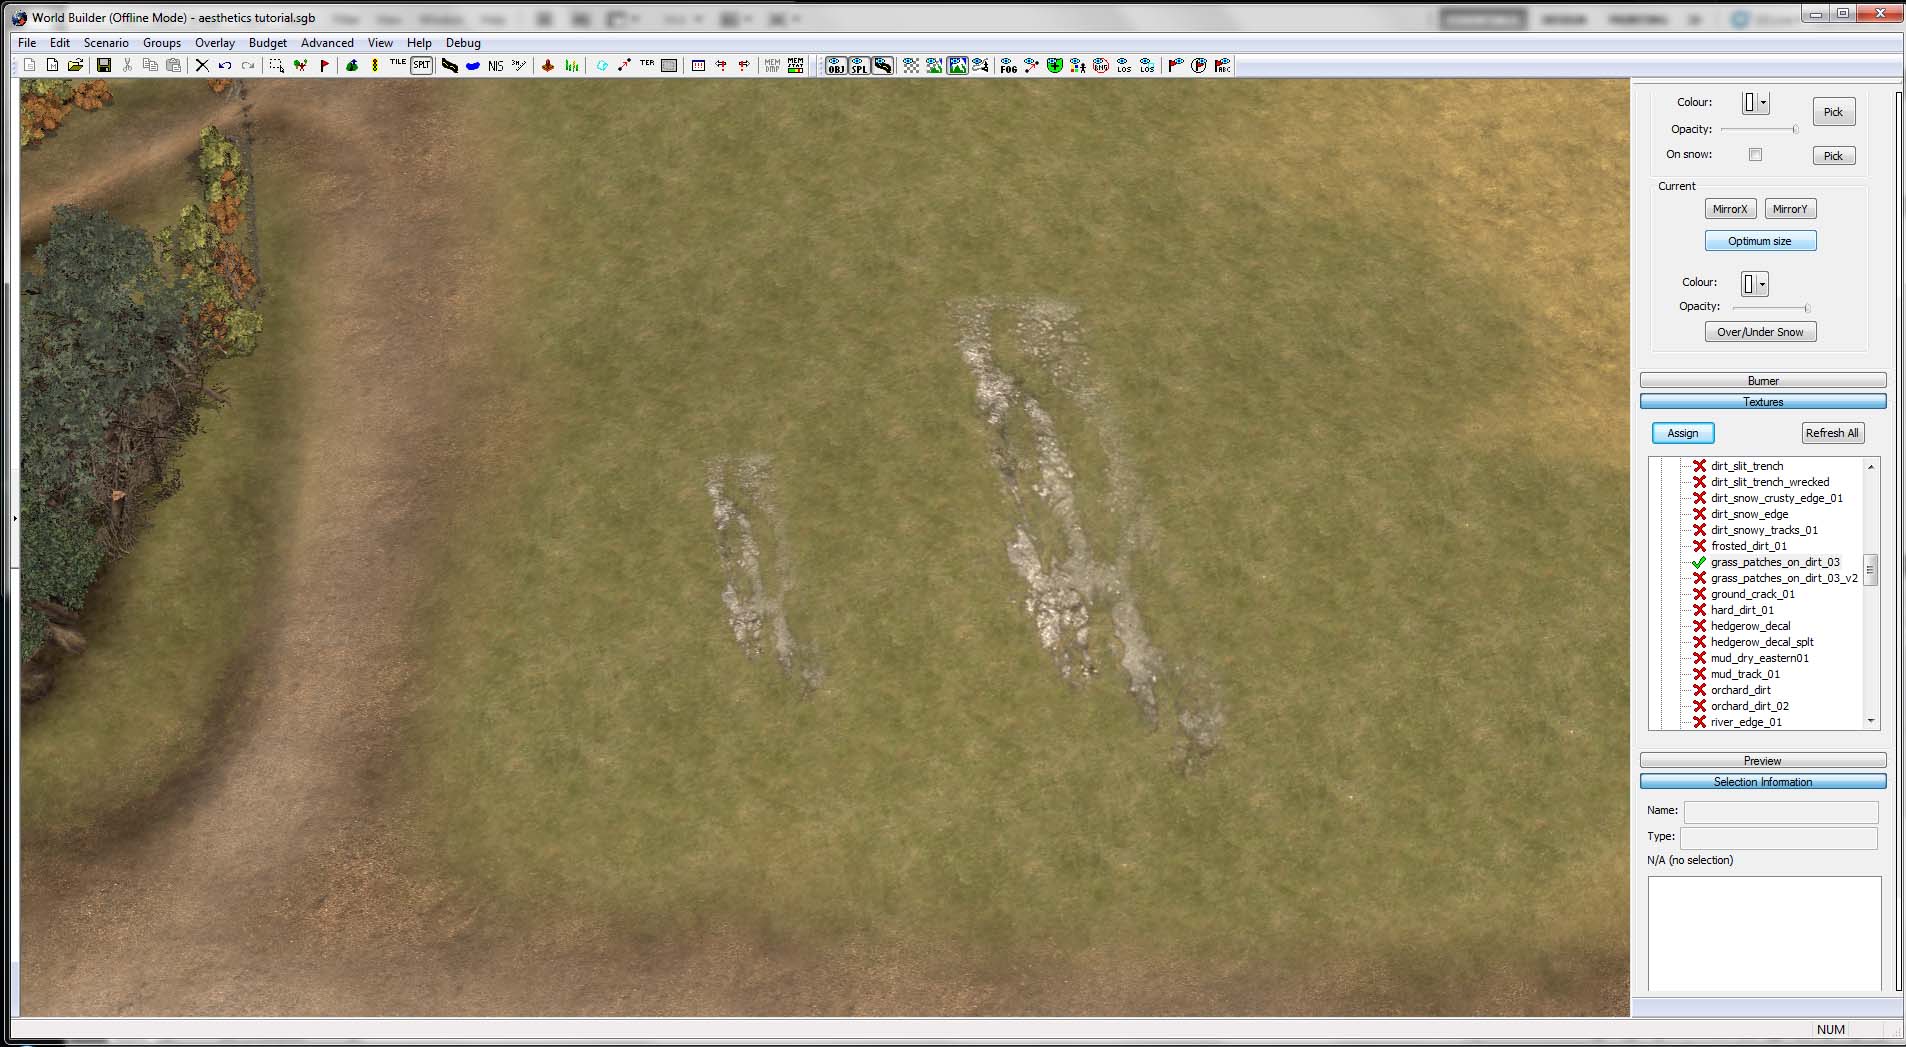
17. Here is where we're at after adding more, smaller splats in select locations. Try to define small puddles and other patches of dirt using optimized splats.
18. I have gone ahead and found some very basic-looking dirt/sand splats and made them pretty dark. I've placed many along the edges of my grass to help blend the grass with the dirt. Here are all of my splats placed so far.
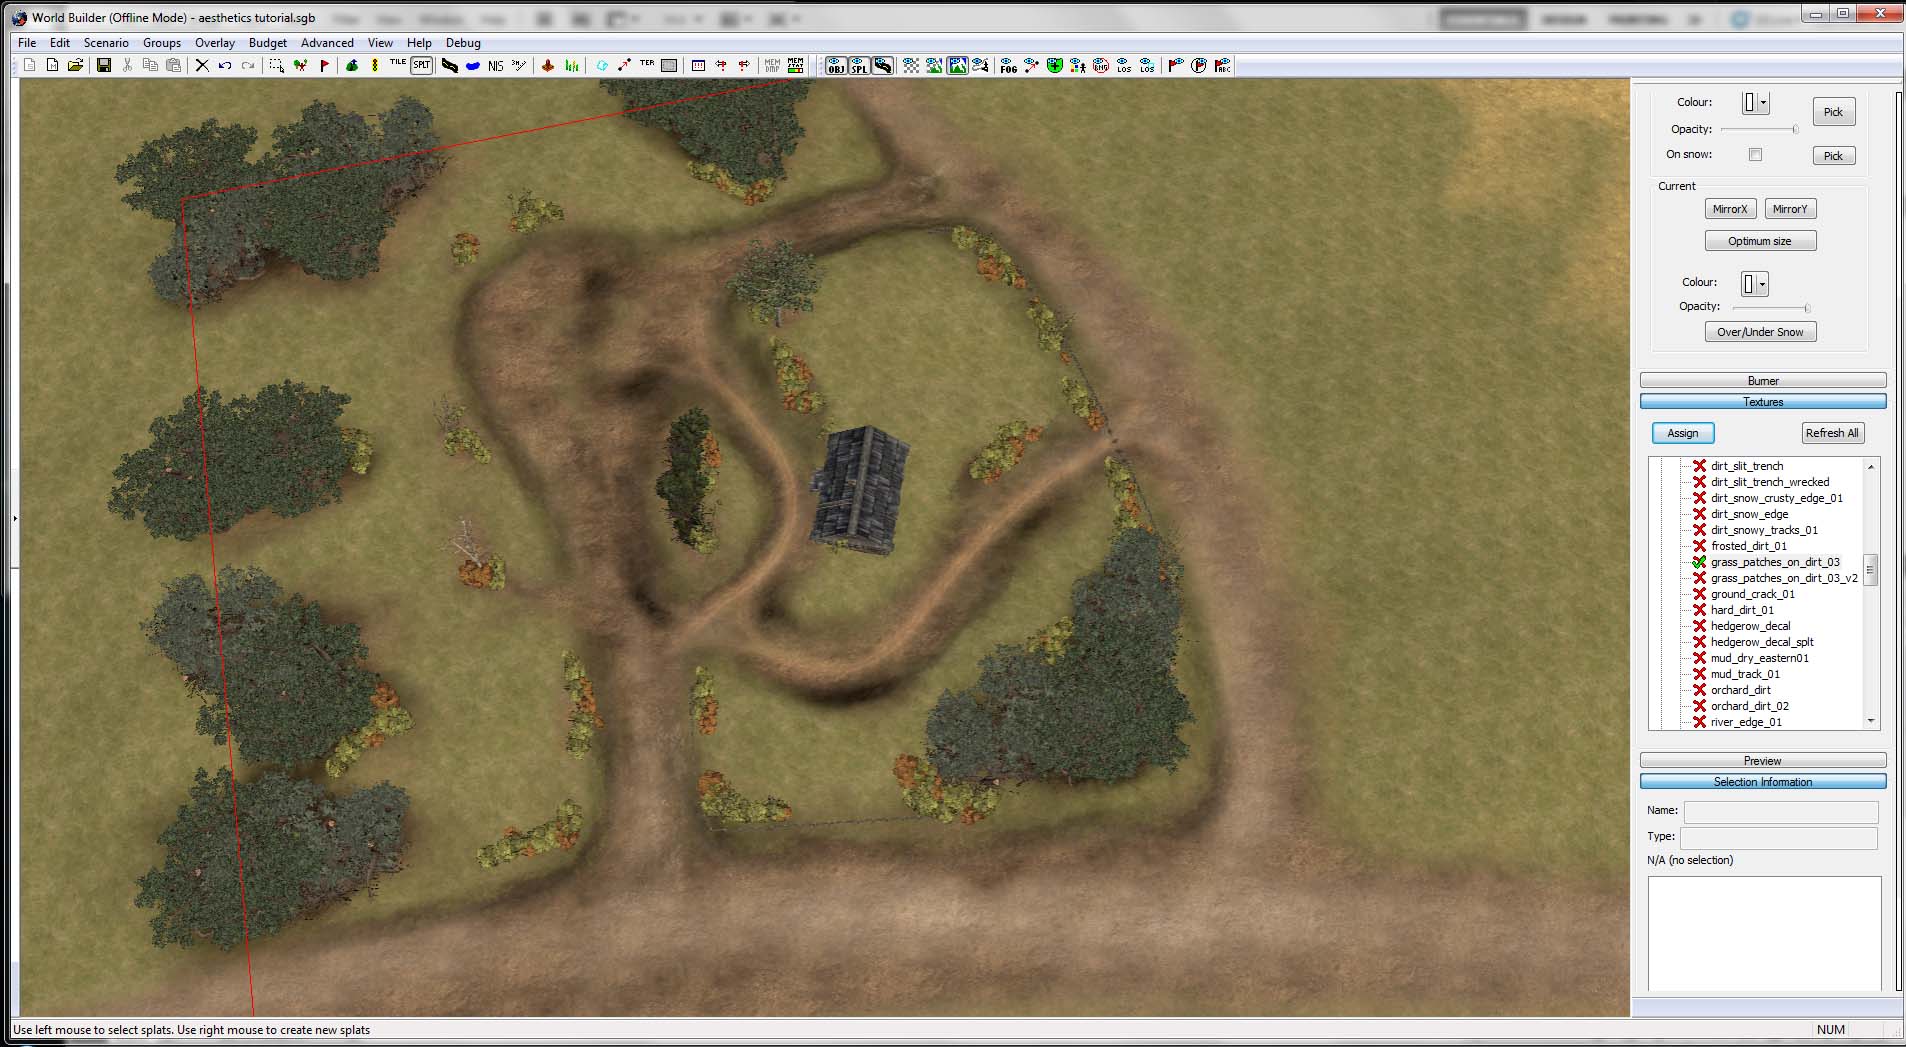
19. Similar image as above, but splats are deselected.
Adding Grass
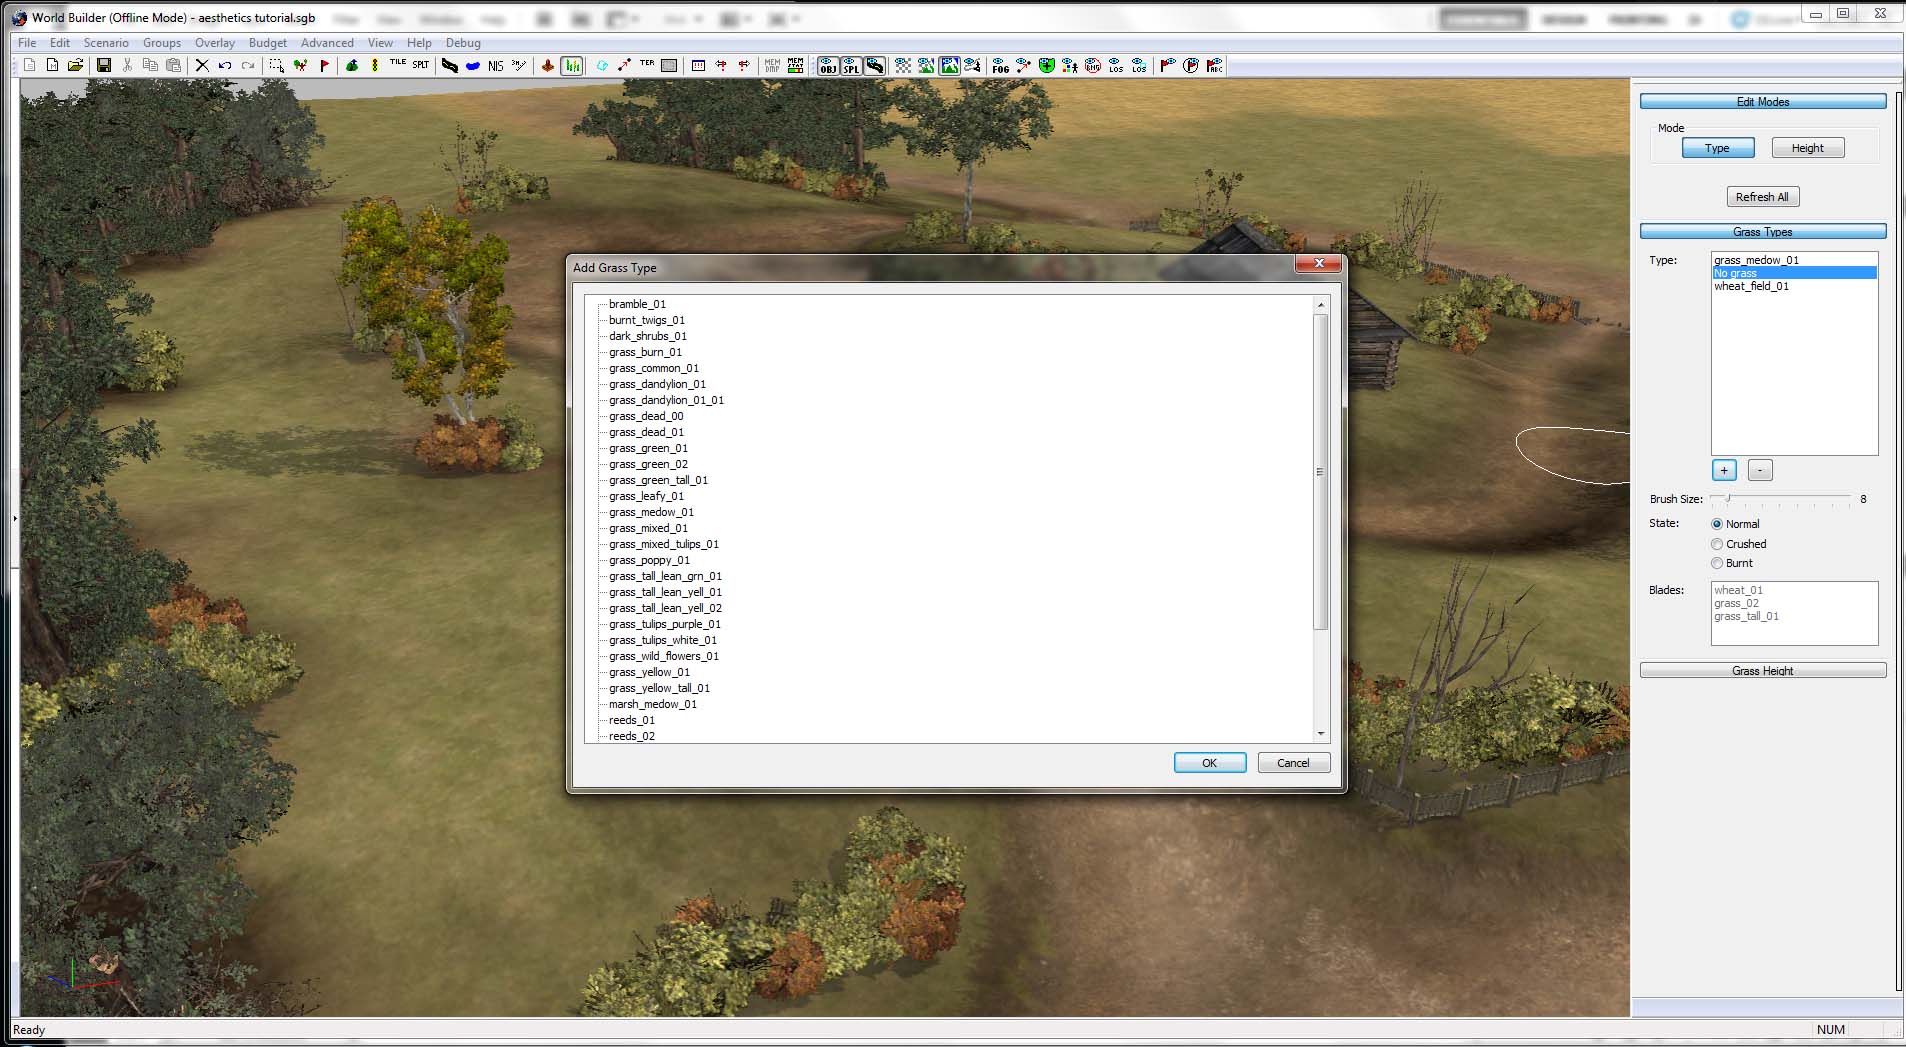
20. Once your splats/splines/textures are all done, it's time to add some grass. Select the grass tool and import however many types of grass as you like. For this demonstration I will upload only two.
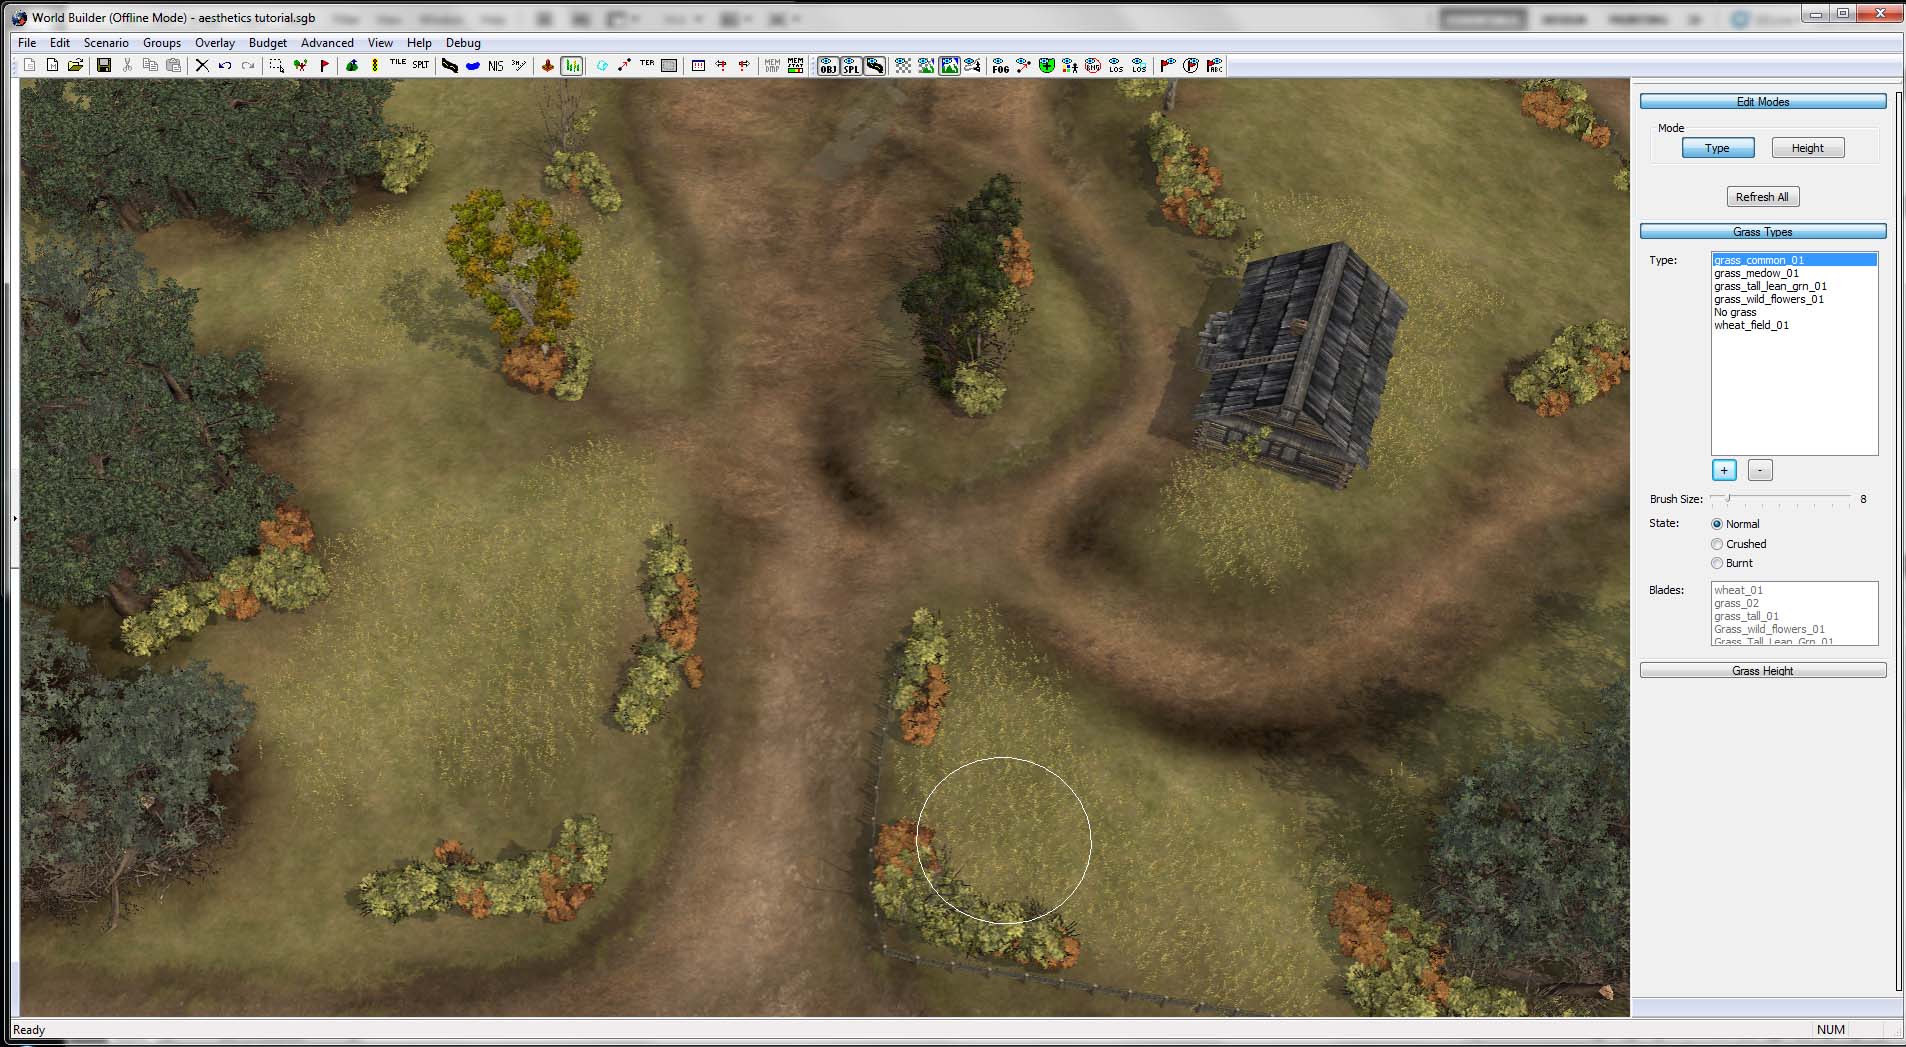
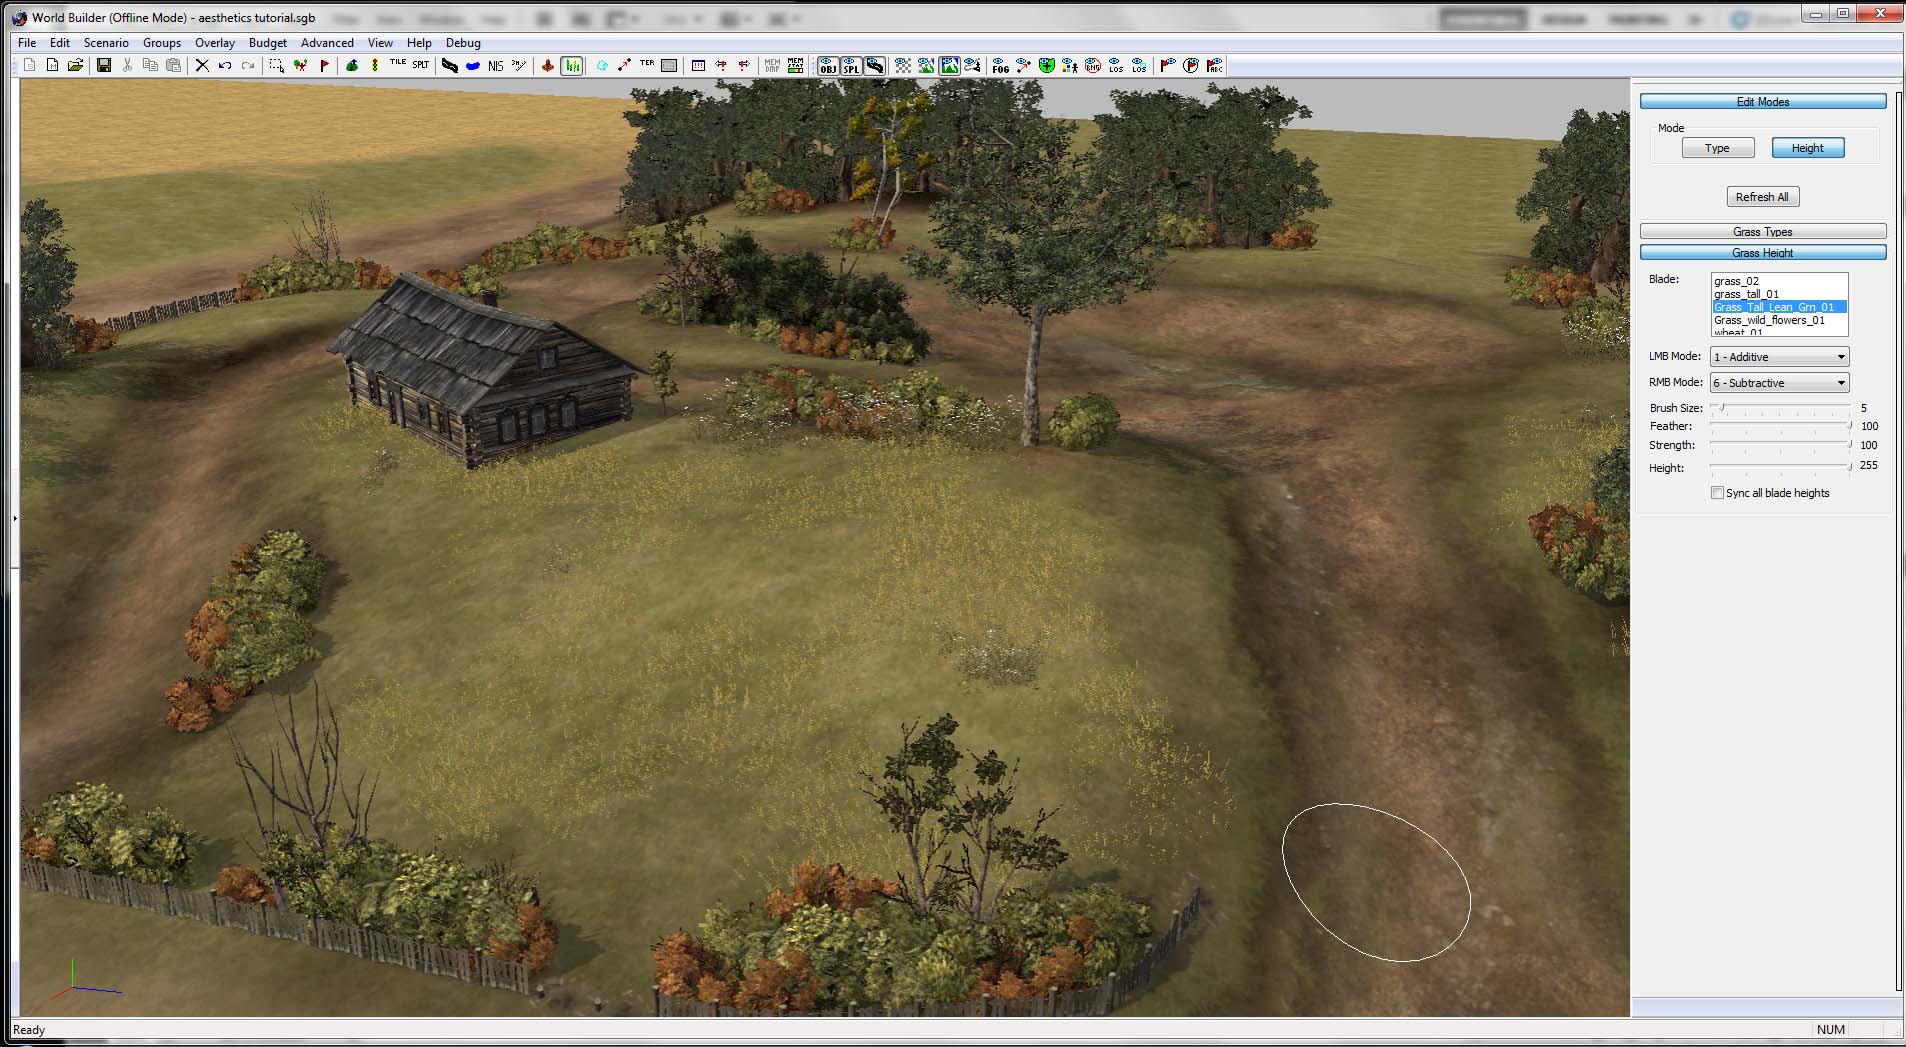
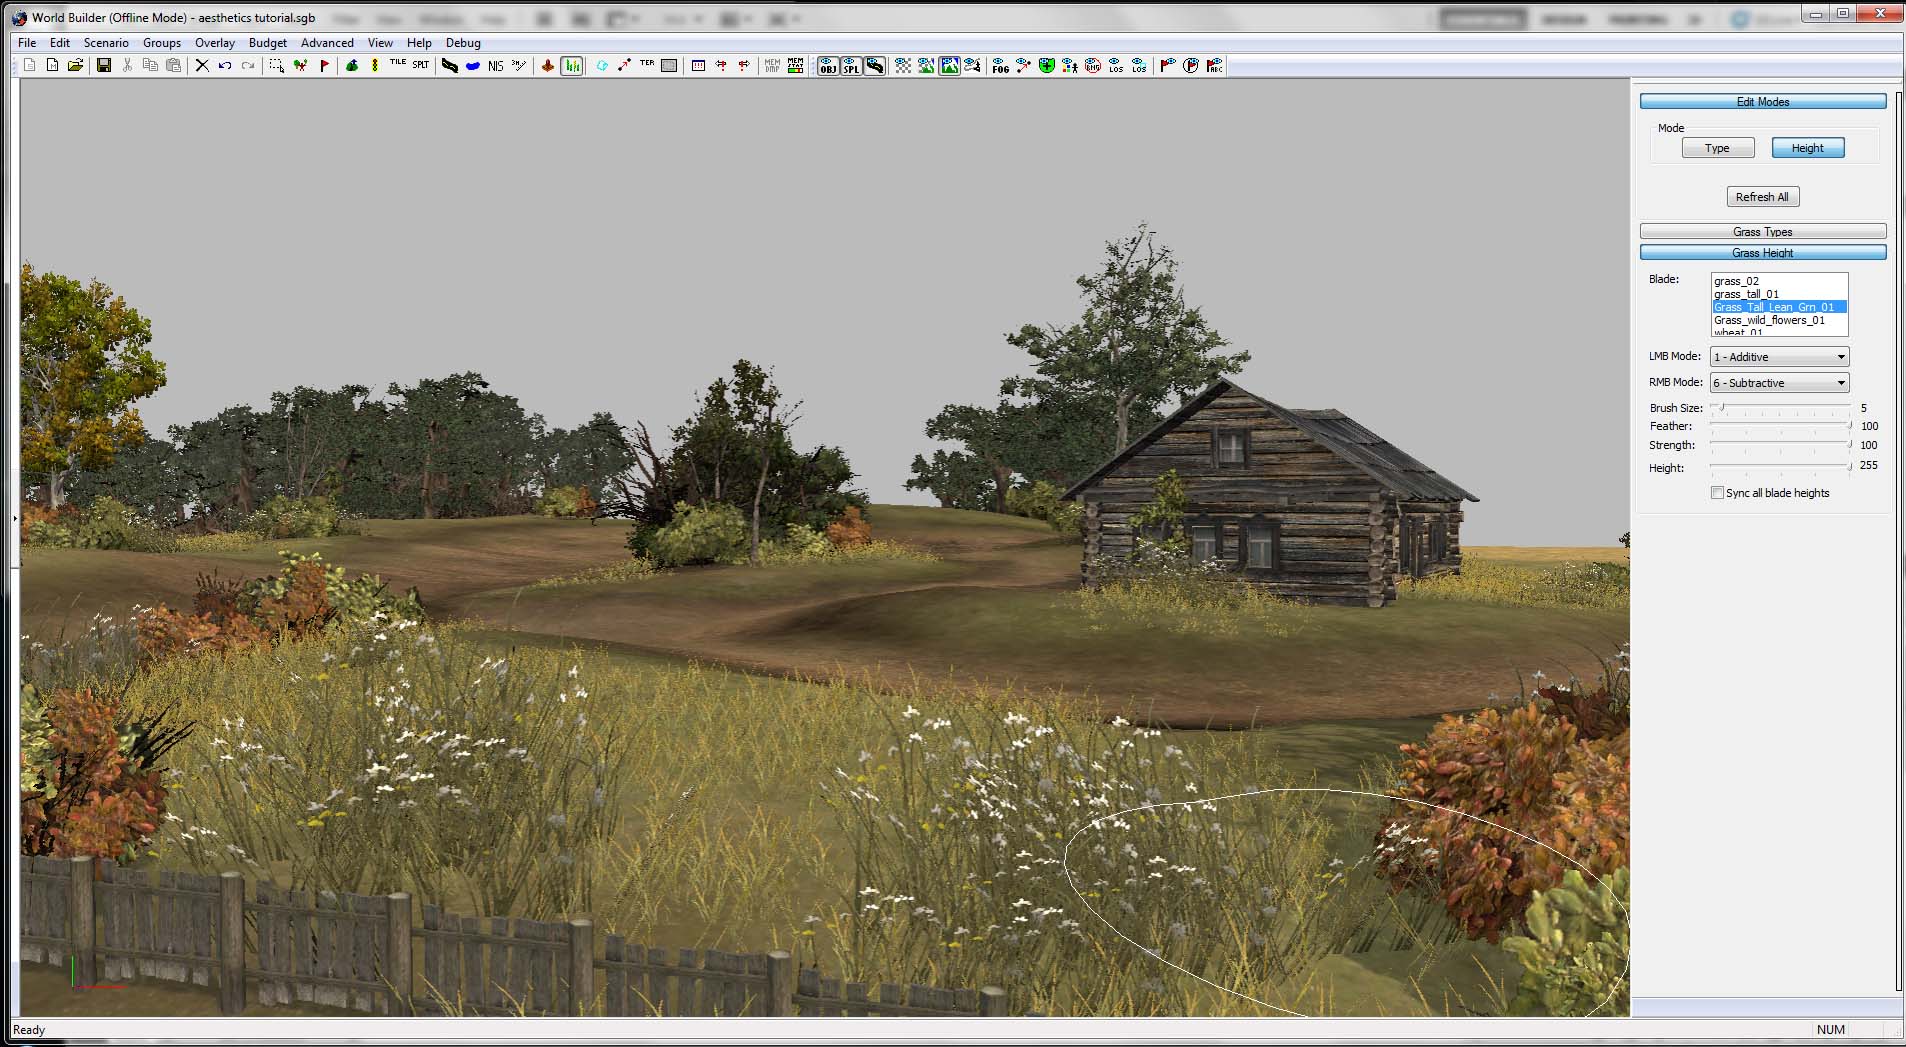
21. Place your grass where you want. I suggest placing it on the areas where your grass texture is. Use a second type of grass to place near bushes, trees, and groves. Use the length editor to subtract some length to blend the heights of the grass to create some no-grass to grass transitions.
Final Product
With a little practice, you can achieve this level of detail in only an hour or so on an area of this size. You can take detailing as far as you would like, but I hope this tutorial will get some people started. Make sure to balance your map and have a good thesis before adding higher levels of detail. Detail should come second to good territory layout and significant object placement. Start big on your maps and zoom your scope in as you go.
Please let me know if you have any questions about this process, as I was trying to keep the tutorial on the shorter side. I will look into making videos in the future.
You can see a final product using this approach to detailing in my new 1v1 map:
(2) Keine Rückkehr
 DrunkinGambit
  Jabba
Jabba  computerheat