
Welcome
So, you are here to learn how to command in the Workers' and Peasants' Red Army tovarisch?
Seat yourself and pay attention, and we will do our best to help you. The enemy is strong and cunning, but together we can drive the fascisti back to Berlin.
Introduction
As previously discussed in the Ostheer 101 Guide, much of the discussion on the forums is led by players with considerable game time, who have either bought or unlocked most, if not all, of the Commanders available. However, it cannot be assumed that new players will have access to such a breadth of options, and this can further give the impression that the standard Commanders are not viable.
Whilst more Commanders do give you more options, you can still only employ 3 Commanders in a loadout to be available in a given match and for both factions, the Common Commanders available to a starting player give some very potent and useful options. However, unlike Ostheer, the Red Army does not have as strong a Core and their intended teching structure is not as linear - as such Commander Selection is an essential part of your strategy and cannot be discussed without that.
In addition, the starting Commanders are designed to fulfil a dual purpose: on the one hand they are available in auto-match and comp stomp, but on the other hand, many of them are also intended to be available in 1941 Theatre of War (TOW) matches. For Ostheer, this does not cause significant problems, but for the Soviets Doctrinal Units are more important and Commanders built around 1941 units are often not as potent as those built around 1944-45 units, since they lack late war Armour.
This is not often considered, because the implicit assumption made by most commentators is that all Commanders should be equally useful and balanced in automatch. However, it is helpful to regard some of the Soviet Common Commanders as 1941 TOW Commanders, who happen to be available outside TOW, rather than vice versa. Viewed from this perspective, the Soviet Commander system is more comprehensible.
Accordingly what we have prepared is a list of the 6 Common Commanders available to the Soviet Union, without any DLC or Warspoils unlock.
This guide is written according to the state of the game in November 2015, and is written from the perspective of a large team game player (3v3 and 4v4), with a target audience of new and less experienced players.
Basic Strategy
The Red Army has a semi-linear tech path: you need to build T1 or T2 in order to be able to build T3, and then T3 in order to build T4. This gives multiple options for progression and interacts with Commander Choice in interesting and not necessarily intuitive ways. Whilst the Soviet Unit Guide covers the units in detail, we shall quickly review them here.
Officially these tech buildings have names, but next to nobody uses them except uptight zampolit.
Officially these tech buildings have names, but next to nobody uses them except uptight zampolit.
T0


Essentially this means recruiting Conscripts, because Engineers are not a significant combat unit. Conscripts are an adequate basic infantry unit, but will usually need the Molotov upgrade and later the AT-Grenade in order to be effective
T1


Snipers can be potent, but are fragile and are often hard to keep alive in team games. Penal troops are very handy for destroying OKW trucks (which needs 3 satchel charges). The M3 counters Kubelwagens, especially with units inside the M3, and can also hunt down retreating units
T2


Unlocks the team weapons. This is a steadier choice than T1. Zis guns are the only really hard AT option which is neither doctrinal nor a vehicle. Maxims and Mortars both have their place.
T3


Mobile vehicles. The M5 halftrack allows on-field reinforcement to partially counter your lack of forward retreat points – especially on big maps, whilst the AA upgrade gives useful firepower at the cost of the reinforcement capability. The T70 can be handy for reconnaissance and anti-infantry sniping, though rarely will you build more than one. The SU-76 can be fairly potent when it comes out, but it is vulnerable.
In larger game modes especially one tends to pass through T3 fairly quickly to T4, without building more than a few, if any, T3 vehicles since the T70 and the SU-76 rapidly become outclassed. The higher fuel income usually available from large team games permits faster teching to T4 with its more expensive units.
T4


Gives access to the Katyusha for indirect fire options and the SU-85 to deal with heavy Armour. The T34 is the most potent tank in the Soviet core, but is still not much when compared to the Axis options; however, teching to the T4 tier also allows you to build the T34/85 if it is available in your doctrine.
T4 strengths vary from unit to unit since T4 contains a diverse collection of units, but all three T4 units are vulnerable to AT-Guns or Infantry AT Units.
First Tech Options
You have three basic ways to start, building T1 or T2 or instead starting with Conscripts only
This really means Conscripts, since the only other Unit which you can build are Engineers, which while useful, are not something you want more of right at the start.
It is possible to play without unlocking Molotovs and AT Grenades, but in practice, it is rare to make significant investment in Conscripts without them. AT Grenades in particular, will not normally be needed immediately, but you will usually want to research them as you transition out of the early game.
The big advantage of a T0 start is that you can choose what to build later, but you will have to build somethin, unless you win the game in the first 5-10 minutes. However, you do not start with enough fuel to tech both Molotovs and AT grenades from the get-go, whilst you can build T1 or T2 straight away. Therefore a T0 start will usually delay your teching relative to starting with T1 or T2.
T1 has very soft AT options, so unless you are selecting a Guards doctrine, and sometimes even then, you may need to tech up fast to T3, to research an SU-76, or side tech to T2 for a Zis gun.
T2 gives the Zis gun for hard AT, the Maxim to lock down territory and the mortar for stonking. With all these, plus mines, demo charges, Conscripts and any doctrinal infantry such as Guards or Shock Troops, you can hold whilst waiting for armour.
T0
This really means Conscripts, since the only other Unit which you can build are Engineers, which while useful, are not something you want more of right at the start.
It is possible to play without unlocking Molotovs and AT Grenades, but in practice, it is rare to make significant investment in Conscripts without them. AT Grenades in particular, will not normally be needed immediately, but you will usually want to research them as you transition out of the early game.
The big advantage of a T0 start is that you can choose what to build later, but you will have to build somethin, unless you win the game in the first 5-10 minutes. However, you do not start with enough fuel to tech both Molotovs and AT grenades from the get-go, whilst you can build T1 or T2 straight away. Therefore a T0 start will usually delay your teching relative to starting with T1 or T2.
T1
T1 has very soft AT options, so unless you are selecting a Guards doctrine, and sometimes even then, you may need to tech up fast to T3, to research an SU-76, or side tech to T2 for a Zis gun.
T2
T2 gives the Zis gun for hard AT, the Maxim to lock down territory and the mortar for stonking. With all these, plus mines, demo charges, Conscripts and any doctrinal infantry such as Guards or Shock Troops, you can hold whilst waiting for armour.
Combinations and progression
Whilst you need T1 or T2 to unlock T3, they are not mutually exclusive and with T0 as well there are a number of possible options.
They are arranged below roughly in order of how risky they are to adopt, starting low and going high. Generally safer options are better if you are starting out.
They are arranged below roughly in order of how risky they are to adopt, starting low and going high. Generally safer options are better if you are starting out.
T0+T2
Seize territory with Conscipts, hold it with Maxims and Zis guns, with mortar support. This is about as vanilla as you can get but that's because it works
T1+T2
This usually means selecting T1 first, in order to research Penal Squads and M3s to deal with OKW, possibly to kill a truck, then transitioning to T2 to lock down territory with Maxims and research a Zis gun or two. A versatile choice if you do not feel the need to rush Armour and you are either waiting for Call-Ins, or are prepared to tech straight through T3, to T4.
T2
I think opening with Maxims alone only works well in team games, but it is not impossible to make it work otherwise. With no fuel spent on anything else it does give you a fast route into T3 and beyond, so it can prove a solid choice, if you plan using T3 units for impact.
T0+T1
This will leave you without AT, beyond grenades and mines, so you need something else - like Guards, or, better, Partisan Tank Hunters, to handle early Armour. Avoid this, unless you are very confident in your soft AT play and/or your teammates. As a general rule, you should choose either T0 or T1, but not both.
T1
Needs Guards or preferably Partisan Tank Hunters for AT, unless you want to be reliant on your teammates. However, if you do not spend fuel on M3s, this is the least fuel intensive route to T3 for a light vehicle rush
T0+T1+T2
Buying all these can mean you are spreading yourself so thin that you are not building enough units from any tier to obtain proper use from them; or it can mean that you are researching so many units that your later teching and development will suffocate from the MP upkeep.
Stalling
Originally, this referred to not teching at all, relying entirely upon Conscripts, Engineers and doctrinal units. This was once viable, dependent on the Commander choice, but will rarely be possible now, since Call-In tanks are designed to come at higher CP value, and/or are tied to tech progression. The only Common Commander where it might be possible is Shock Rifle.
It is very hard to attain those CPs with the limited damage-dealing capability at your disposal, and you will also be vulnerable to Armour, since you will, at best, have soft AT options until your Call-In tanks unlock. This can change if you can capture enemy weapons, or re-crew discarded team weapons, or abandoned vehicles, but that is luck - and luck is not a strategy.
Accordingly, stalling into Call-Ins nowadays requires at least some teching, though not necessarily beyond the first building (T1 or T2), or T3. Typically, this means teching to T2, but that frequently involves surrendering the initiative, or being carried by your teammates in the midgame
Final Tech Options
T3/T4
Whilst the final tech options are linear, you still have some flexibility in how you decide to do with them.
- It is possible to skip them entirely - as outlined above.
- You can also stay at T3 and use that to win fast, or support Call-In tanks, without ever bothering with T4.
- You can pull some units from T3 for impact or utility, before teching upwards; however, T3 units have a small window of opportunity where they are impact units, before reverting into a utility role, and the later you build T3, the less chance you have of hitting that window.
- Finally, it is also possible to go straight through T3 into T4, without building any units from T3, which is generally worth doing, if you have a T34/85 commander where you have to tech to T4, to research the T34/85, or you need something else from T4. e.g. the Katyusha]
The single fastest way to tech is T1>T3>T4, without spending fuel on anything like M3s, T3 units or Grenades, but that really needs mines and Guards and even then you are vulnerable, unless you can rely upon your teammates to cover you.
Basics of Commander and Build Order
You want your Build Order and strategy to complement each other, whilst also planning what you need now, and what you can build later. Whilst an early investment into several Conscript squads, or 3 Shock Trooper Units will often obtain you an advantage, be aware that building too many units means the initial MP costs, upkeep and pop cap can suffocate your teching.
Further, at a more strategic level, you want your Commanders to complement each other to give you breadth of options
All the Commanders are covered in Part 1 of the Complete List, check there for the detail. Rather than duplicate we shall only repeat the basics here for the sake of brevity.
Further, at a more strategic level, you want your Commanders to complement each other to give you breadth of options
All the Commanders are covered in Part 1 of the Complete List, check there for the detail. Rather than duplicate we shall only repeat the basics here for the sake of brevity.
Guard RifleCombined Arms Tactics


'Hit the dirt' and PPSH give you aggressive options with your Conscripts, however taking too many losses will hamper your manpower later on, and render you unable to build the ML-20 if you want to. Guards give you elite infantry to back up them up - preferably from distance - whilst the Conscripts take the hits. The ML-20 and IL2 give some late game punch.
Best Options:
You will probably make a T0 start and intend to research Guards anyway later, so have no real need for Penal Troops. Probably the only reason to build T1 is to unlock T3 or T4 faster. T2>T3>T4 is most conservative and hardest to mess up, however.
Guard Motor Coordination Tactics


One of the better doctrines right now, it gives some interesting tech choices. Guards give you good utility and the 120mm mortar can punish static defenders and OKW trucks. 'Mark Vehicle' is an excellent tool for dealing with the tough, high-value Axis targets you fight late game. The T34/85 gives a lot of bang for the buck. 'Crew repair' is often forgotten about, but can be very helpful
Best Options:
Best Options:
The 120mm mortar is better than the 82mm in T2, hence an argument not to build T2 but doing so leaves you without Zis guns. T3 can be passed through without stopping on the way to T4, which unlocks your T34/85s, as well as the SU-85, which becomes even better, backed up with 'buttoning' Guards and 'Mark target', as well as the Katuysha which can take over indirect options from the 120mm mortar.
Shock Rifle Frontline Tactics


At one point this was one of the best doctrines of any faction Full Stop; but this was before you were limited to one IS-2 at a time. The Commander is still rock solid however, and everything here is good and useful. There is not much that helps in the early game, until the Shock Troopers arrive at CP2, and the AT ambush can be handy if not earth shattering - just remember to turn off the Ambush when you are trying to move the guns. At CP7, the Incendiary Barrage means that you can punish defences and deny territory, whilst the KV-8 tank can chase any infantry off the field. The IS2 tank then comes along to seal the deal.
Best Choices:
Almost any build can work here. T1 helps with Penal Squads and Clown Cars (M3s) for aggressive territory taking; T2 to research Maxims for consolidation and Zis guns for AT; then passing through T3 into T4, whilst waiting for your heavy tanks to unlock.
The KV-8 has minimal AT capability and the IS-2 is vulnerable by itself, therefore a significant investment in SU76s and/or SU-85s will complement them nicely. T34/76s should be avoided, as either doctrinal tank is better at its role.
Soviet Combined Arms


Recon wins games, or can at least ensure you do not lose by walking into a trap or overextending. You have Guards to provide early AT utility, later combined with AT Gun Ambush, mines and 'button' you can set ambushes of your own and make it very hard for attacking enemy Armour to escape. The ML-20 can beat up fixed defences and OKW trucks, whilst you can identify targets with Recon for the Bomb strikes, to kill trucks or hammer retreat points.
Best Choices:
T2 gives you the Zis gun for ambush, then tech up for T3 and T4. Generally though, this tends to be a munitions intensive doctrine (DP28s, Button, Recon, Bombs), so you may not have munitions to spare for flank protection with mines leaving your SU-85s vulnerable
Soviet Reserve Army


This supports aggressive infantry play, where you get up close and personal with Conscripts and follow up with AT partisans, for any hard targets. The PPSH gives you close range hitting power, and 'Conscript repair' means that you can repair your Armour quickly when the late game hits. 'Rapid Conscription' helps you maintain your force without costing manpower, so you can build your howitzer.
Best Build:
T2 will give you Zis guns, however you may be able to pick some up abandoned AT Guns and may also be confident in your abilities with AT-Grenades and Tank Hunters. T1 can give 'Clown cars' and yet more types of infantry, or simply be the cheapest way to start researching T3 and T4. Whilst you will probably want to upgrade to both types of grenades at some point, you may wish to wait until later in the game and not build Conscripts, instead relying on 'Rapid Conscription' to supply them.
Soviet Shock Army
Unfortunately everything in this doctrine is expensive in manpower. Whilst the mortar may not bleed manpower to reinforce once it is on the field, both Shock Troops and Conscripts with PPSHs have to get close to the enemy and will often take losses doing so. This can mean that finding the necessary MP later to build the howitzer may prove difficult, even if you are very disciplined about what you build
Best strat:
T2>T3->T4.
T2 is a must for the Zis Guns; T4 for SU-85s will provide anti-Armour punch for late-game and you are unlikely to have the manpower to replace T-34s. M5s, if not upgraded, can help reinforce your mortars and artillery and if upgraded, can help counter the Recon planes which will seek out your ML-20s. You probably picked this Commander because you want to decimate the enemy from a distance and then finish him with infantry, so most of your builds should be to protect the 120 and ML-20 from enemy pushes.
General Notes on Commanders
Four of these doctrines were originally designed for 1941 and whilst Reserve Army was revamped to add Partisan Tank Hunters the other 3 have issues with being truly competitive in the 1944-5 setting fixed for auto-match. Only Shock Rifle and Guard Motor give Call-In tanks and are true late-war Commanders, but the good news is that these are among the best of all the Soviet doctrines. As such, you can do very well with picking these for two of your slot, leaving slot left to fill.
Reserve Army is handy for aggressive fluid infantry play, especially on urban maps where the Partisans can really shine.
Soviet Combined Arms gives Recon, Bomb Strikes and On-map artillery to punish enemy positions, especially OKW, and for that reason I prefer it to Guard Rifle Combined Arms , since Recon is really important and becomes more important in larger game modes
Soviet Shock Army is, I think, only worth doing if you intend to specialise in anti-infantry work, and have teammates to cover the other bases. Otherwise Shock Rifle is better for Shock Troopers, Reserve Army is better for PPSH cons, Guard Motor is better for 120mm mortar and Combined Arms is better for artillery. Do you see the pattern here? This means that if you only need one thing from this Commander, you are better off taking another Commander to get it, but if you want more than one then expect to have an unbalanced army
Final Words
This should get you started Commander, good luck and we may yet make it Berlin together
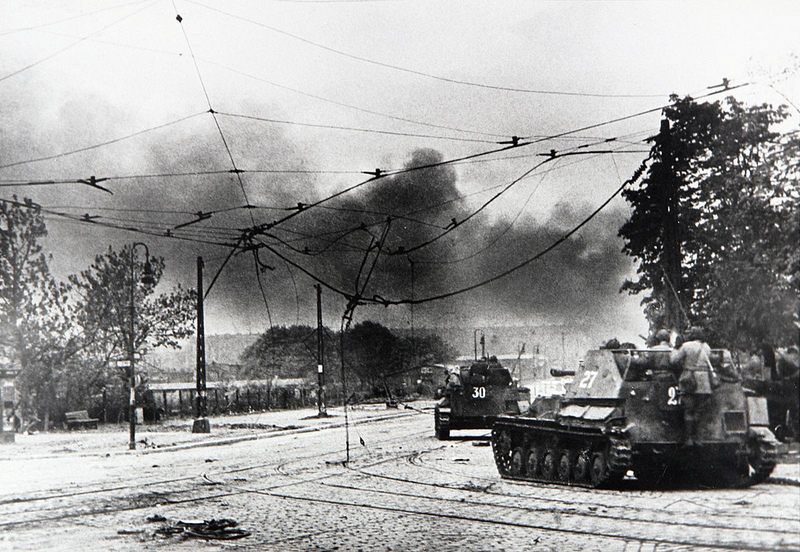
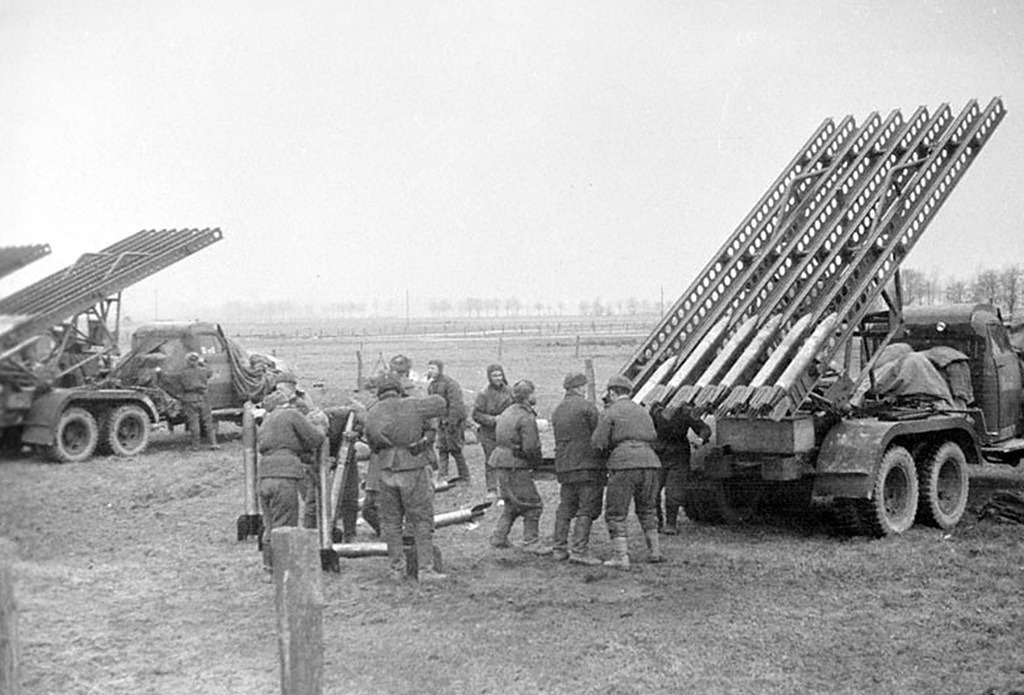
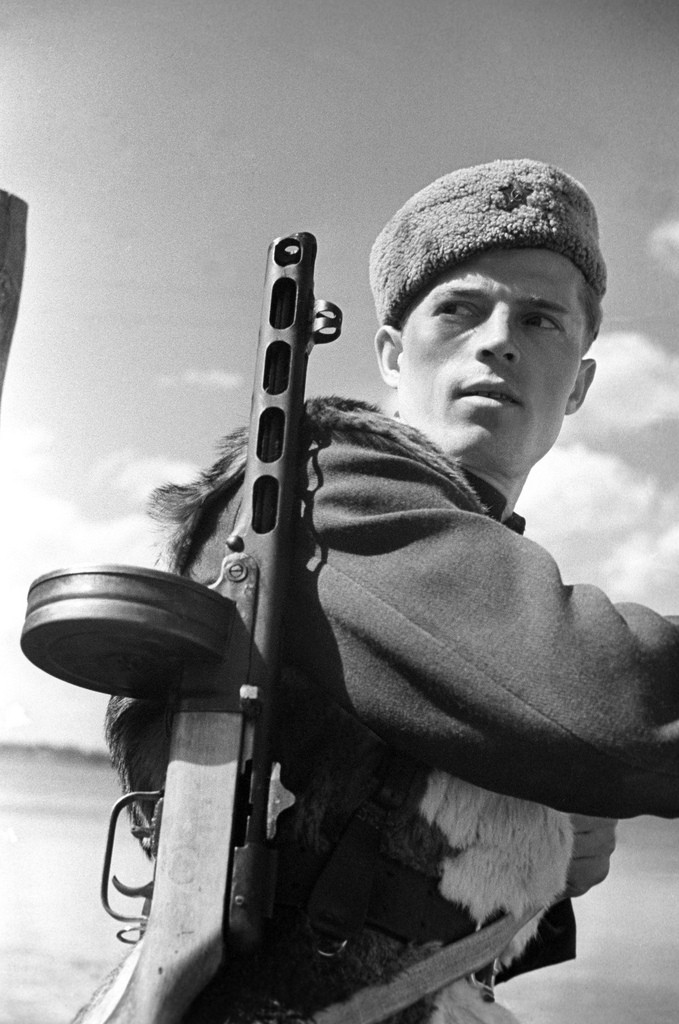
We'd like to thank the Regulars on the Photo thread for the pictures.
We'd like to thank the Regulars on the Photo thread for the pictures.
 van Voort
  slepo1
  MajorBloodnok